
1740QCA
Fundamentals of moving image
Reihaneh Azizafshari s5413308
My Reflective Design Process Journal
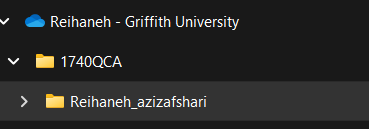
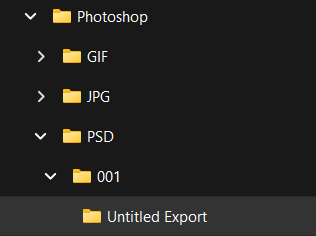
First things first I created a folder structure on my one drive with the course code being the top level folder and my name being the first level folder.
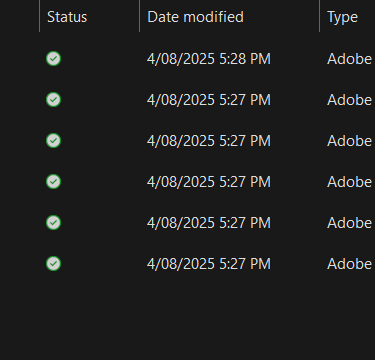
Task 01: Image database creation

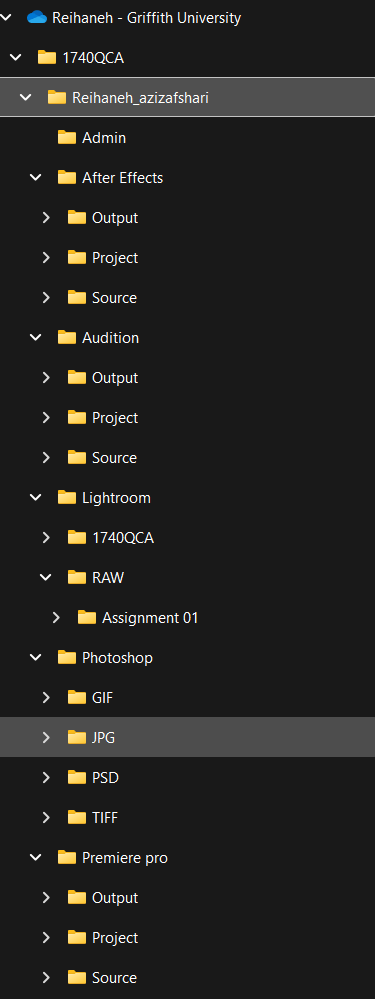
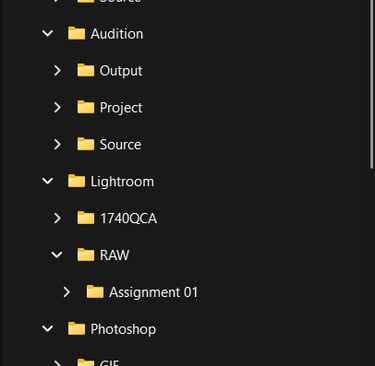
Then, I made a third level folder for organizing my work after exporting and saving.
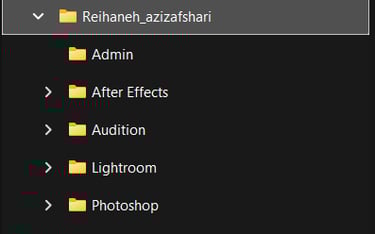
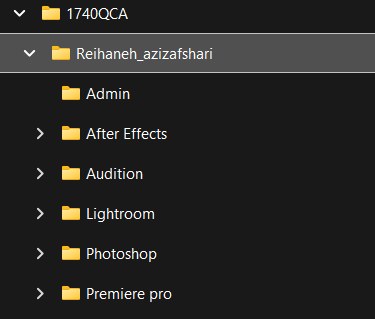
For second level folders I created a new file for each software that we were required to use.
Week 1
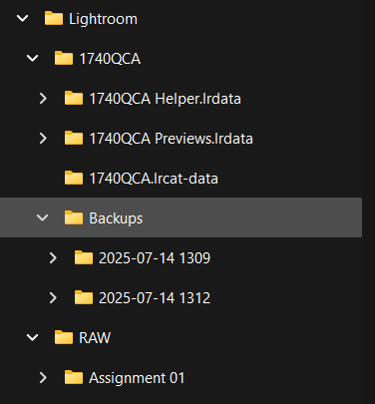
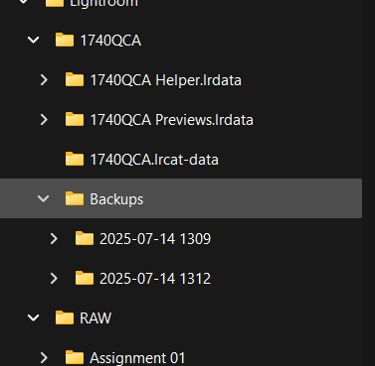
Lastly, I created a catalog file in Adobe Lightroom Classic named 1740QCA and saved it in the Lightroom folder on my hard drive.
Reflection
Creating an image database was really helpful because it gave me a clear idea of where to put each file. When I exported my work, everything was already organised, so I didn’t have to worry about losing files or spending time trying to find them. It made the whole process much easier and more efficient, and it’s something I’ll definitely keep using in future projects.
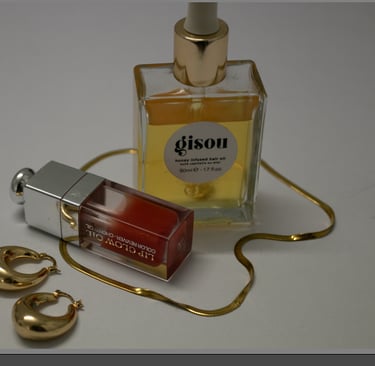
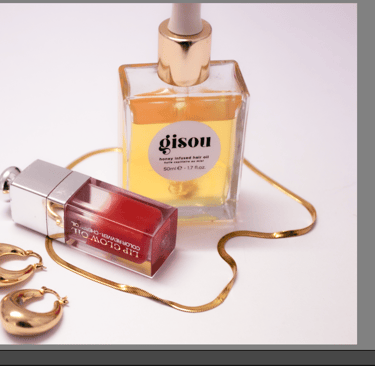
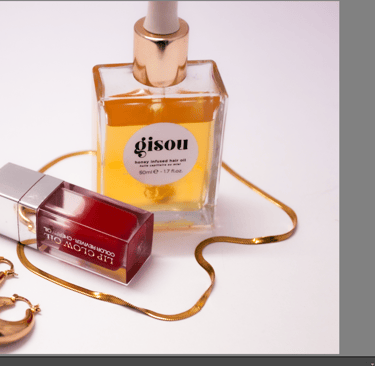
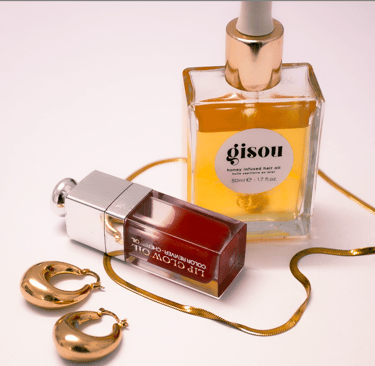
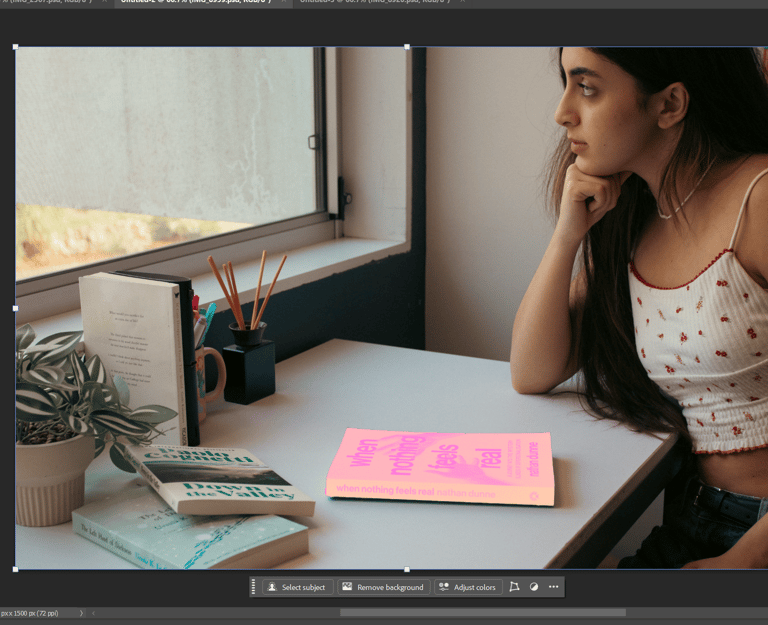
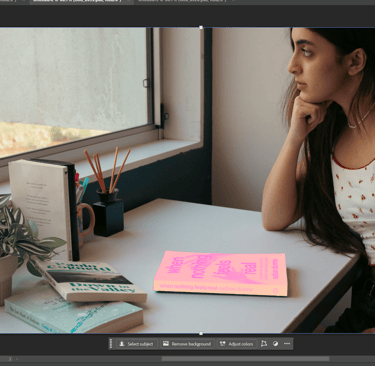
Task 02: RAW Image capture and processing in Lightroom Classic
Week 2
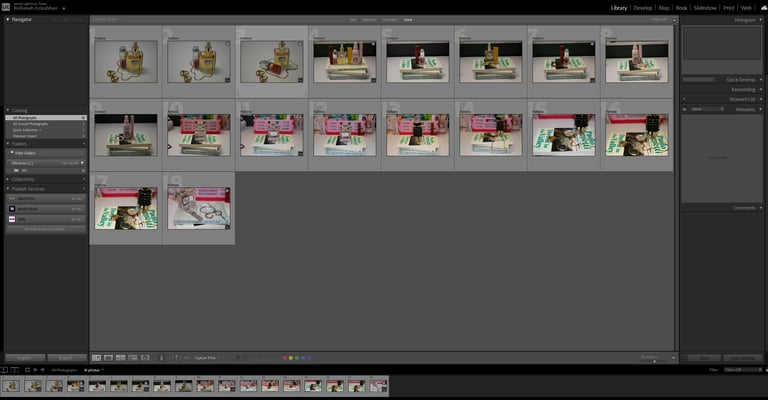
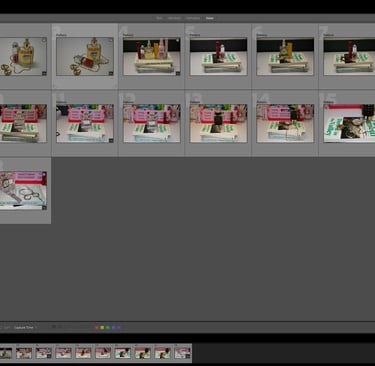


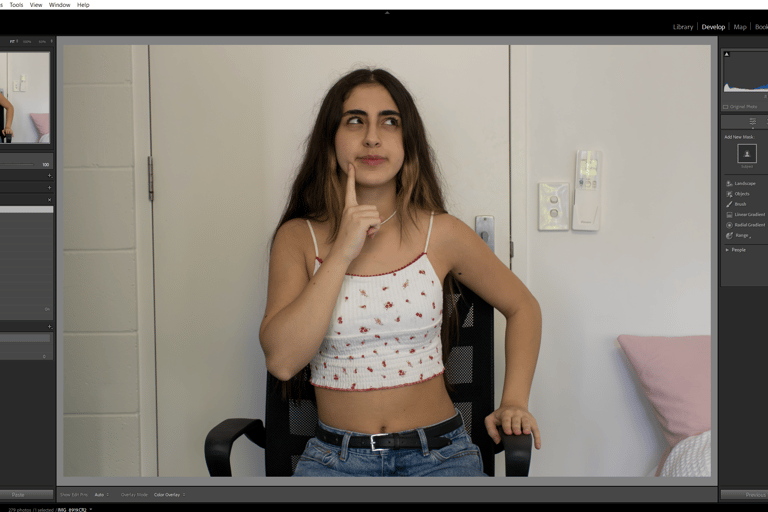
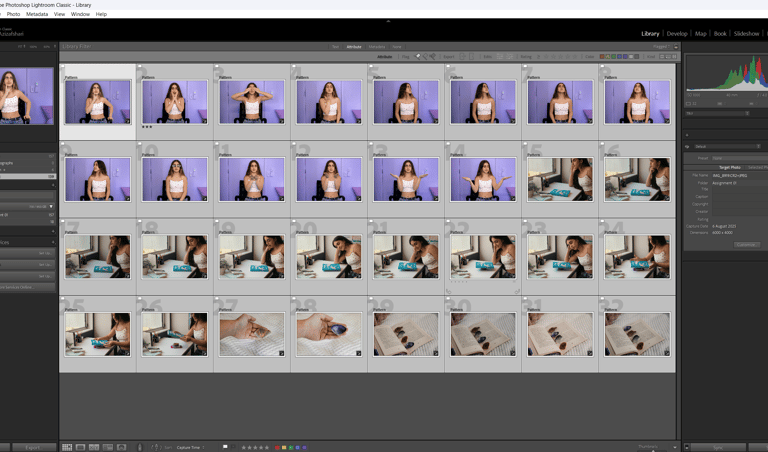
1.Importing to library Module
I began by importing my raw images into the Library module in Lightroom Classic.
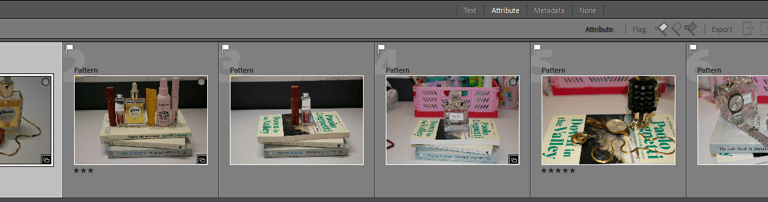
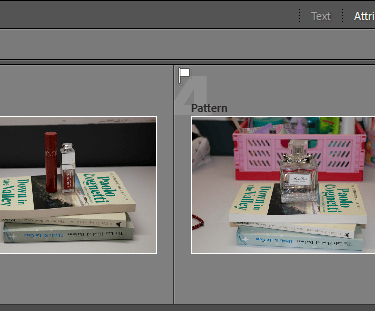
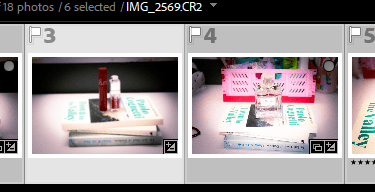
2.Flagging selects
Next, I flagged the photo I wanted to edit, my initial selection for processing
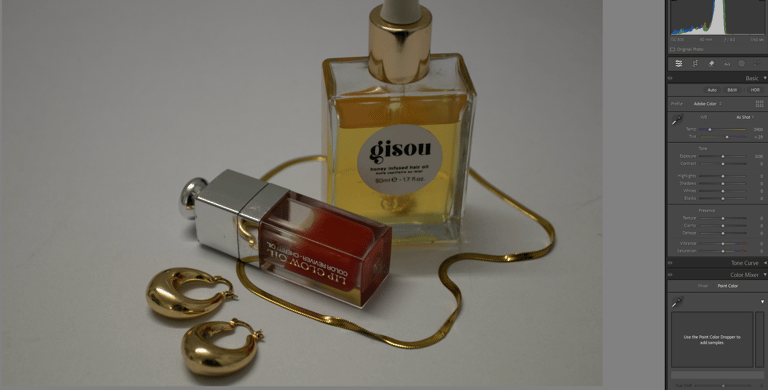
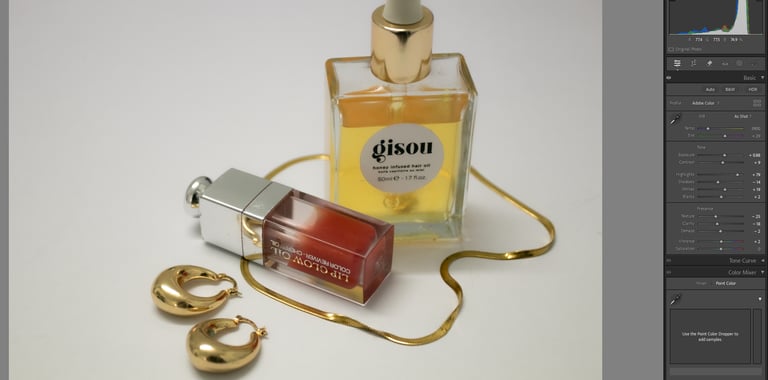
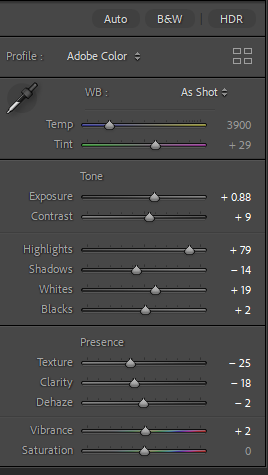
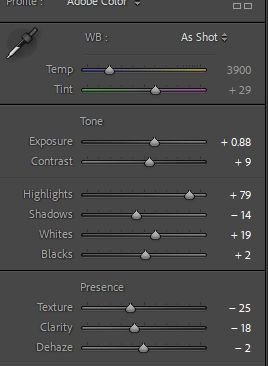
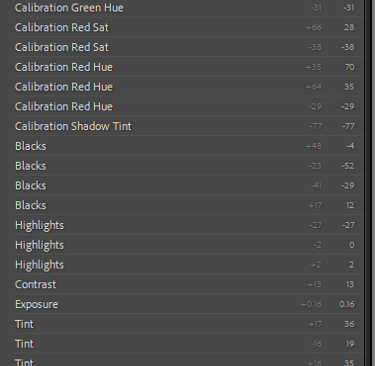
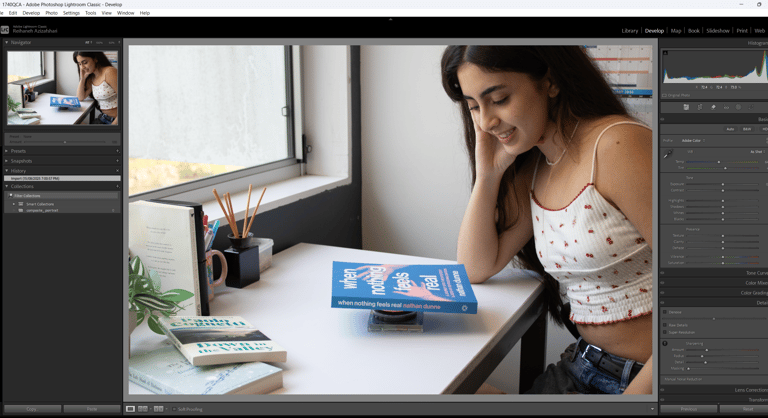
3.Basic Adjustments
I adjusted exposure, contrast, highlights, and shadows to improve clarity and brightness
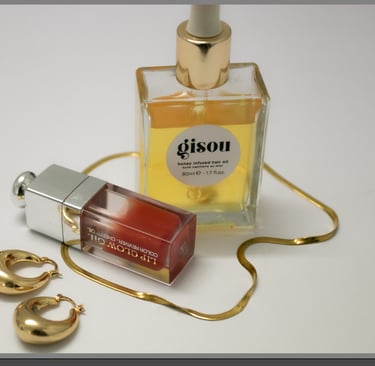
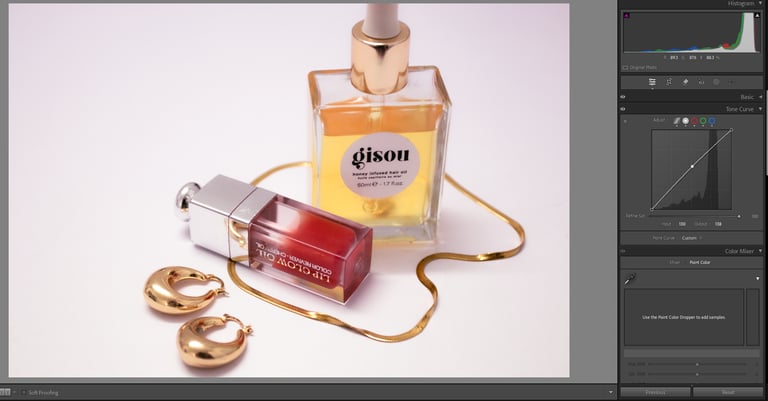
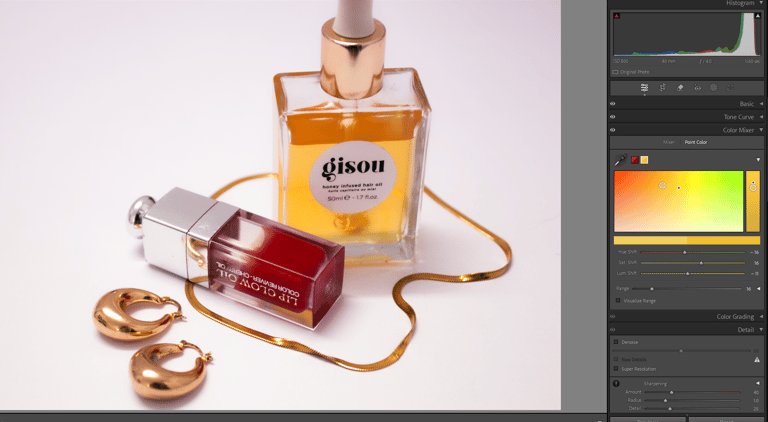
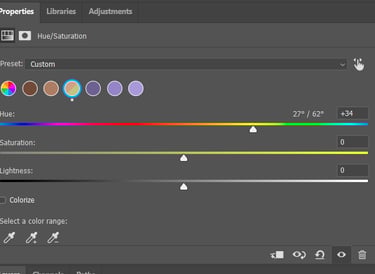
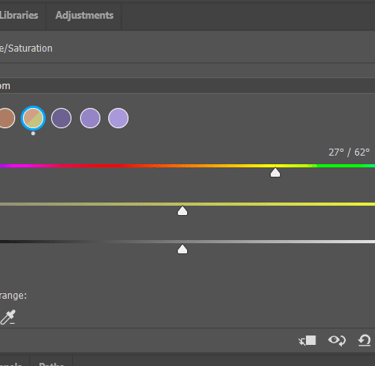
4.Tone curve and Color mixer
I used the tone curve to refine the contrast and add a subtle mood and with the color mixer I enhanced certain hues (red and yellow's) to give the image a more vibrant feel.
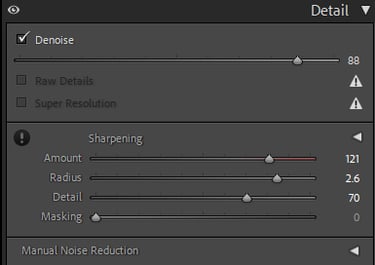
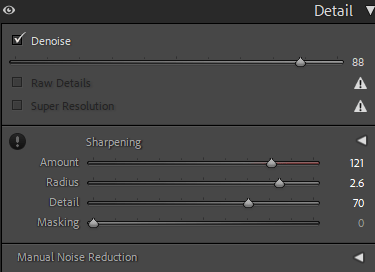
5.Detail panel- Denoise
I used this tool to improve image quality.
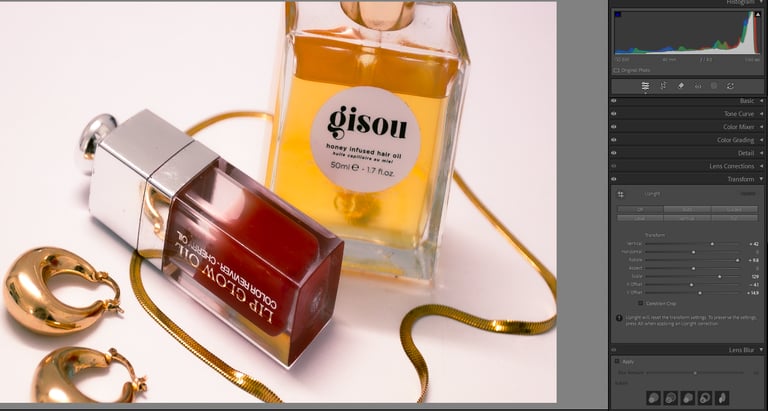
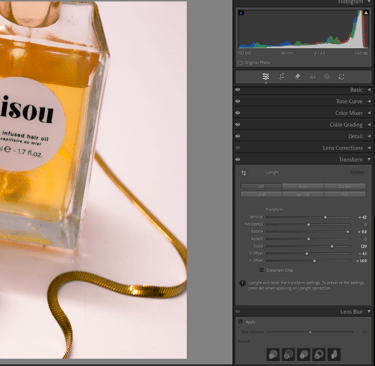
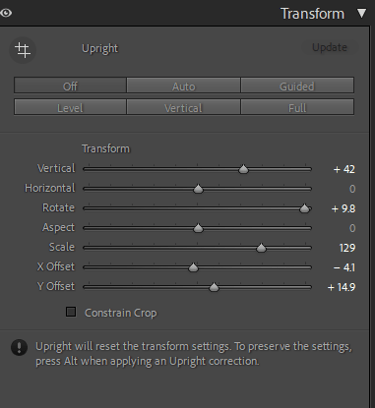
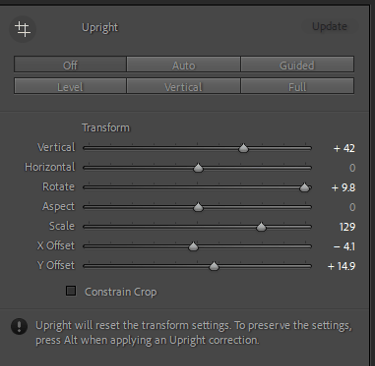
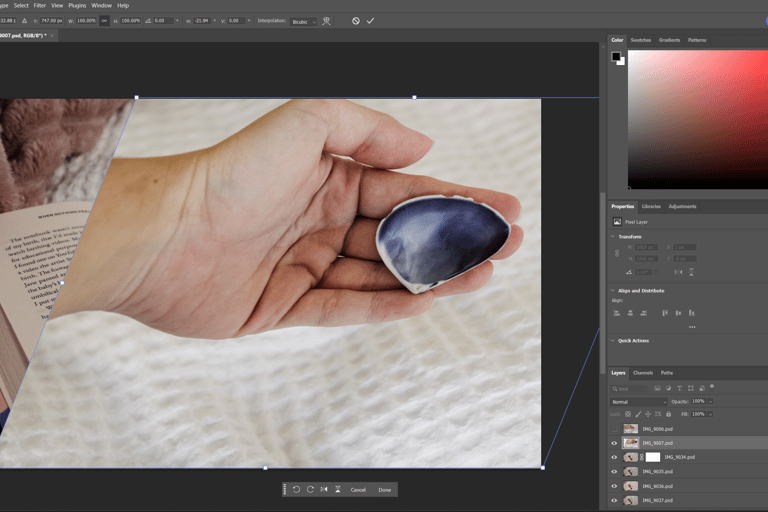
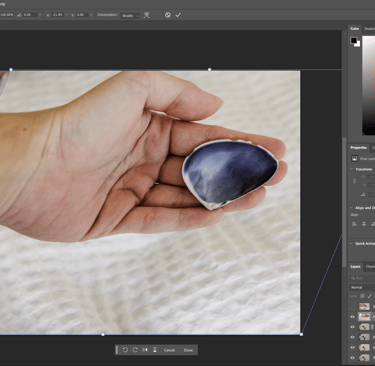
6.Transform Panel
I adjusted perspective using the transform panel, but decided that I would not change the composition.
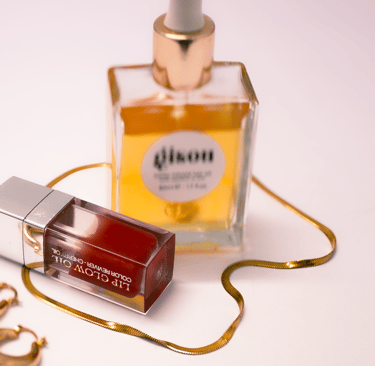
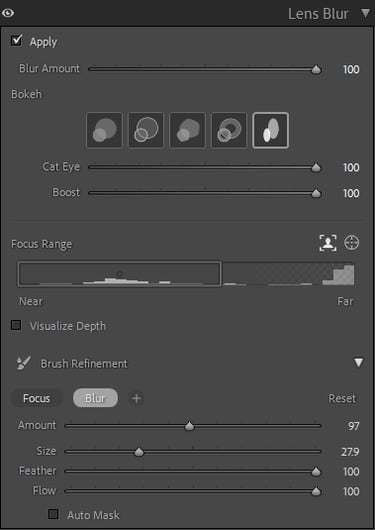
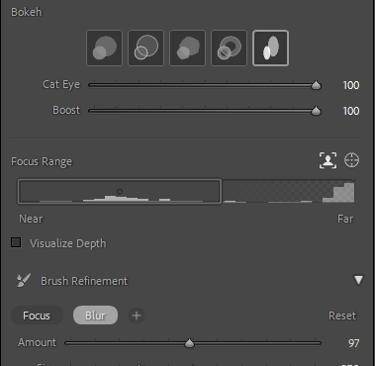
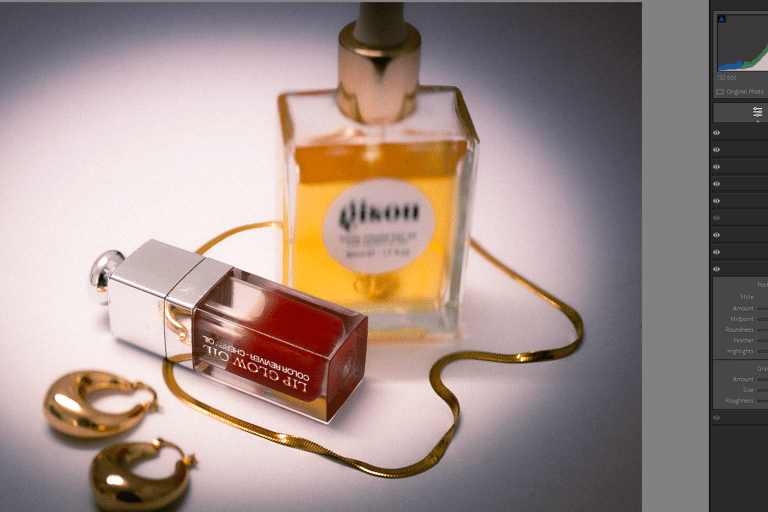
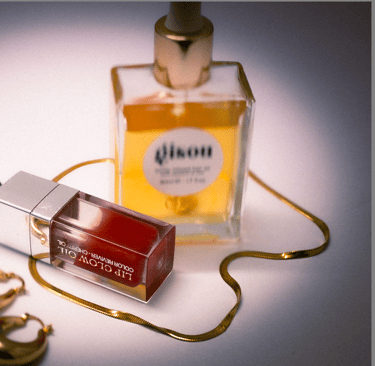
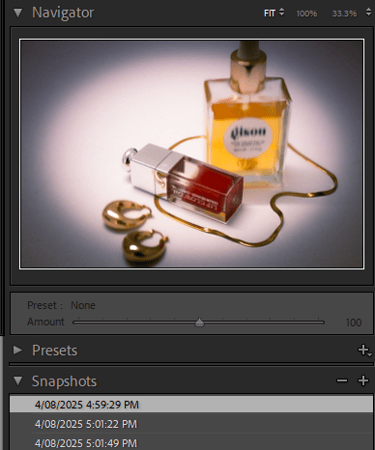
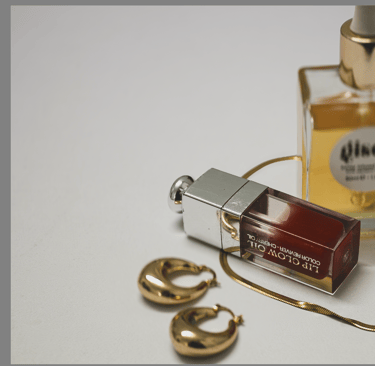
7.Lens Blur
applying a lens blur to reduce background distractions and draw attention to the lip gloss product with the brush refinement tool.
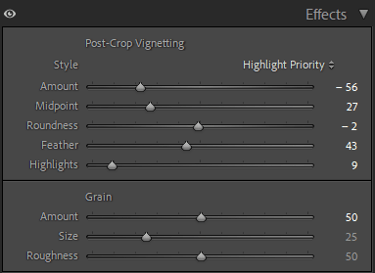
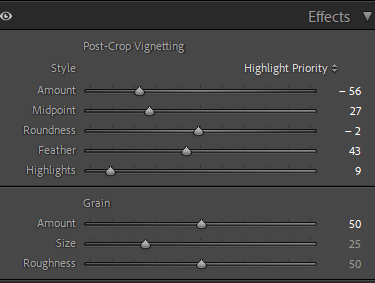
8.Effects panel
I adjusted vintage settings and added grain for the aesthetic.
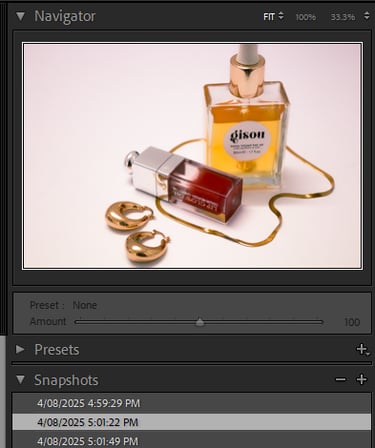
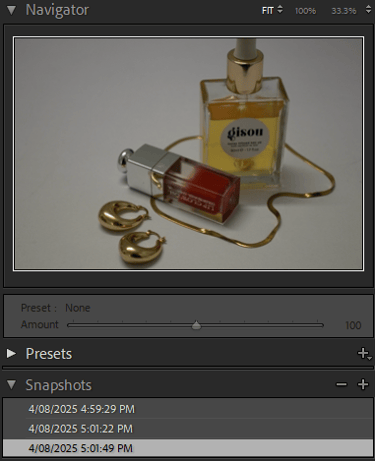
9.Snapshots
I created three snapshots to track different editing stages and easily compare them.
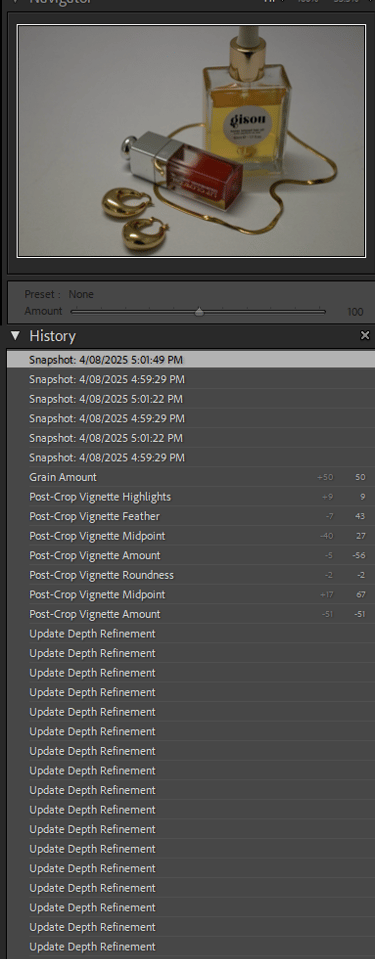
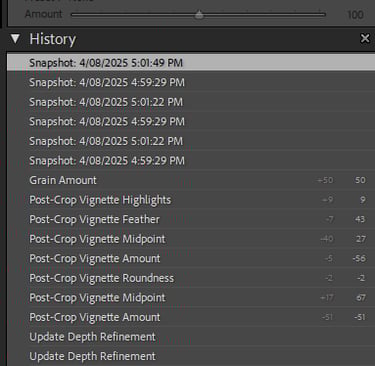
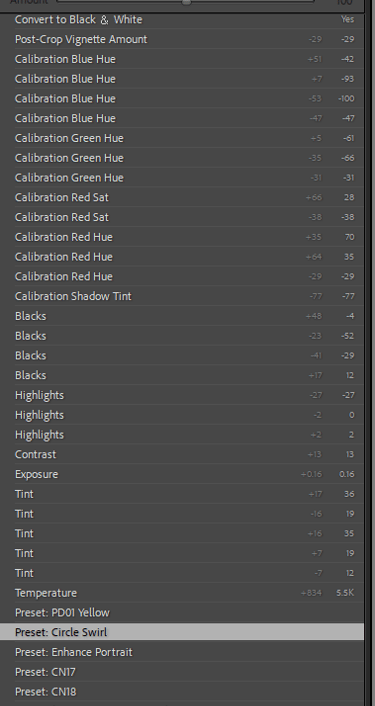
10.History Panel
The history panel allowed me to view each edit made through out the process.
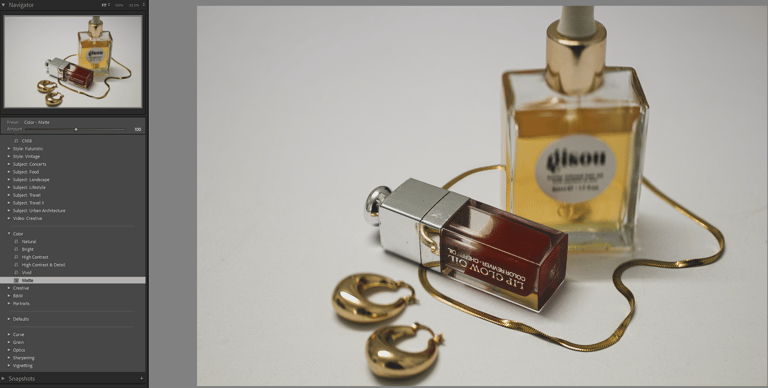
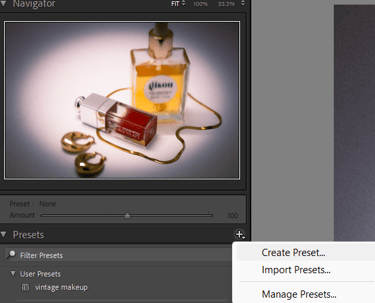
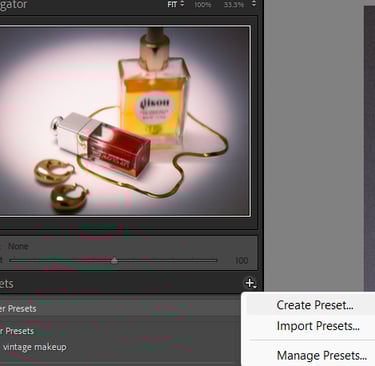
11.Custom Preset
I tried different presets and applied few of them to my image. Then I decided to create and save my own editing preset which I then applied to all selected images.
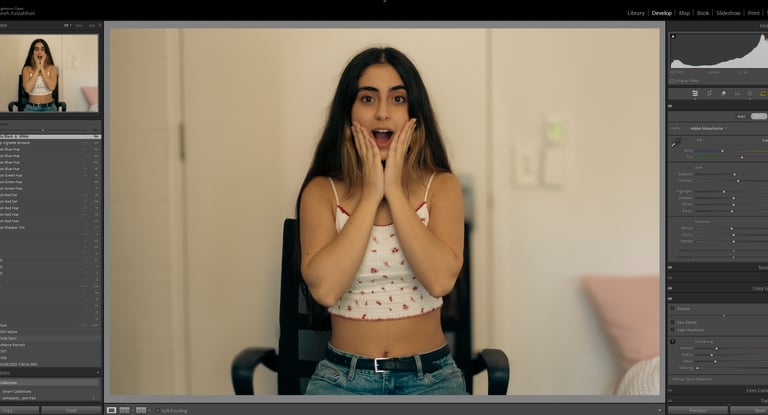
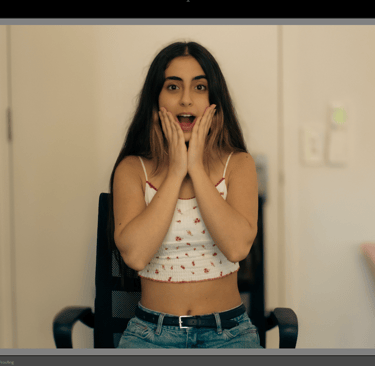
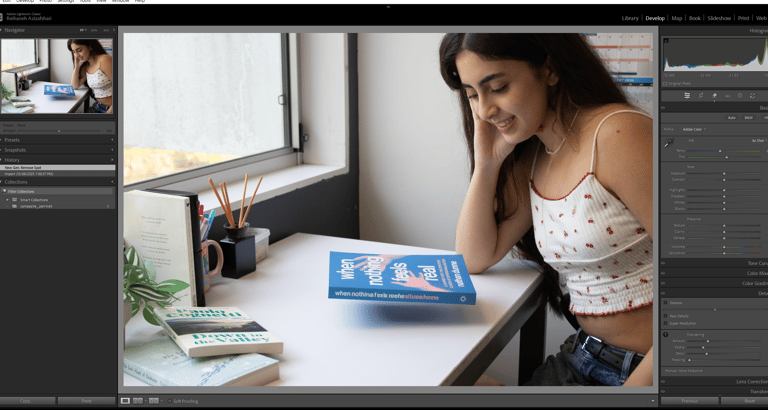
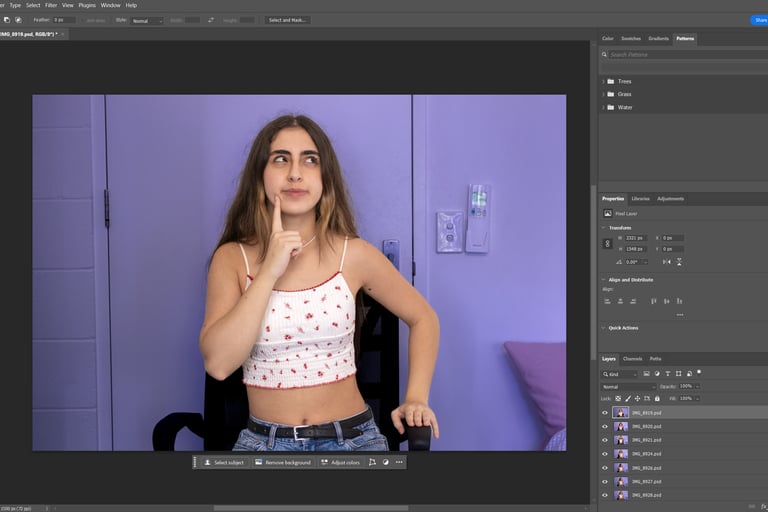
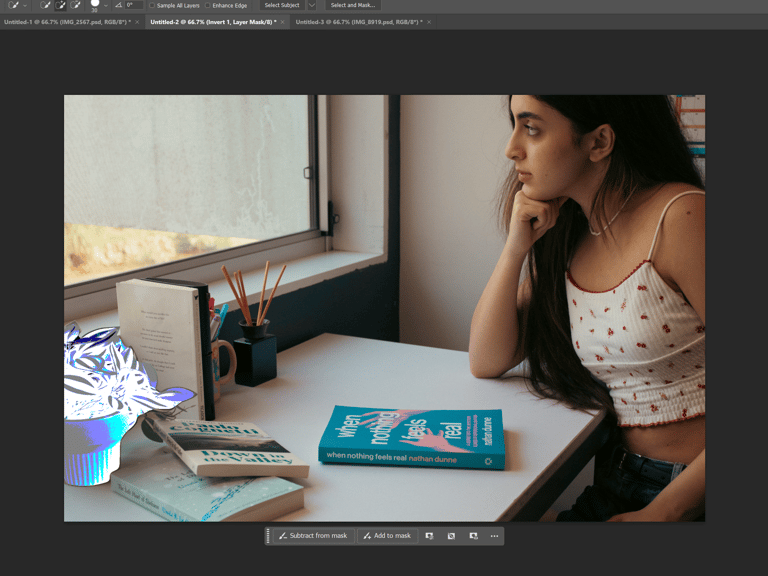
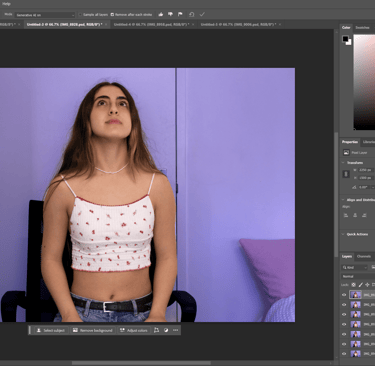
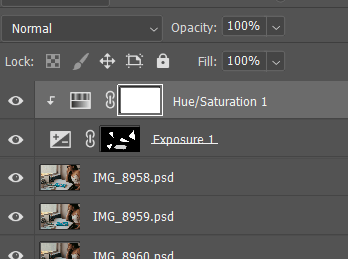
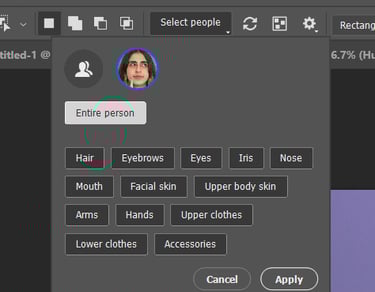
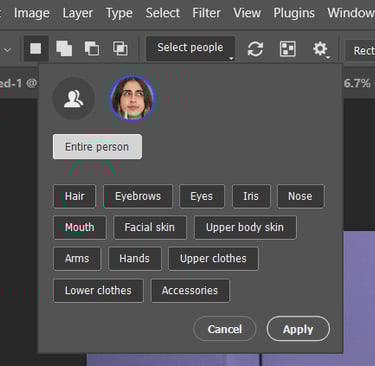
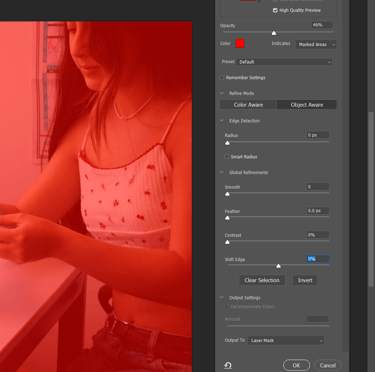
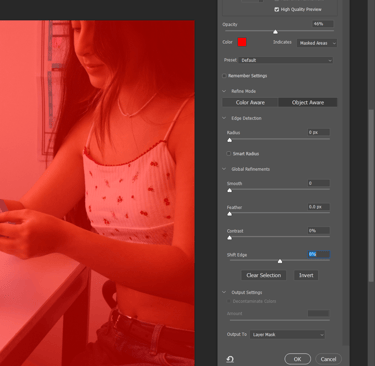
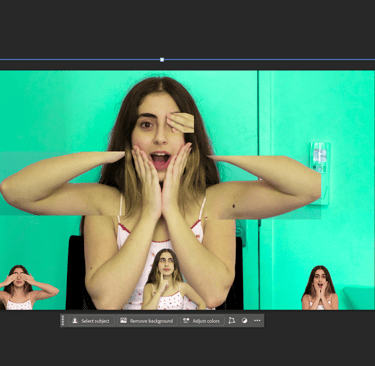
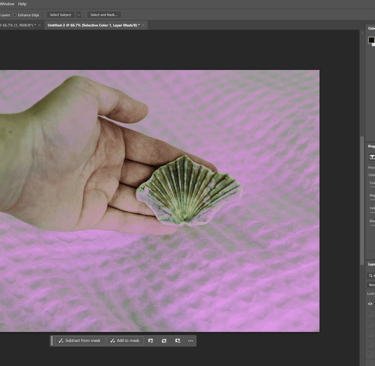
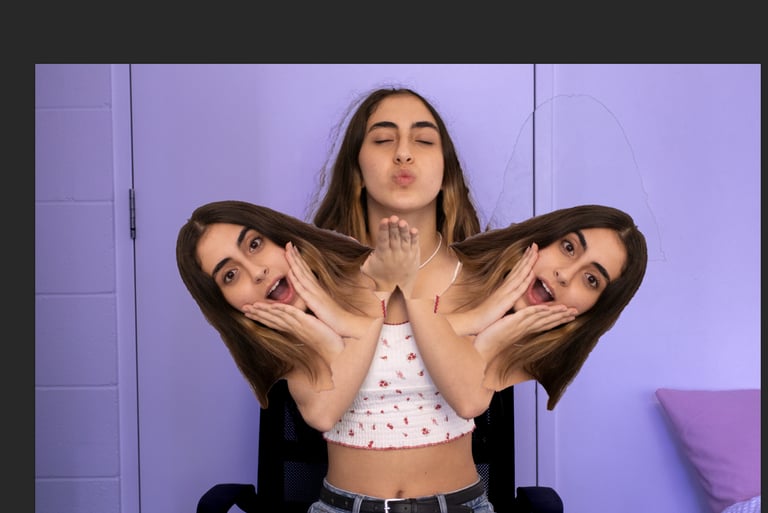
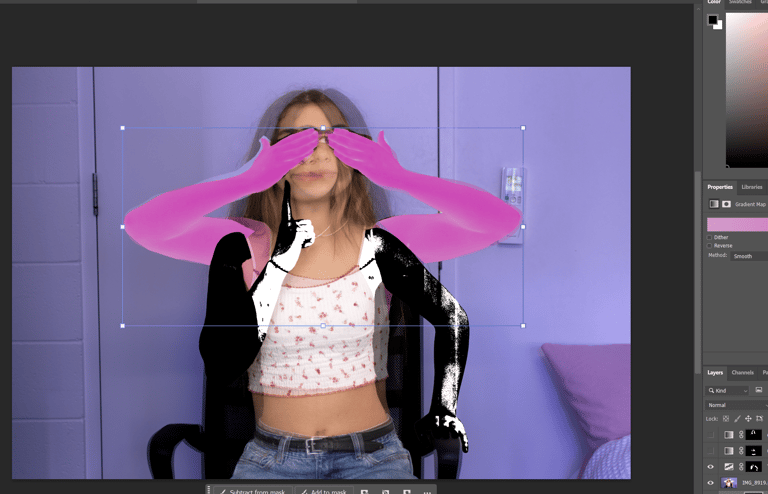
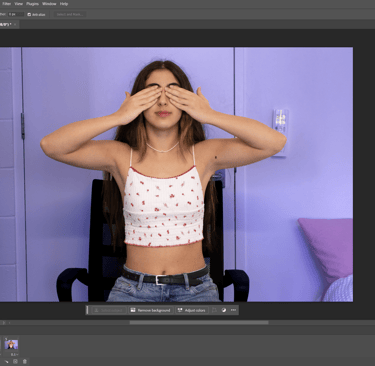
12.Masking tools
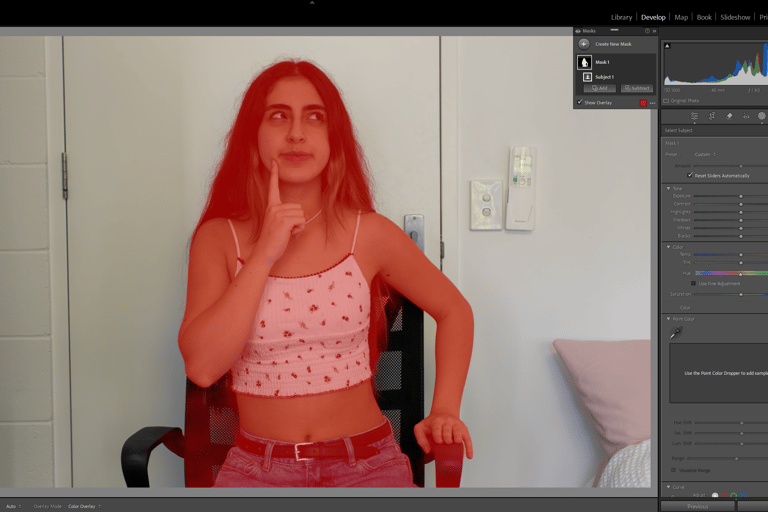
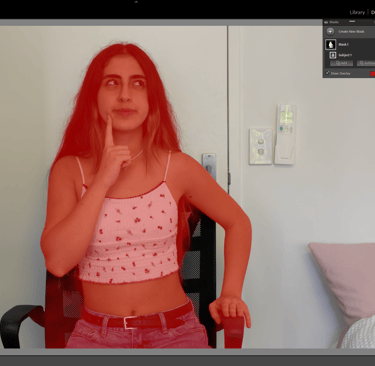
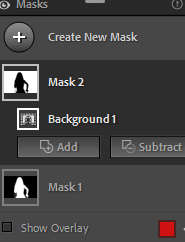


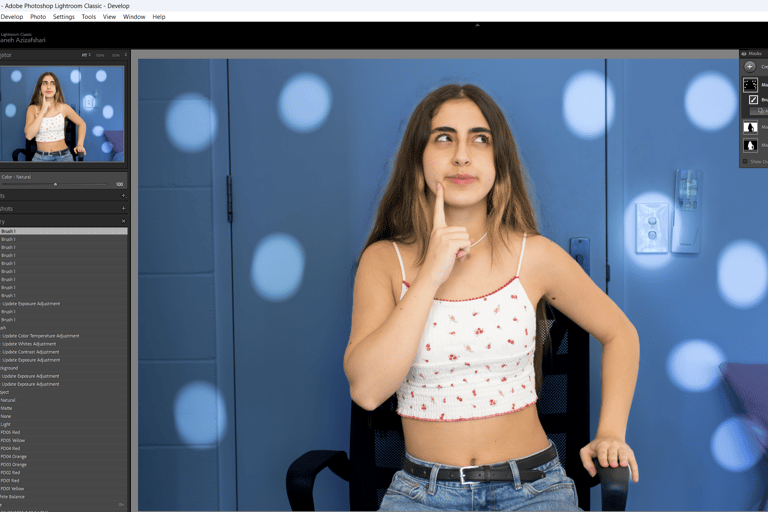
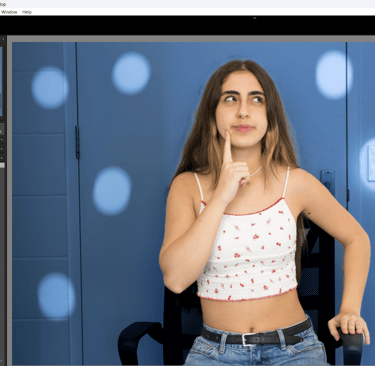


used the masking tool to separate different elements( person, background, objects).
selected the person and adjusted the exposure/ contrast.
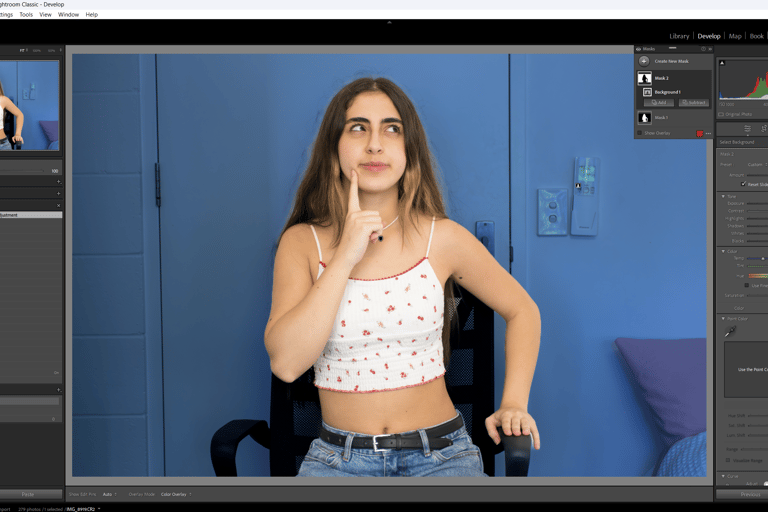
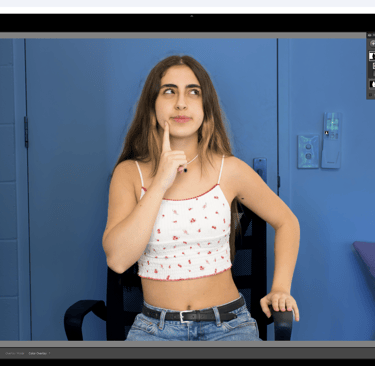
created another mask for the background and changed the hue to blue.
Added a custom brush mask
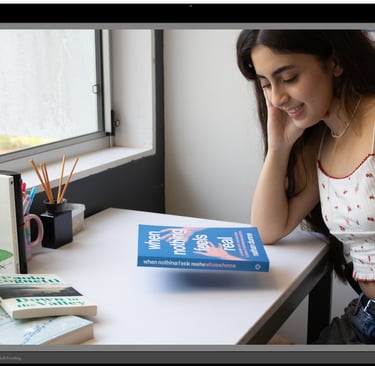
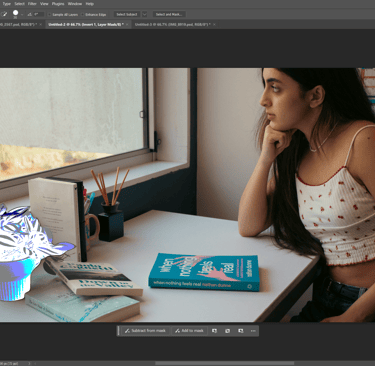
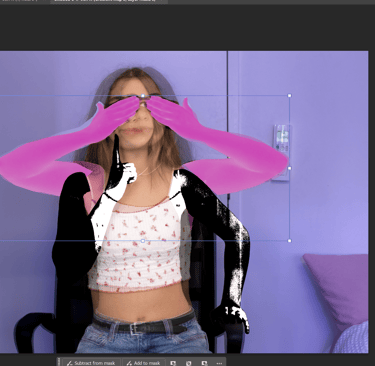
13.Preset Library
masked the background and applied a preset blur swirl to the background.
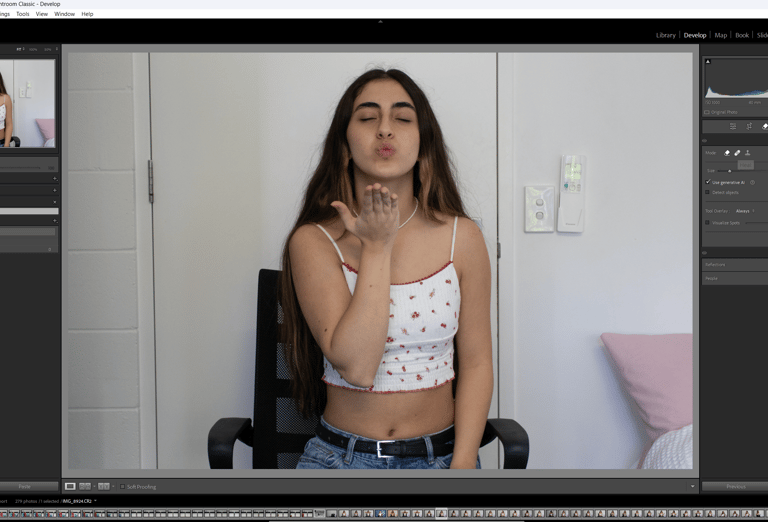
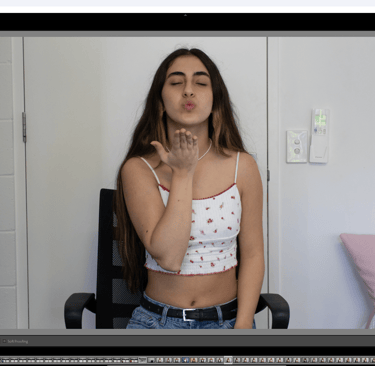
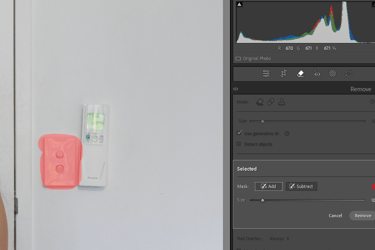
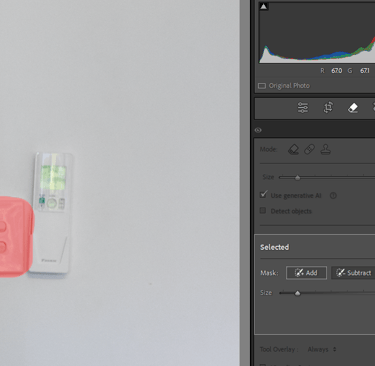
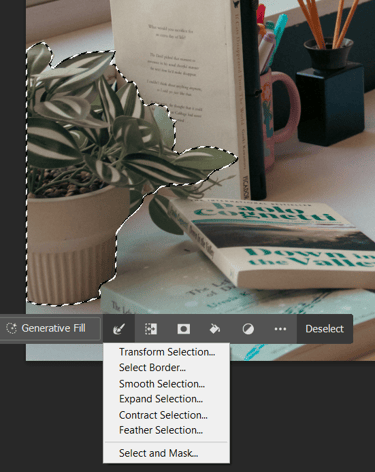
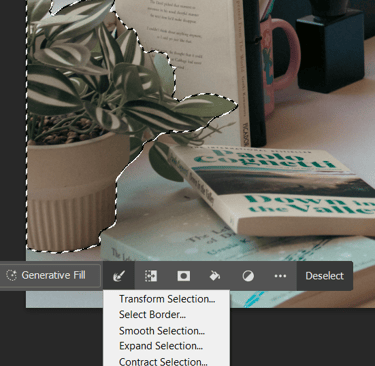
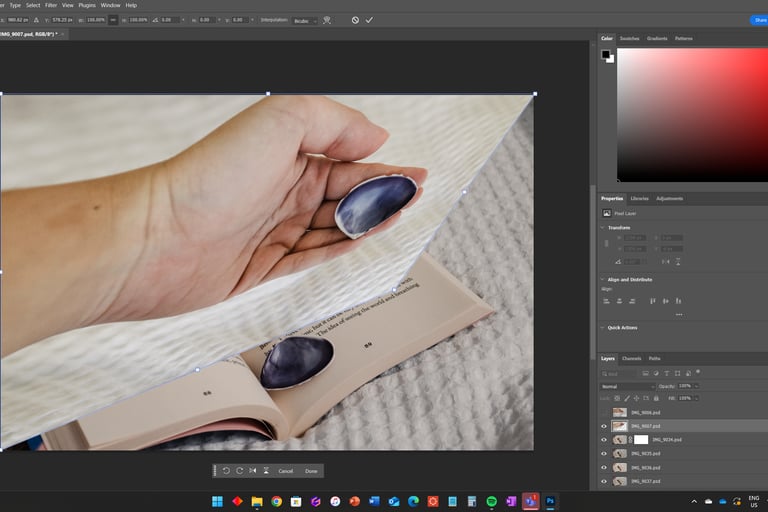
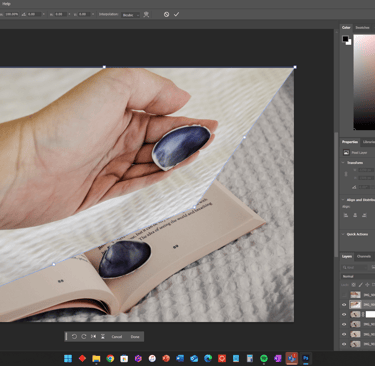
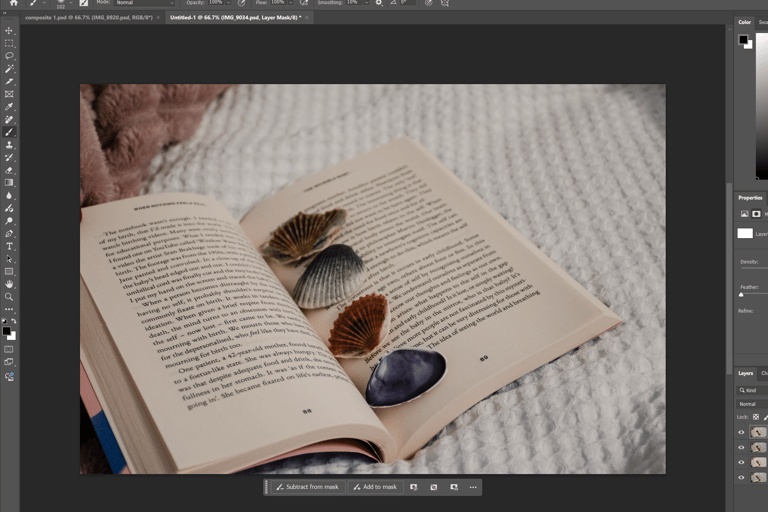
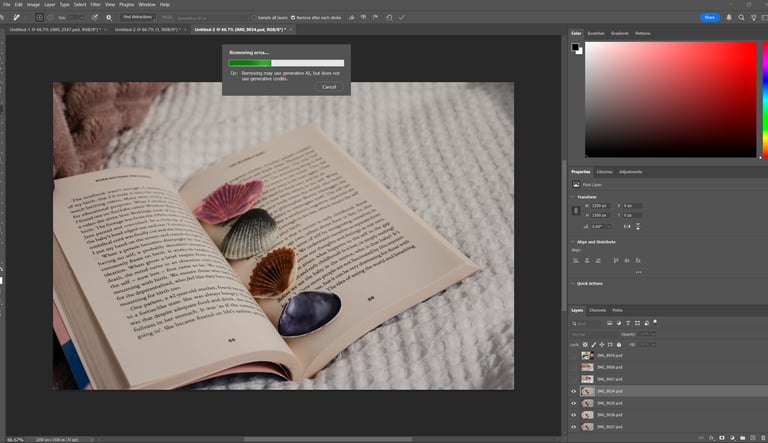
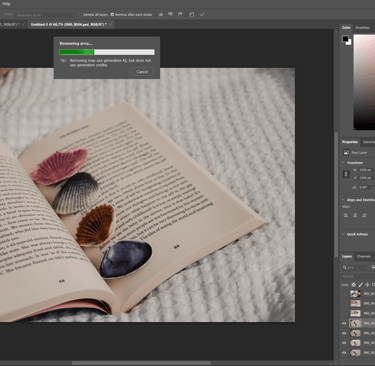
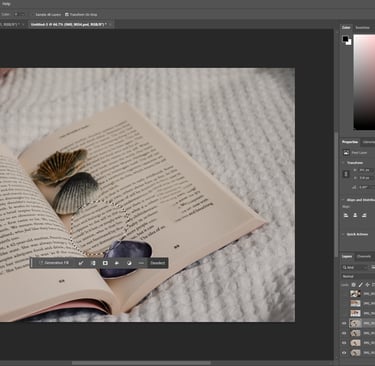
14.Remove tool
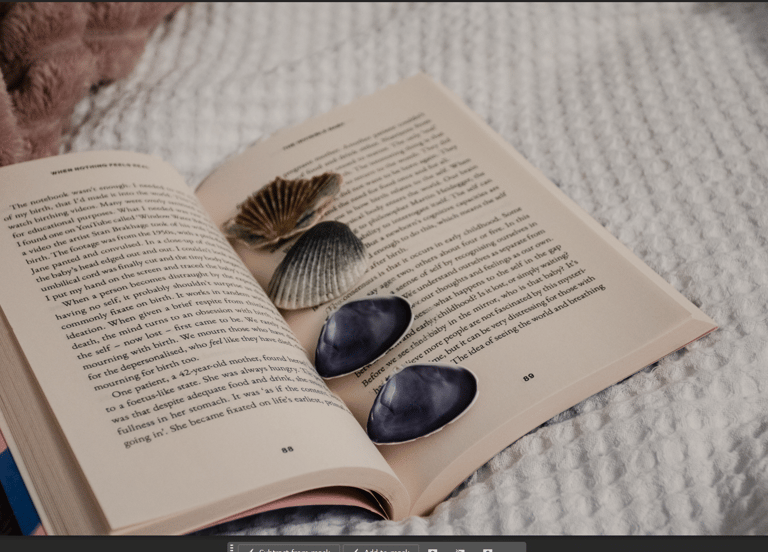
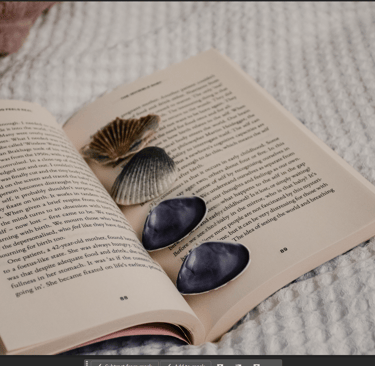
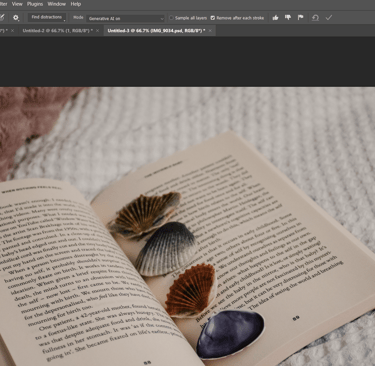
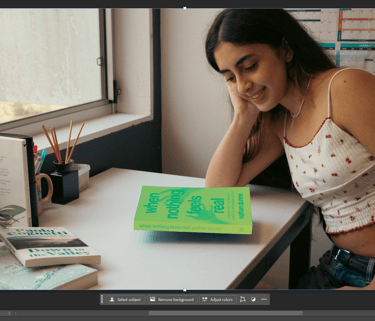
Used the remove tool with generative AI to erase unwanted parts of the image
Removed objects beneath the book to make it appear as if it was floating.
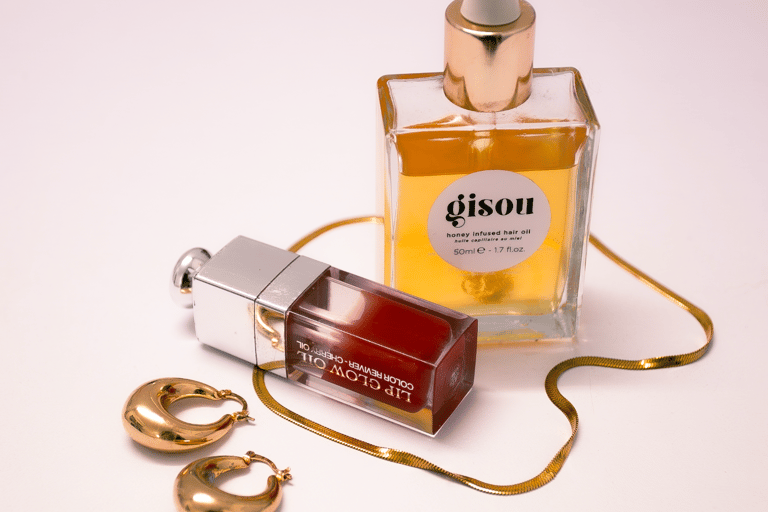
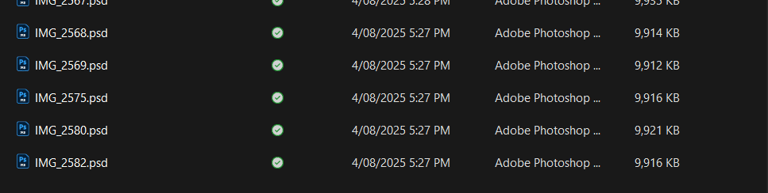
15.Export
Selected final images and saved them as PSD files in the Photoshop folder.
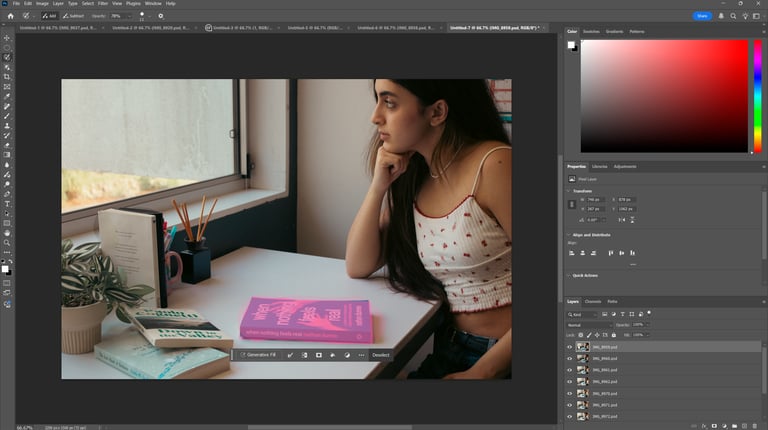
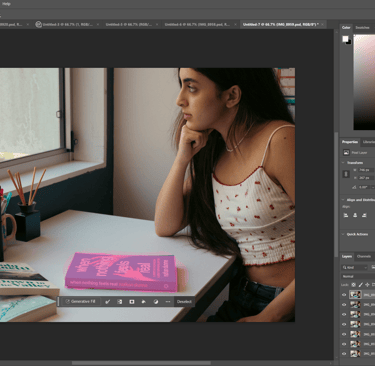
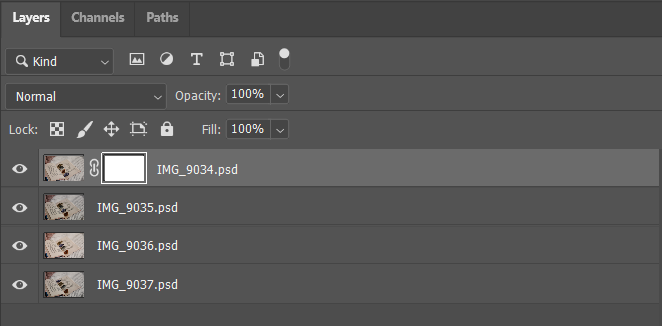
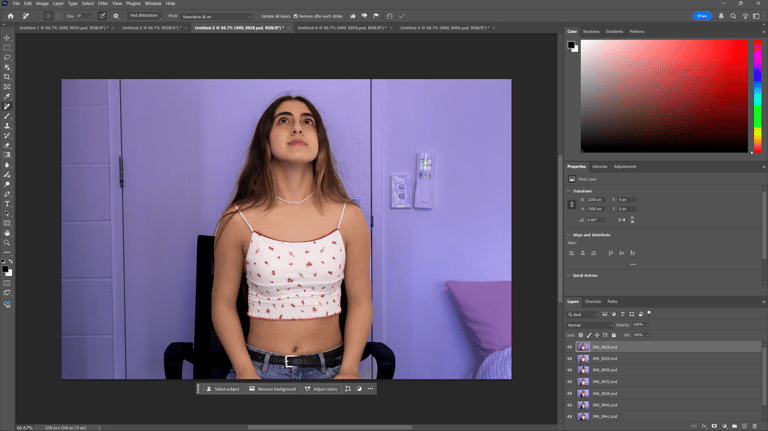
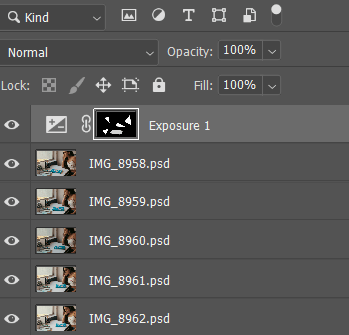
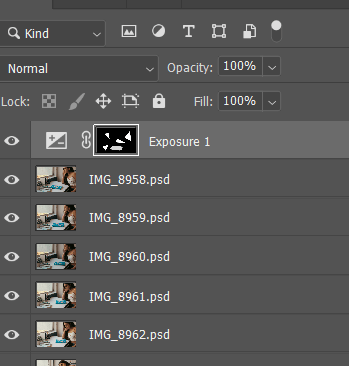
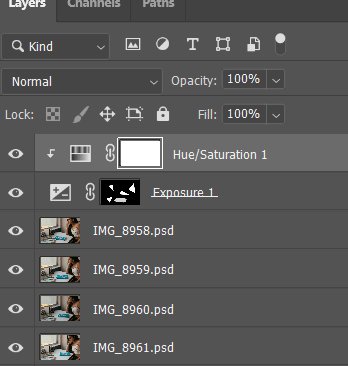
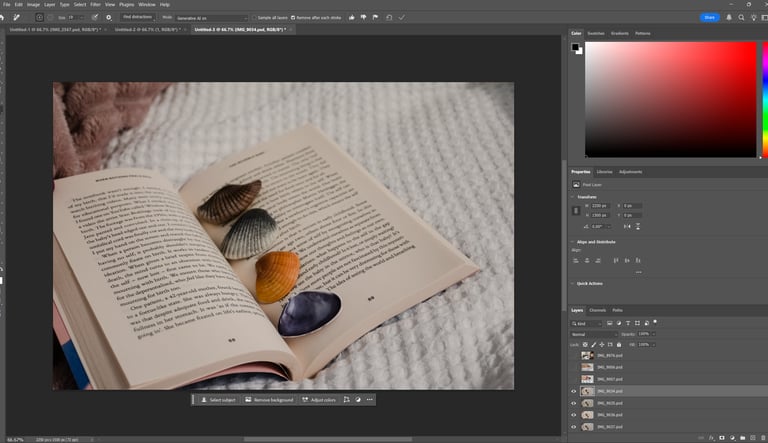
16.File preparation
opened photoshop and loaded files into a stack
Reflection
Working in Lightroom taught me how much control small adjustments can have over the overall mood and clarity of an image. Experimenting with different panels and tools helped me understand the balance between subtle corrections and more dramatic edits, and I learned how to keep a consistent workflow through presets and exports. This process gave me confidence in managing raw images and preparing them for further design stages.
week 3
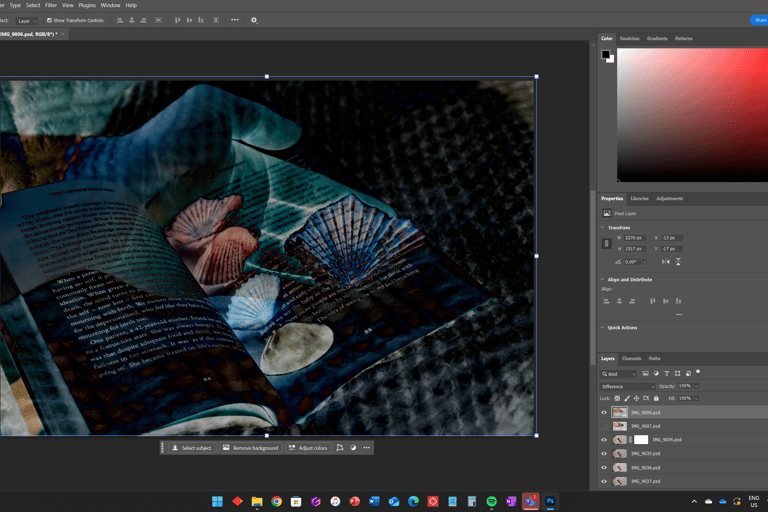
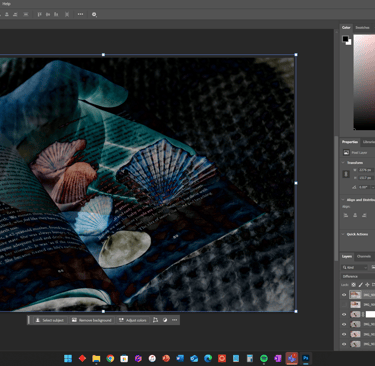
Task 03: Compositing in Photoshop


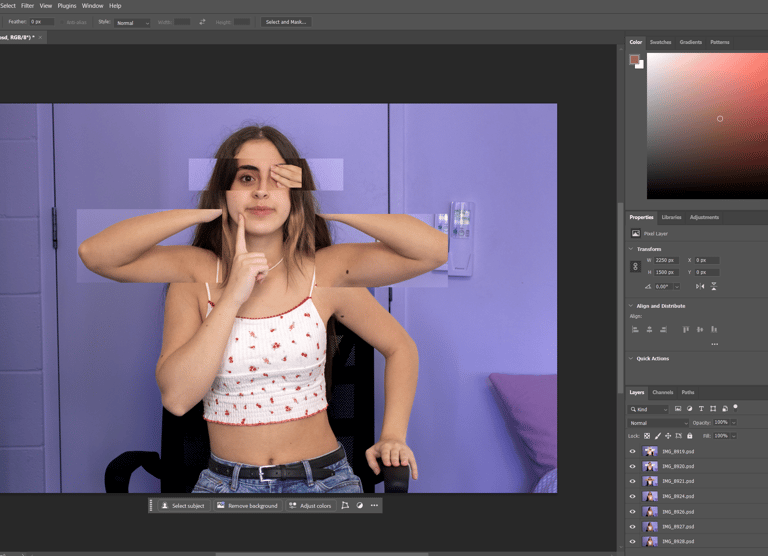
1.Marquee tool
Used rectangular and other marquee tools to select and delete parts of the image using the delete key and on the selected layer.
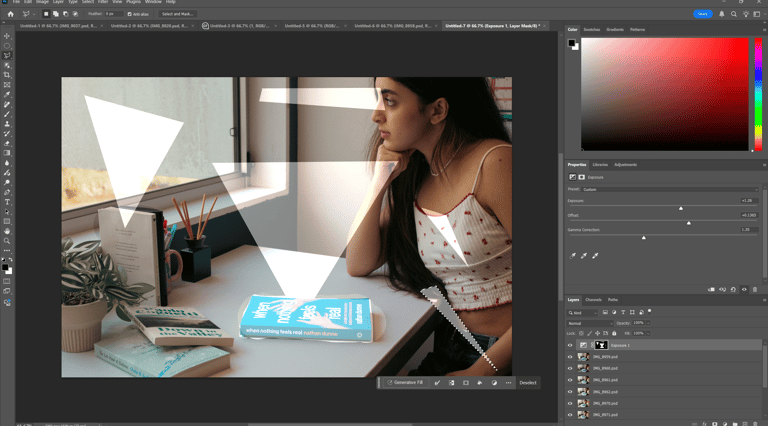


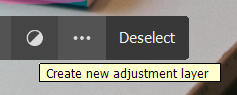
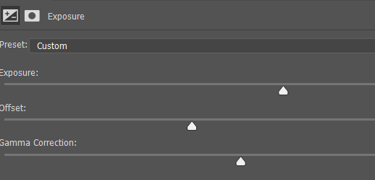
Brightened the book using the selection brush tool and creating a new adjustment layer then adjusting the exposure, offset, and gamma correction.
Experimented with the lasso tool making different shapes.
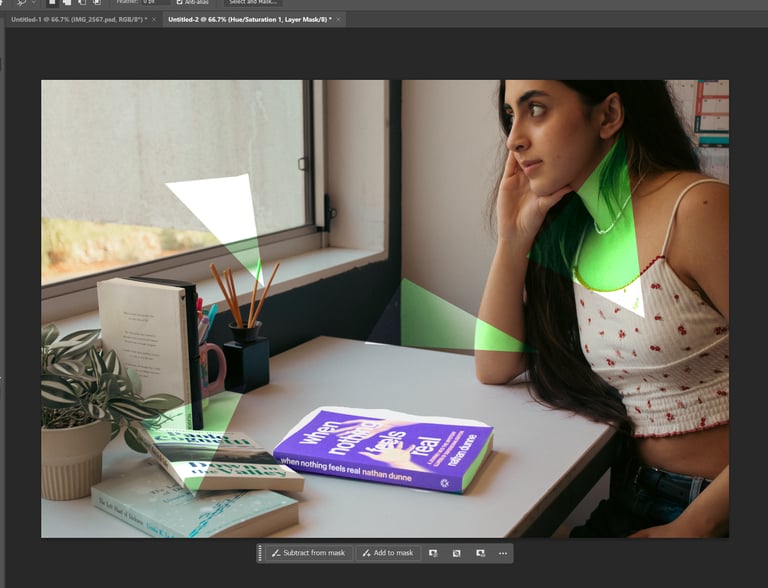
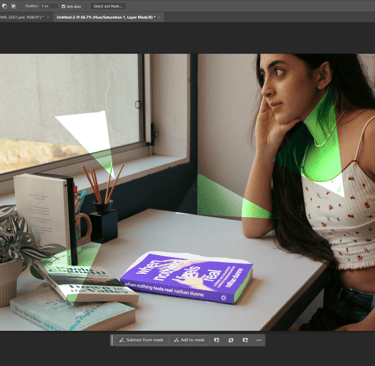
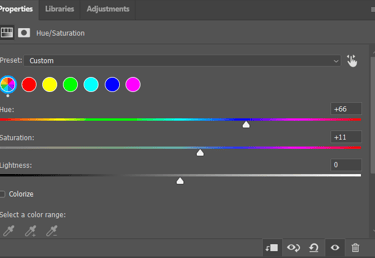
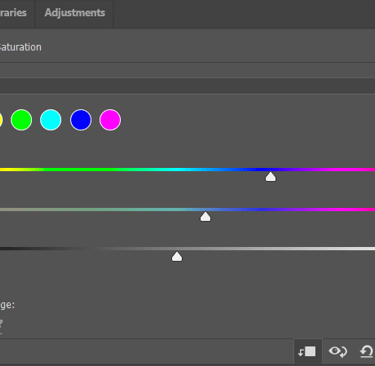
Applied the polygonal lasso tool to an existing exposure layer mask which was previously made for the book.
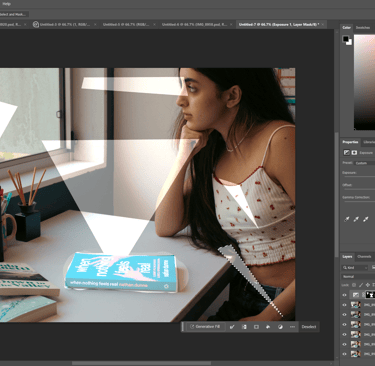
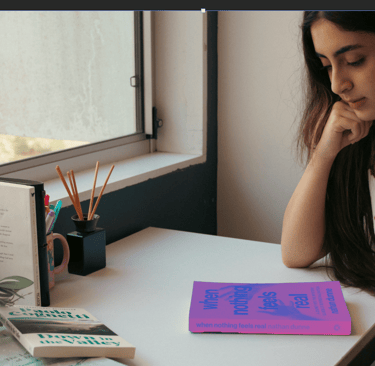
then I clipped hue/saturation adjustments to the exposure layer mask (the book) with holding alt+ctal+G, which was previously made with the brush tool, and changed the book's color.
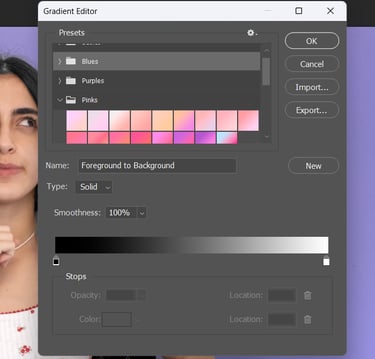
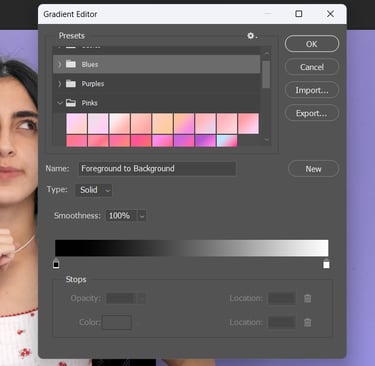
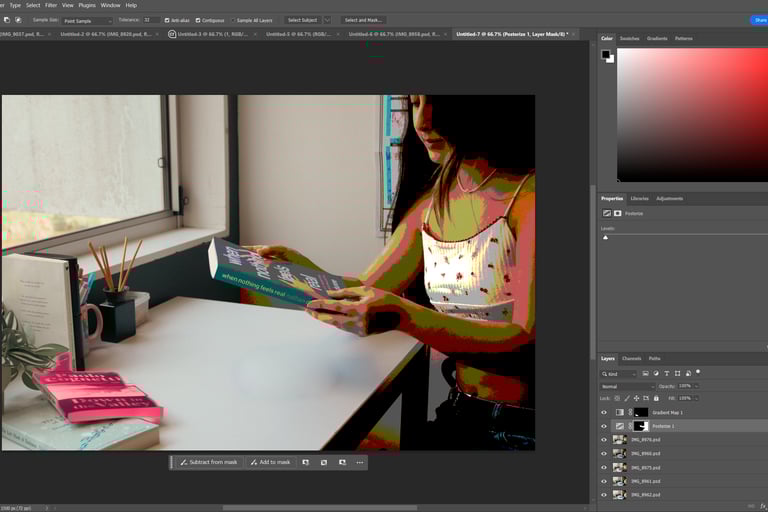
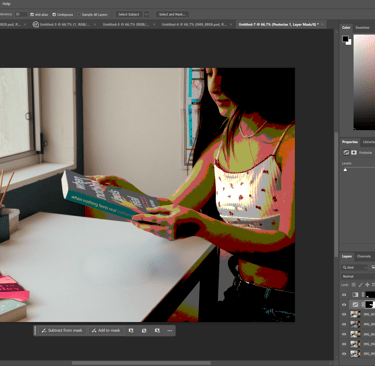
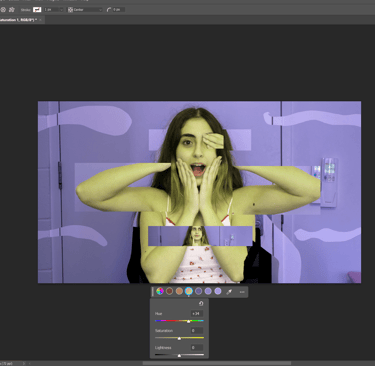
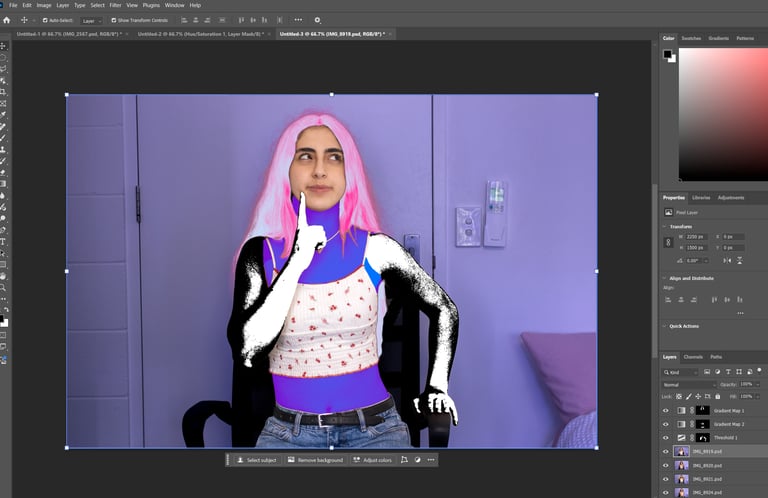
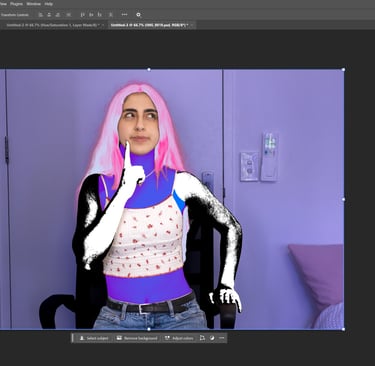
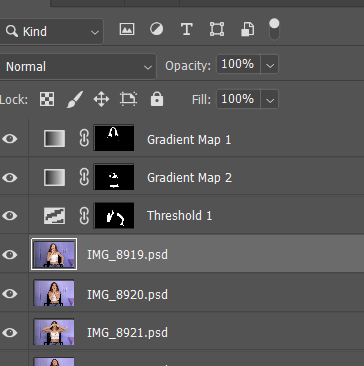
Used the object selection tool to select the person to make adjustments to different parts of the body with the gradient map and the threshold adjustments.
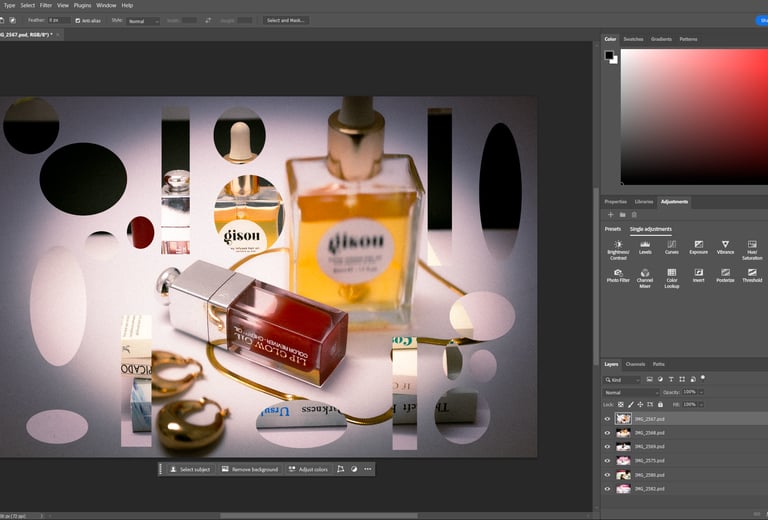
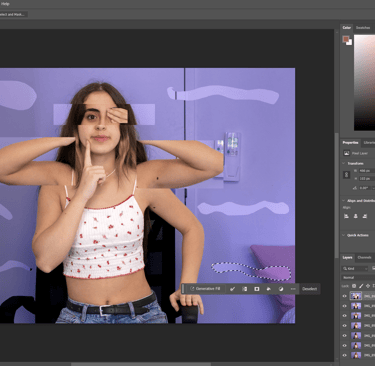
Tried the quick selection tool on a random object, masked it, then refined the selection within the mask options and added an invert adjustment to the selection.
Same thing with the magic wand tool, chose the person in the picture then applied a posterize adjustment.
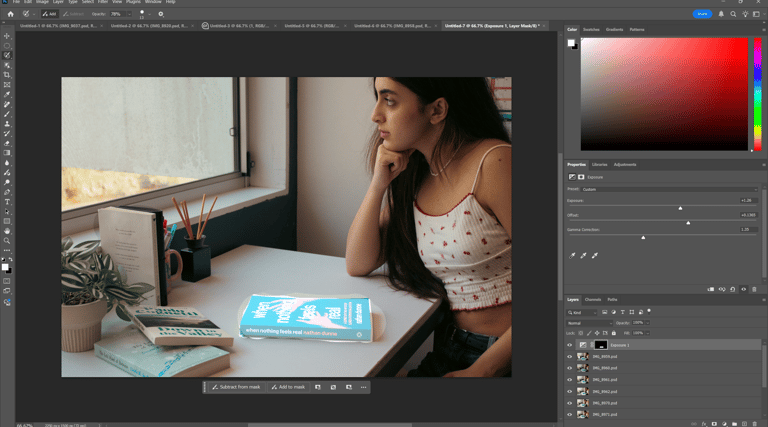
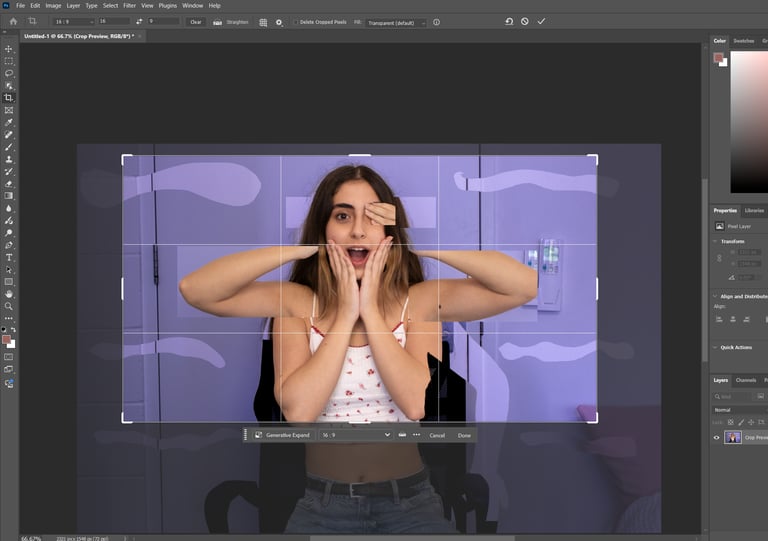
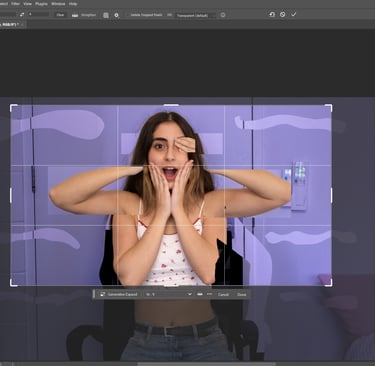
Cropped the image using the crop tool.
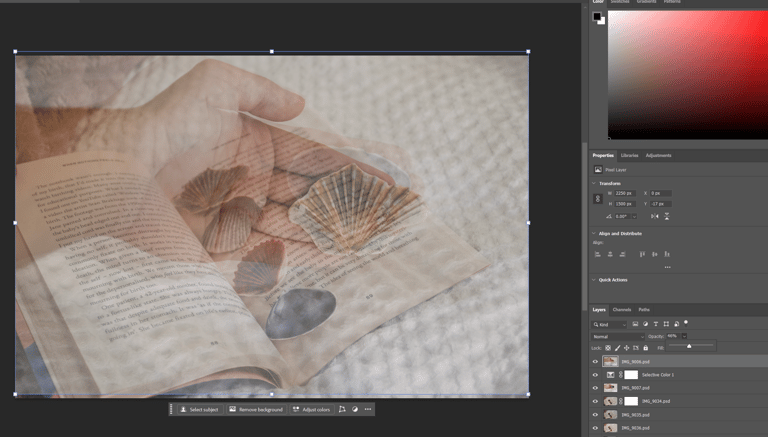
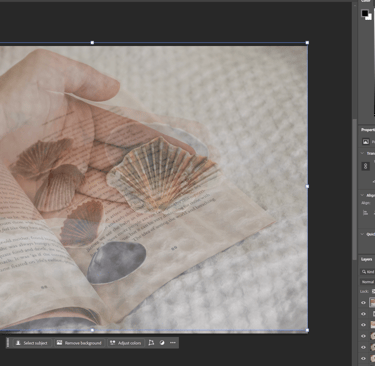
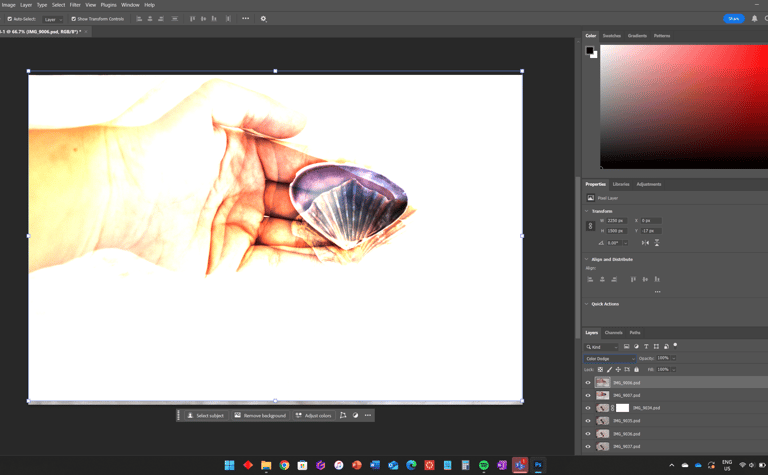
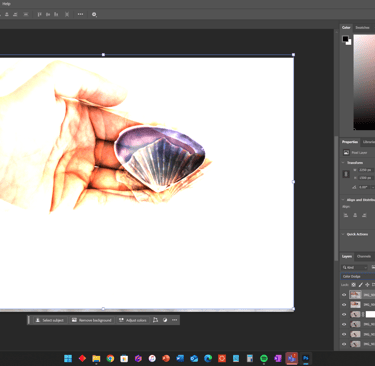
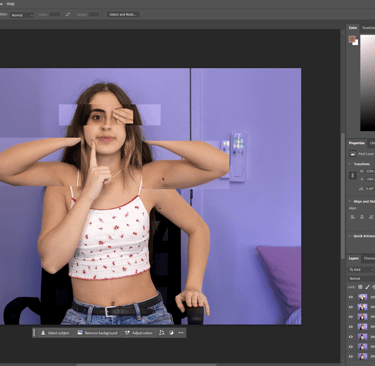
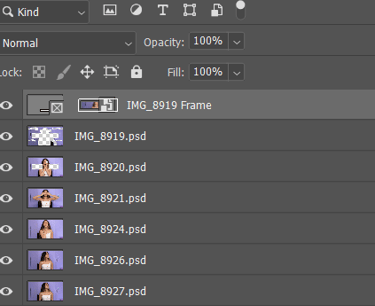
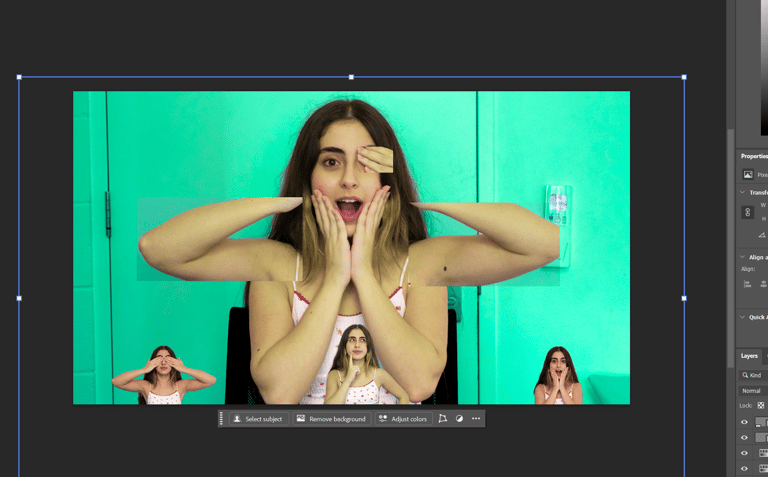
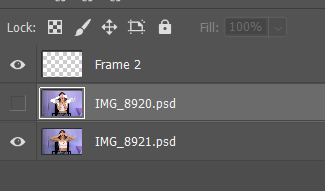
6.Frame Tool

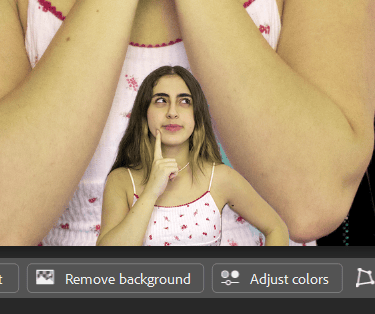

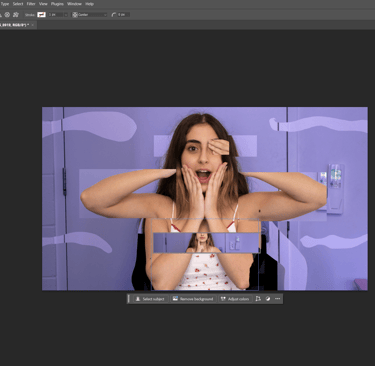
Added images with the frame tool, adjusted their colour, and removed their backgrounds.
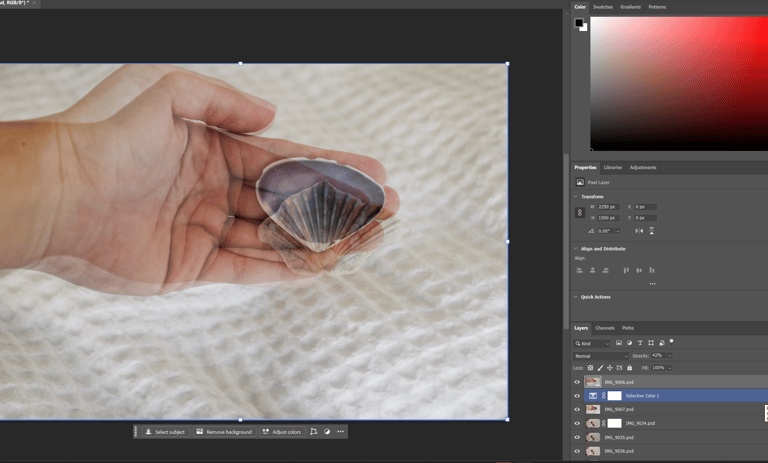
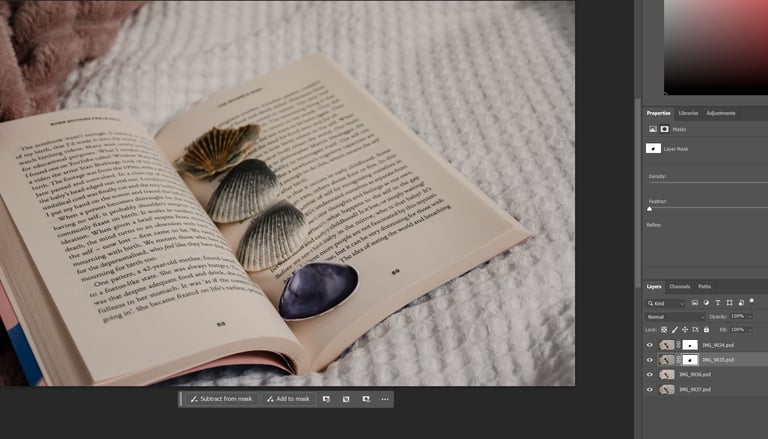
Used layer masks to toggle between opaque and transparent areas
painted with a black brush to reveal objects beneath a chosen layer.
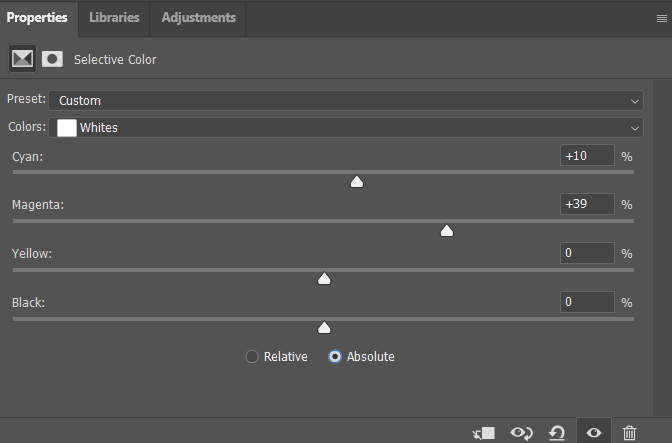
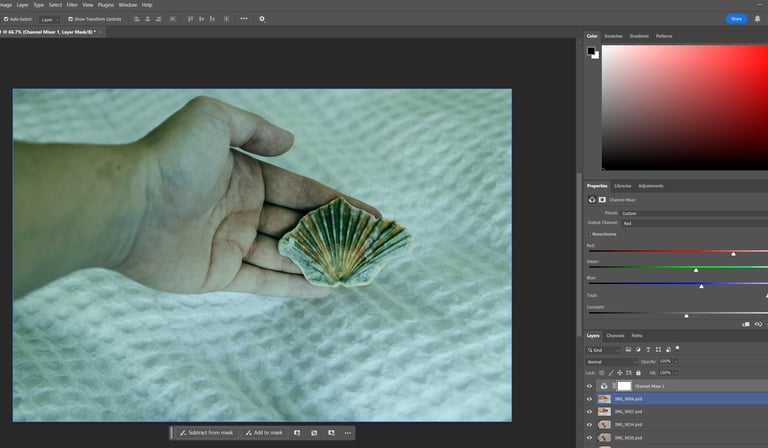
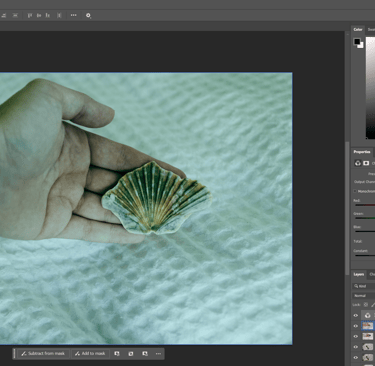
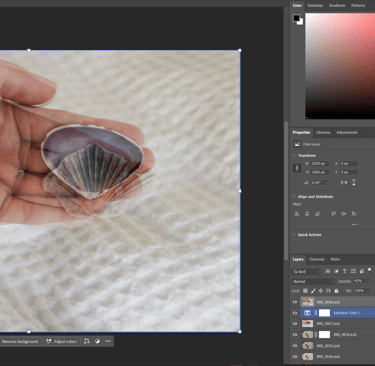
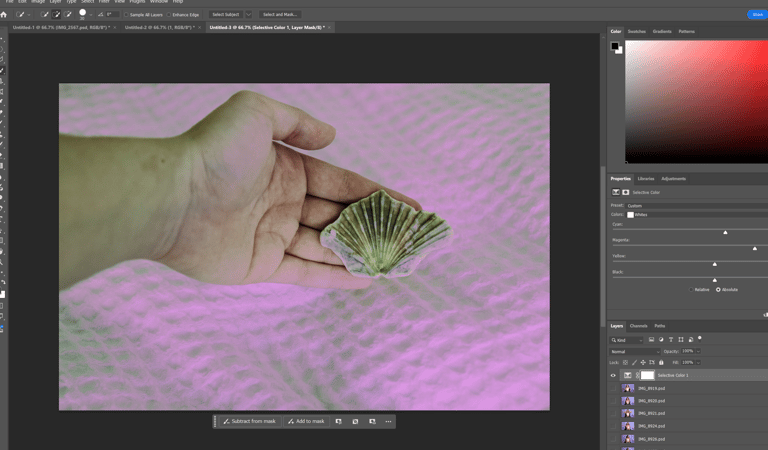
Adjusted colours using the channel mixer and the Selective colour (tried both the relative and absolute options).
changed the opacity across different layers.
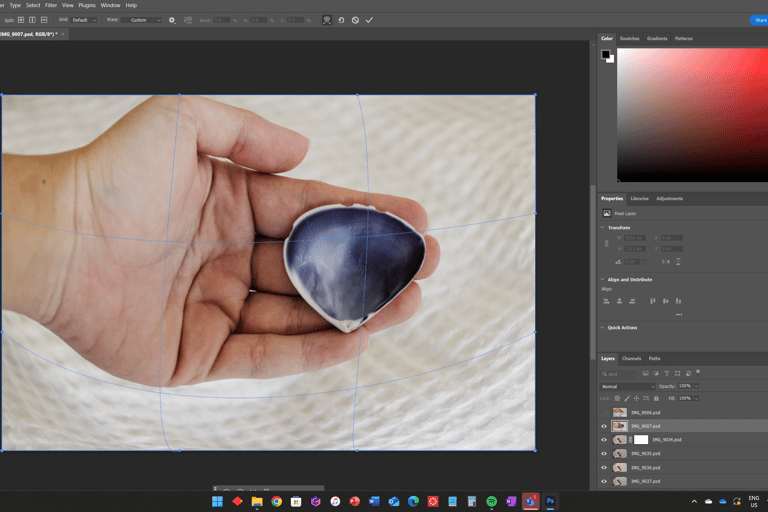
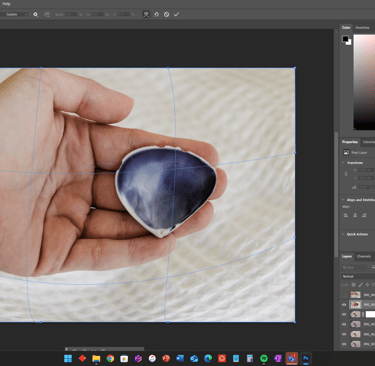
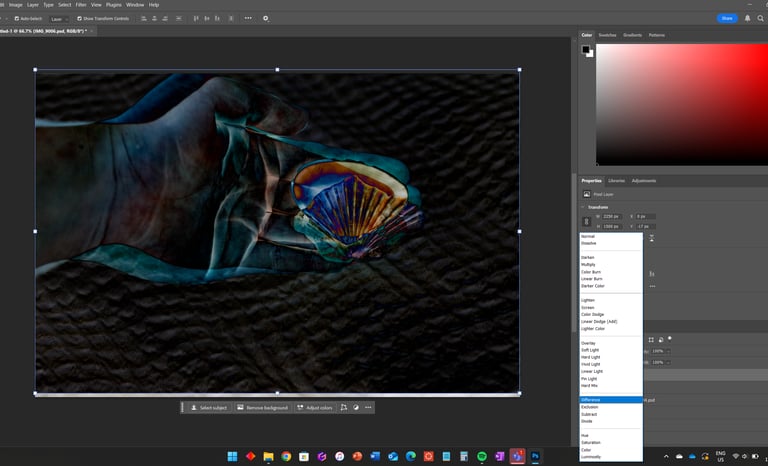
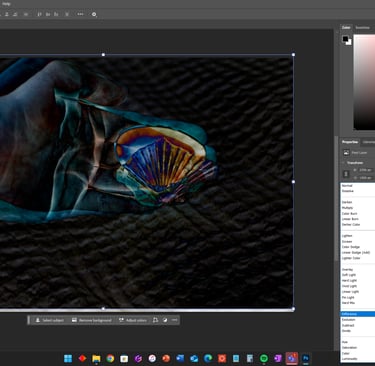
Transformed images using wrap, distort, and perspective via the transform option in the edit menu.
Applied various blending modes and toggled visibility for testing results.


used the spot healing brush to clean up unwanted objects in the background.


2.Selection Brush and Lasso Tools
3.Selection Tools and Magic Wand
4.Layer Masks
5.Crop Tool
7.Channel Mixer and Selective Color Adjustments
8.Opacity
9.Transform
9.Blending Modes
10.Spot Healing Brush
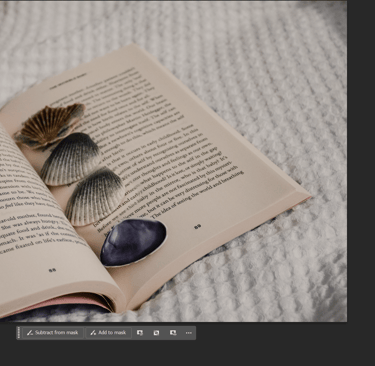
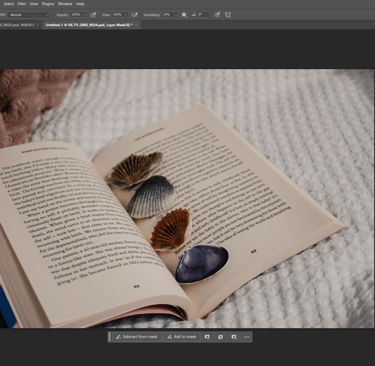
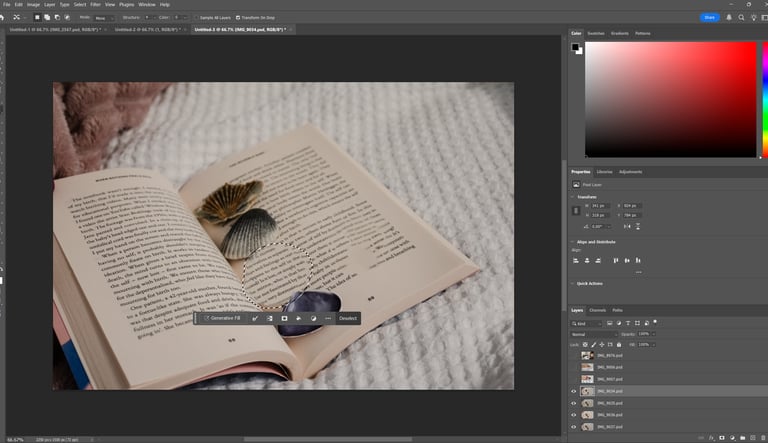
11.Remove Tool
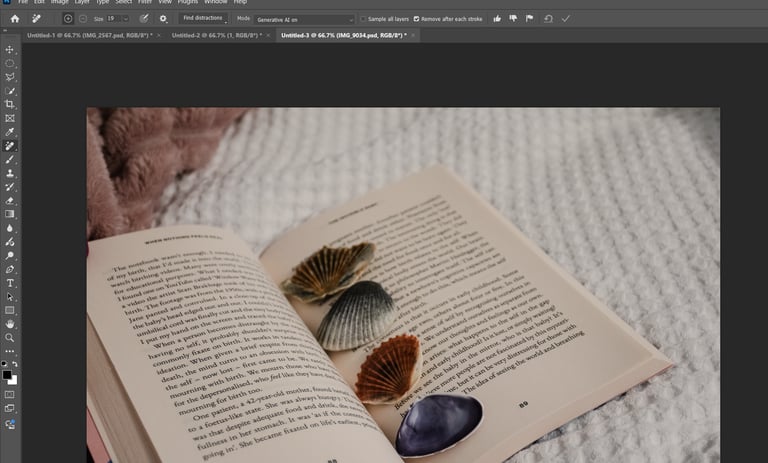
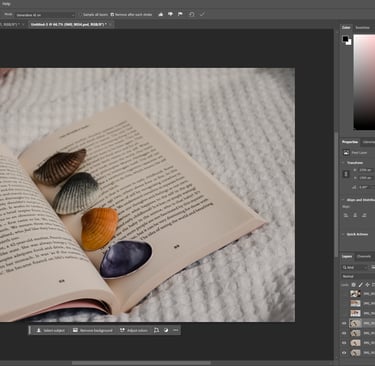
Used the Remove Tool to select and remove the shells, automatically replacing them with AI-generated content.
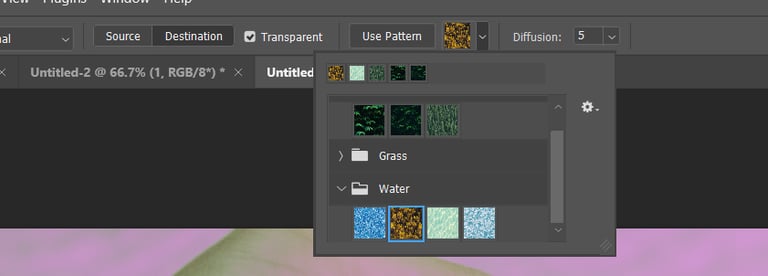
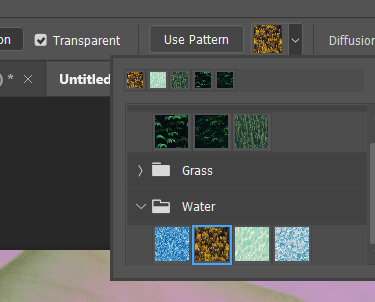
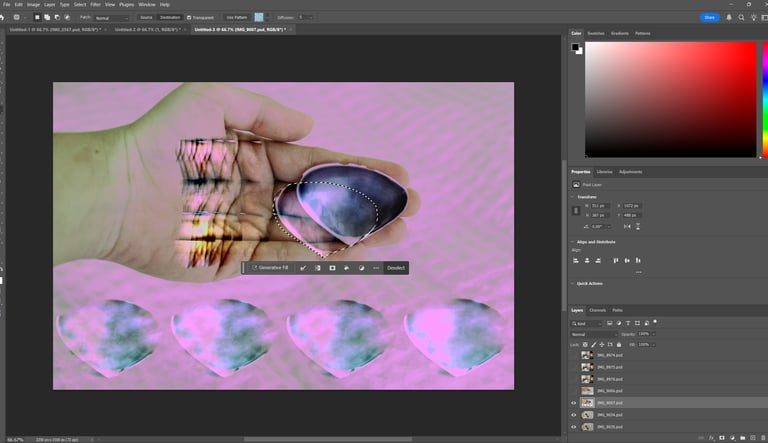
12.Patch Tool
Although the Patch Tool is commonly used for blending and corrections, I applied it creatively to make interesting edits and transformations.
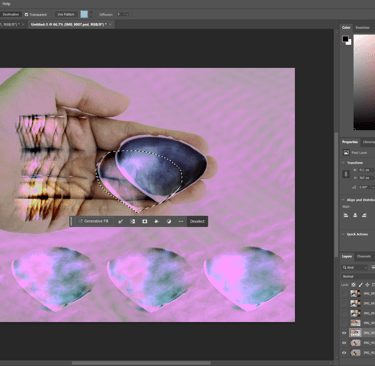
12.Content Aware Tool
Used the Content-Aware Move Tool to reposition objects while automatically filling the background.
Reflection
Photoshop compositing was both challenging and rewarding, as it pushed me to carefully think about layering, masking, and blending to create coherent images. I realized that technical precision in selections and adjustments directly impacts how natural or striking the composition appears. This experimentation gave me a deeper appreciation of Photoshop’s flexibility and how small refinements can transform the overall aesthetic.
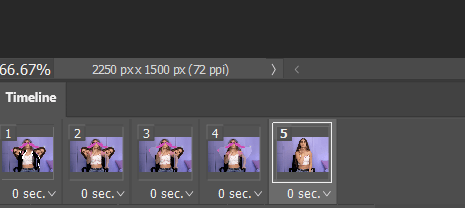
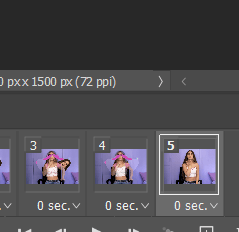
Task 04: Loop Moving Image
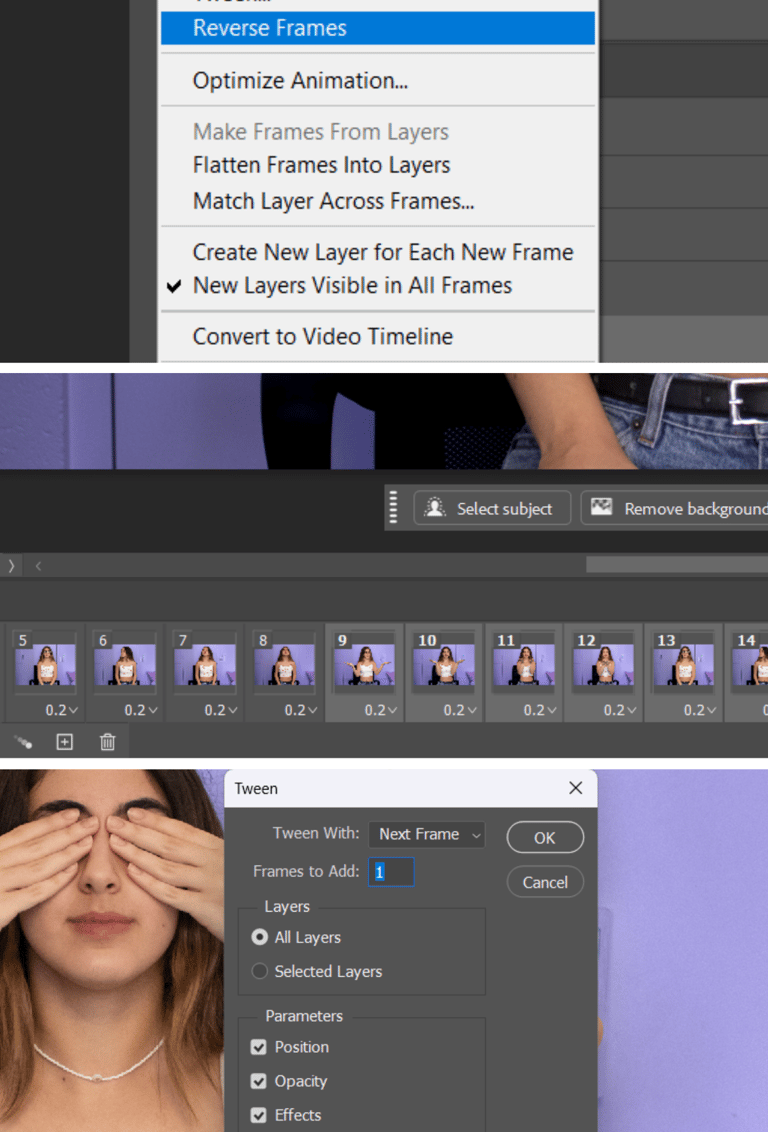
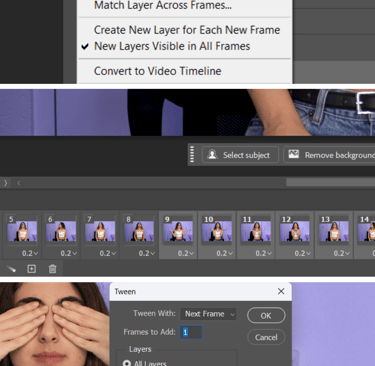
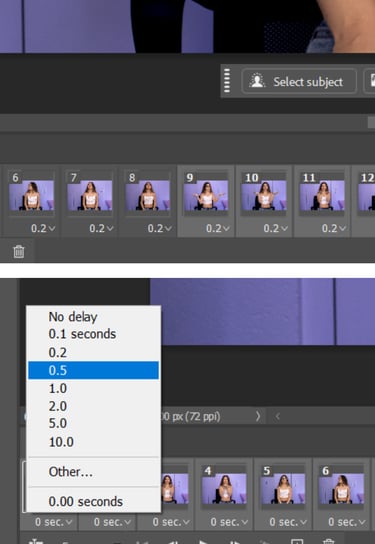
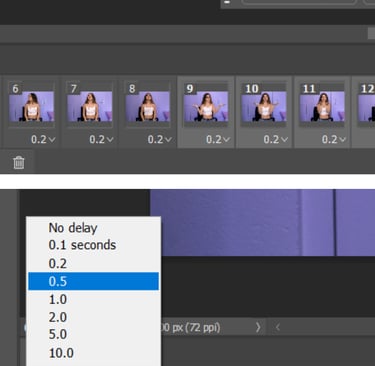
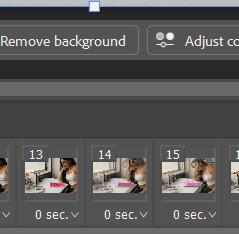
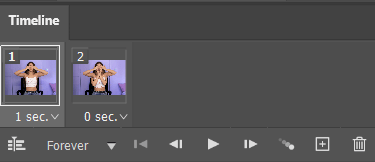
created a frame animation and generated frames from layers and set frame delay to 0.2 seconds for smooth playback
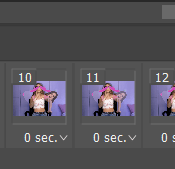
Duplicated and reversed frames to create a seamless loop then used tween to add smooth transitions, testing different numbers of added frames.
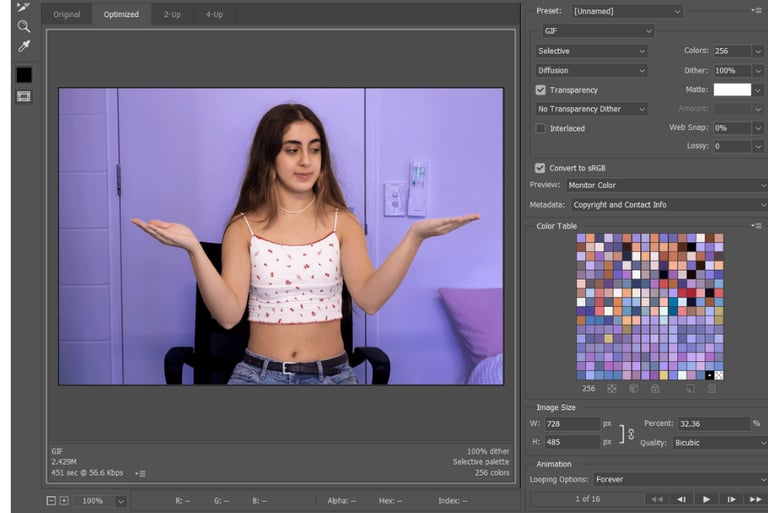
Exported the final result as a web-optimised GIF and adjusted image size to avoid files being too small or too large.
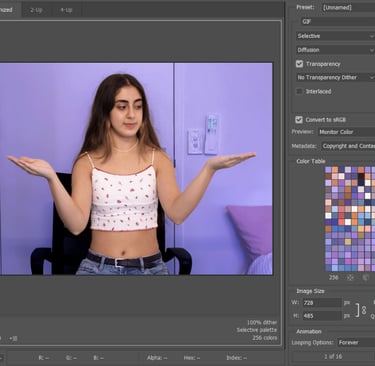
1.Frame animation - GIF 01
GIF results


2.Frame animation - GIF 02
Before starting the frame animation, I made edits using the Lasso Tool and Object Selection Tool (as shown earlier). Then, I created the animation by adding frames, toggling visibility between layers, and applying a tween with 3 additional frames to each transition.


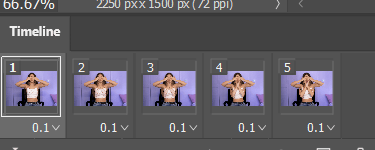
3.Frame Animation-GIF 03
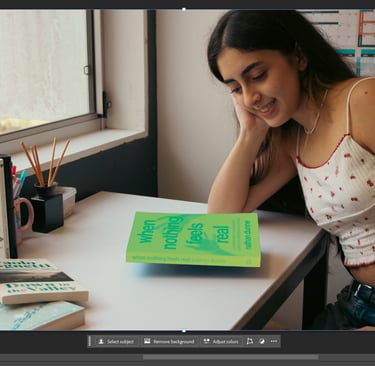
For each frame, I changed the books’ colors using Gradient Maps while toggling the visibility of layers individually, then I added tween to each layer, I also changed the duration to 0.1 seconds.
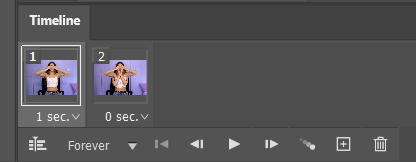
For the next animation, I created a frame animation using only two images. I refined the visuals with the Lasso Tool, set each frame’s duration to 0.1 seconds, and applied a tween to both frames for smooth transitions.
4.Frame Animation-GIF 04
5.Frame Animation-GIF 05 & 06
For the next two animation, I lost the screenshots :) but it followed the same process as before, using the same techniques.


Reflection
Creating a looping animation was one of the most exciting parts of the process, because it introduced movement and timing into my work. By experimenting with frame delays and tweening, I learned how subtle timing changes can completely alter the rhythm and feel of the animation. The outcome felt playful, and it helped me see the creative possibilities of even simple frame-based motion.
week 4
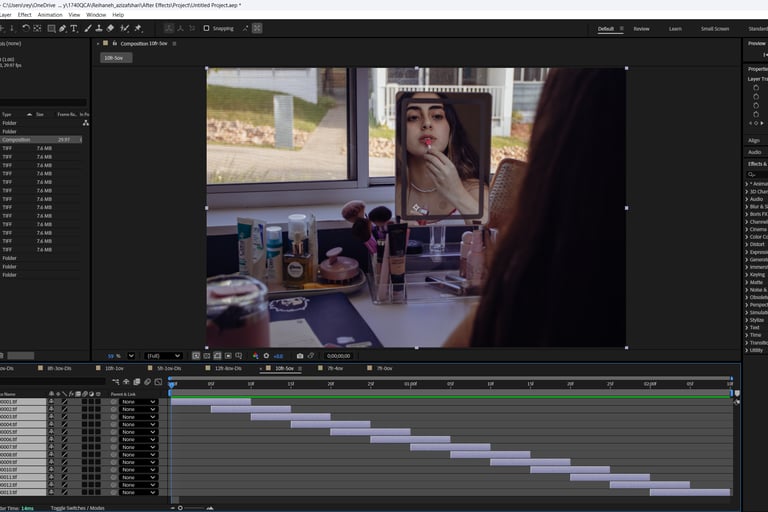
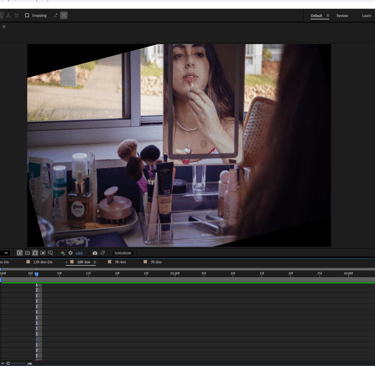
Task 05: Image sequencing in After Effects
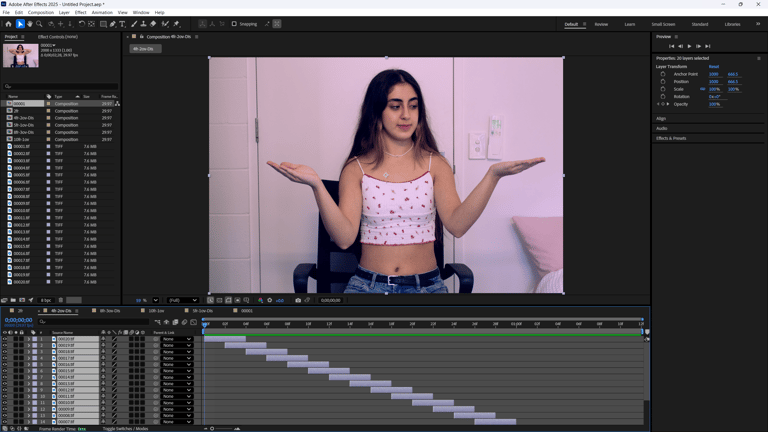
1.Importing Files
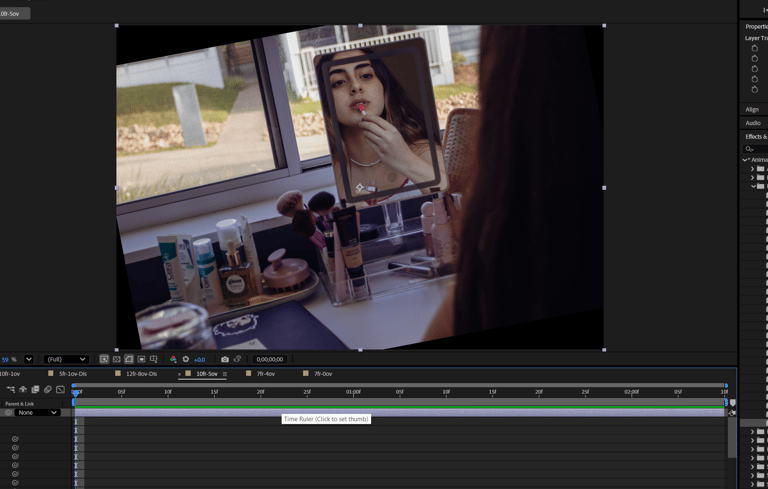
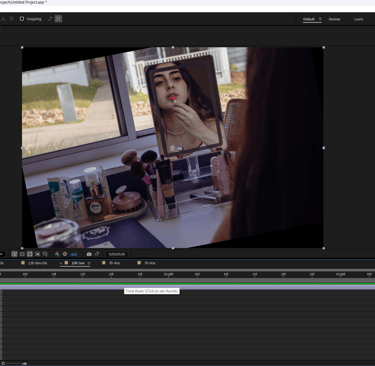
After exporting my images from Lightroom as TIFF files, I imported them into After Effects to begin experimenting with motion and effects.
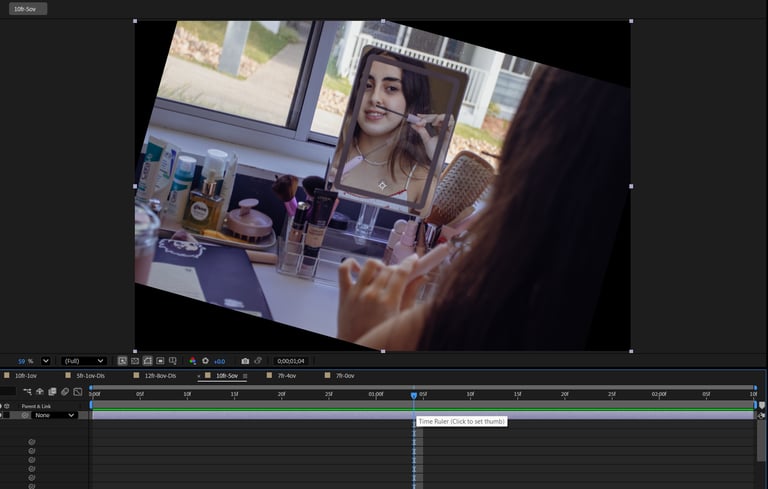
2.Creating compositions
I explored different timing and overlaps by creating multiple compositions:
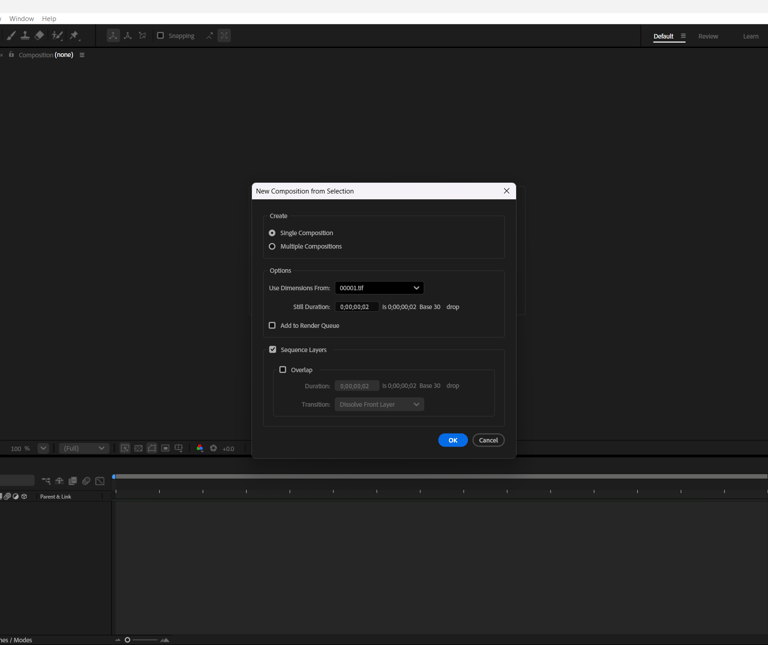
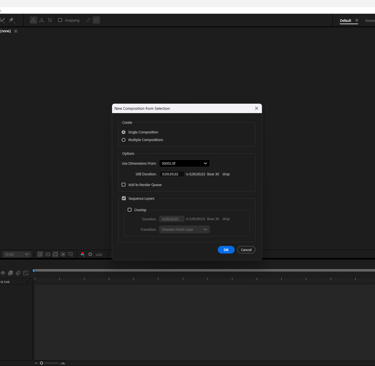
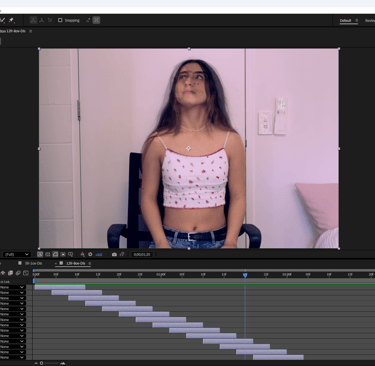
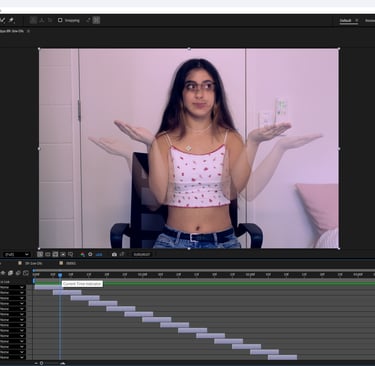

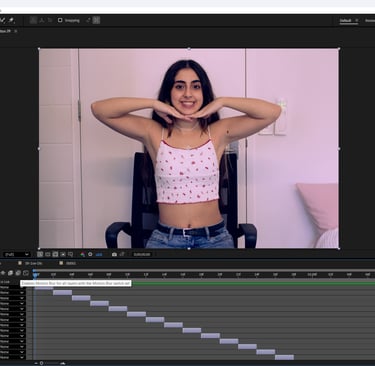

Composition 1: 2 frames
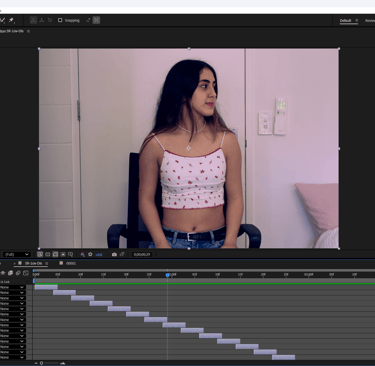
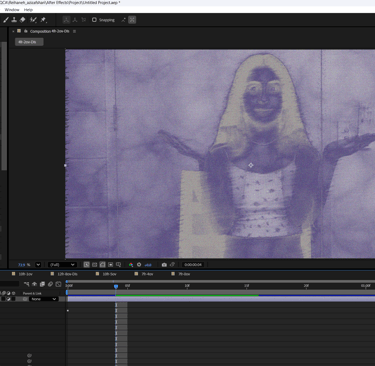
Composition 2: 4 frames, 2-frame overlaps, with Dissolve enabled
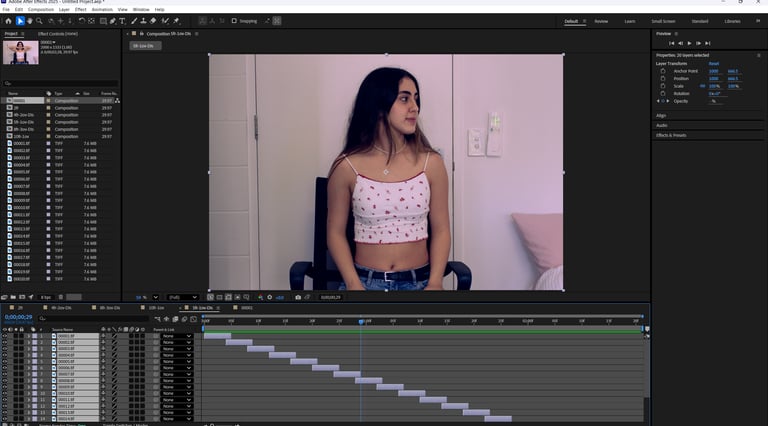
Composition 3: 8 frames, 3-frame overlaps, with Dissolve enabled
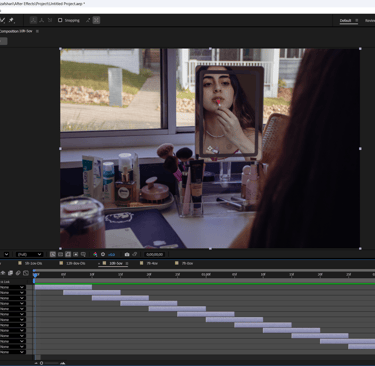
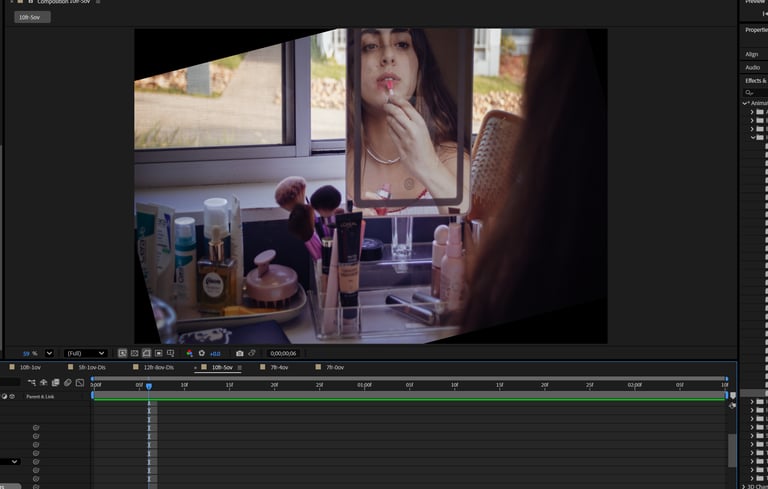
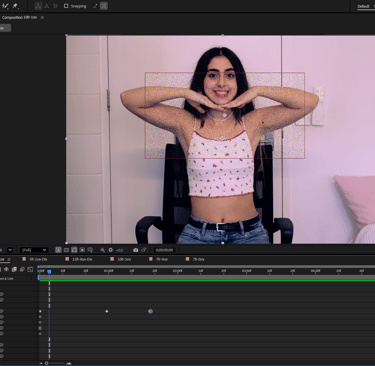
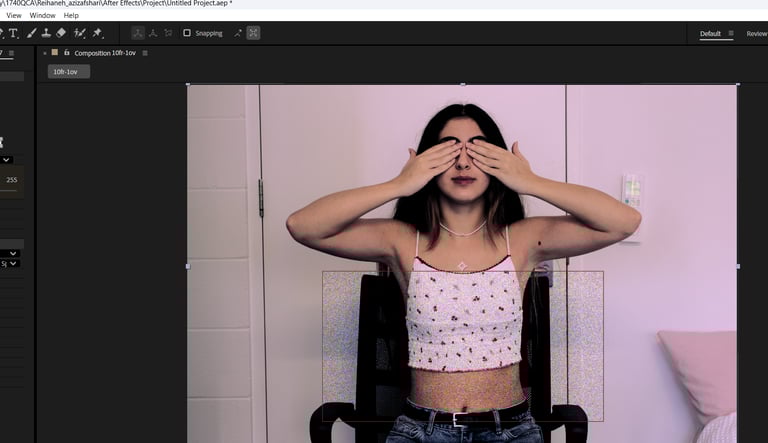
Composition 4: 10 frames, 1-frame overlap, no Dissolve
Composition 5: 5 frames, 1-frame overlap, with Dissolve
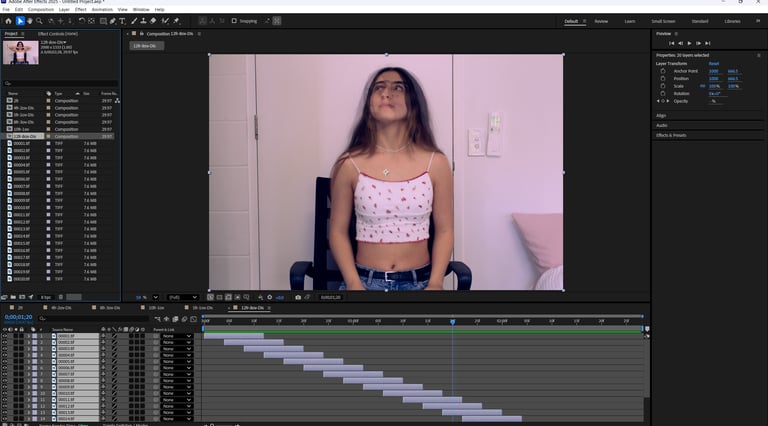
Composition 6: 12 frames, 8-frame overlaps, with Dissolve
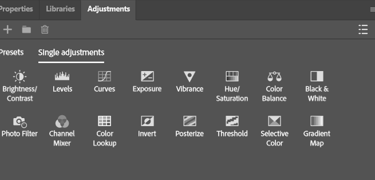
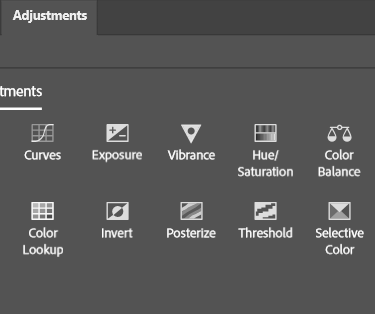
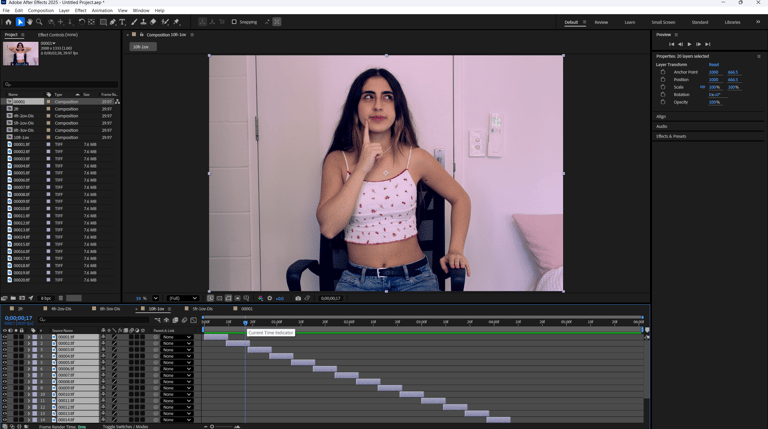
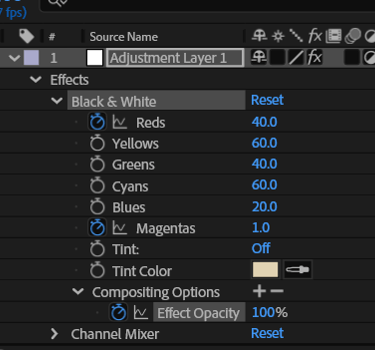
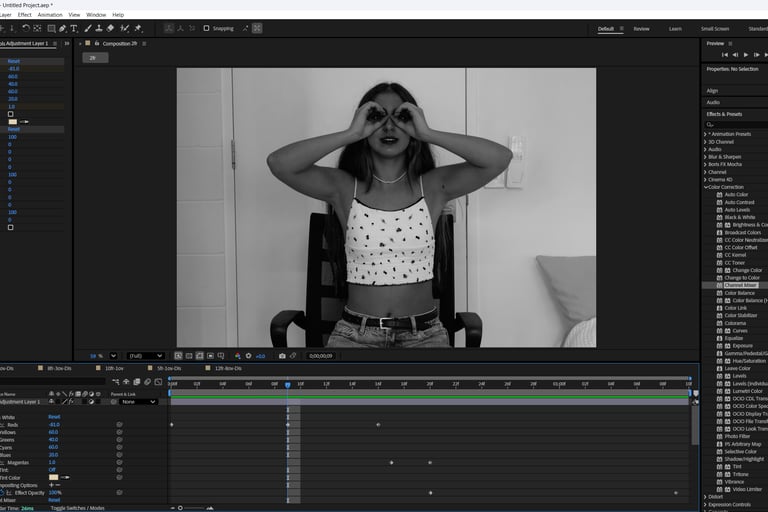
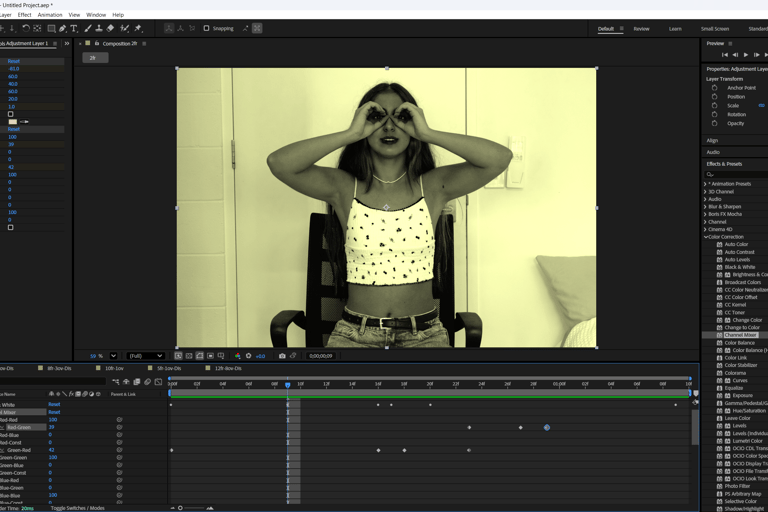
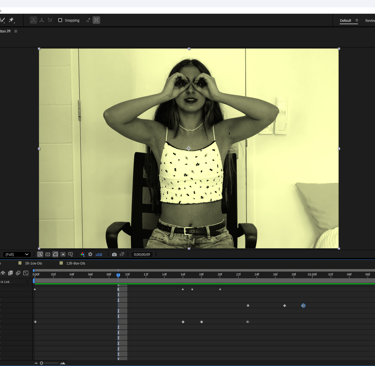
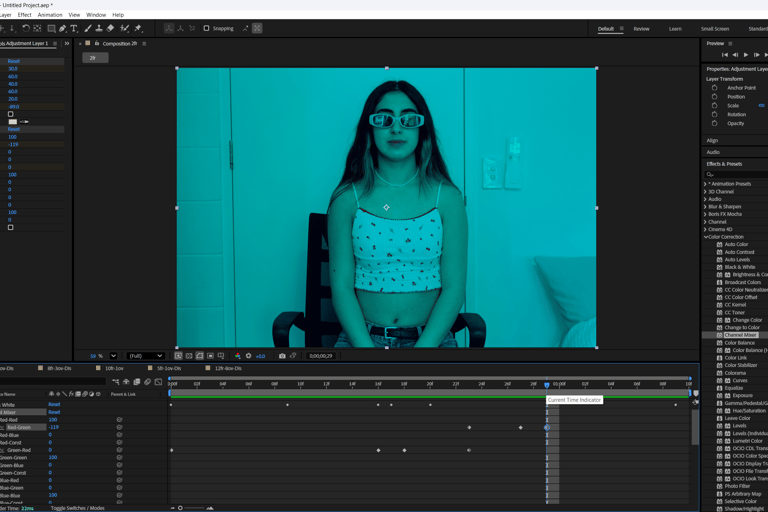
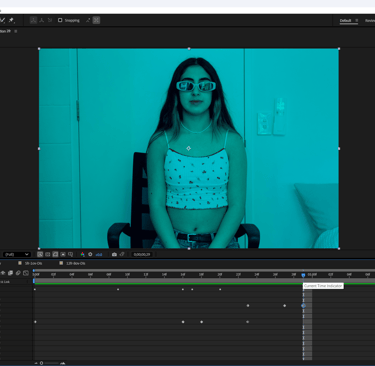
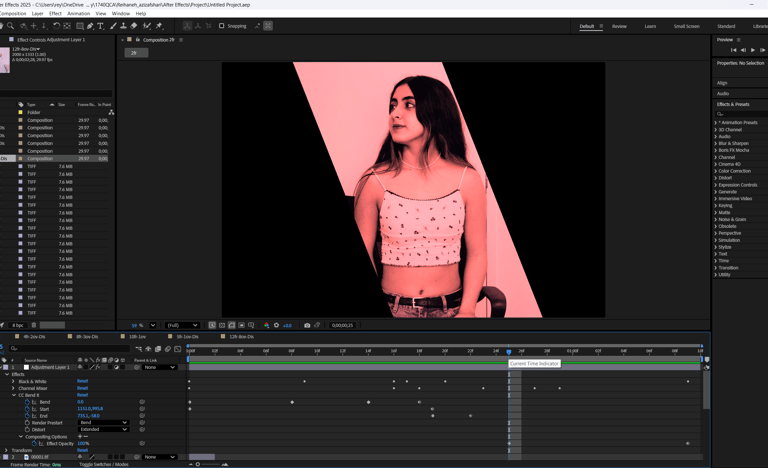
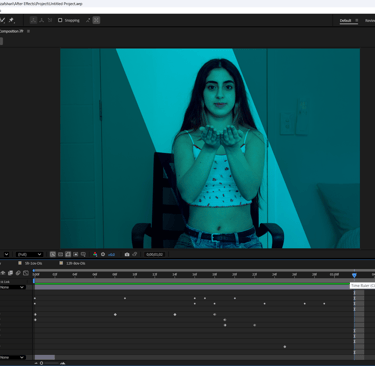
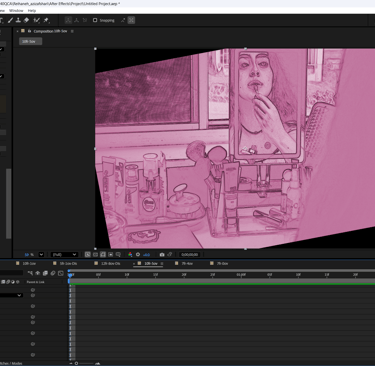
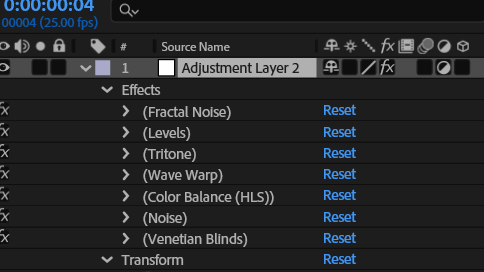
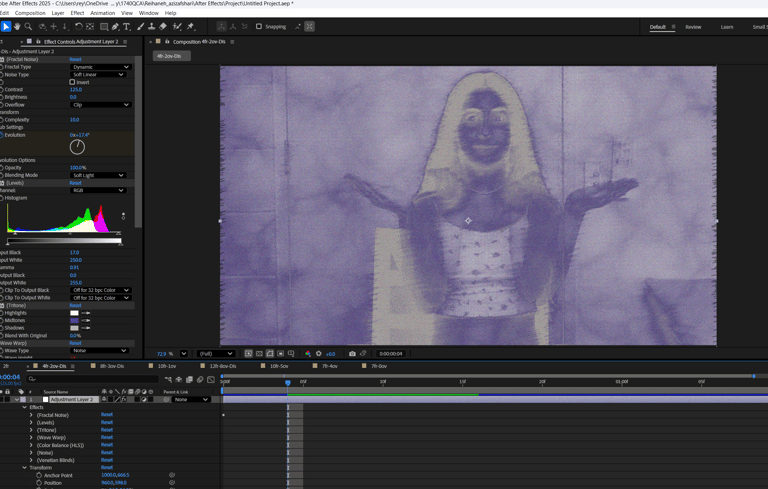
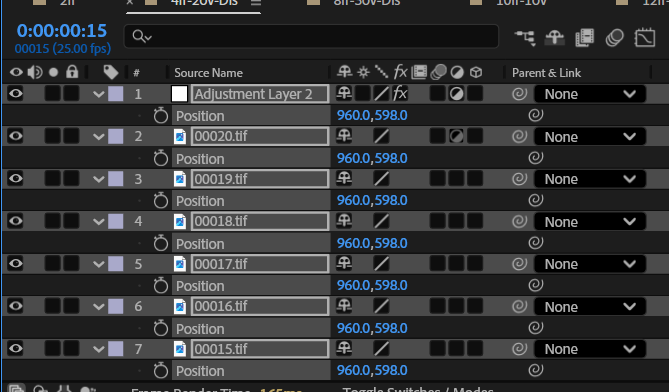
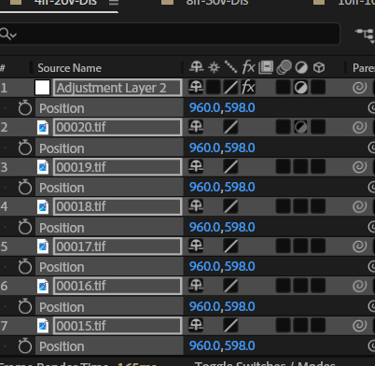
3.Adding an Adjustment Layer
I created a new adjustment layer above all the compositions.
This allowed me to apply effects across every layer at once instead of applying them individually.

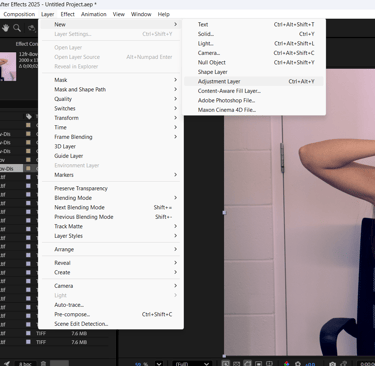
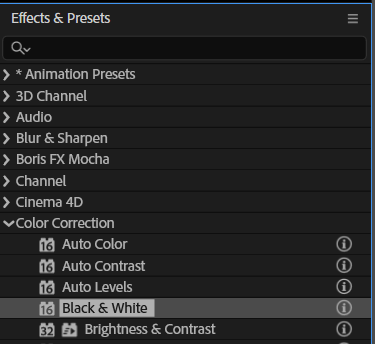
From the Effects & Presets panel, I applied a Black & White effect to the adjustment layer.
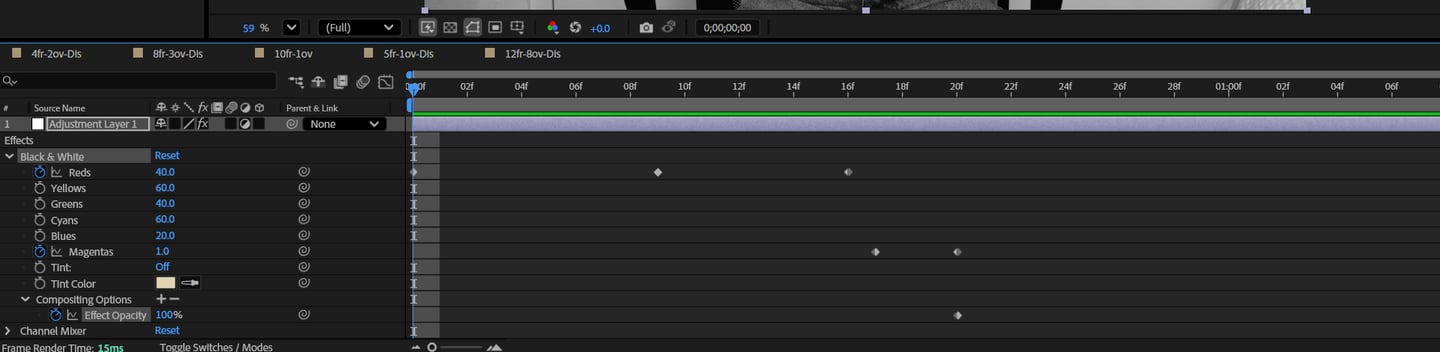
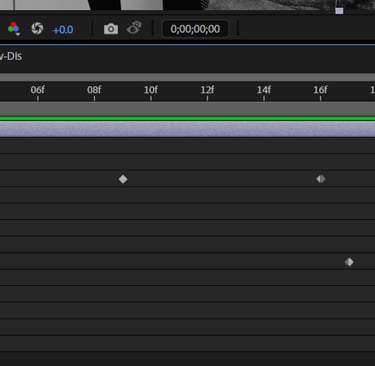
I adjusted the Red channel, adding keyframes to gradually change its value over time. I then modified the Magenta channel, also with keyframes.
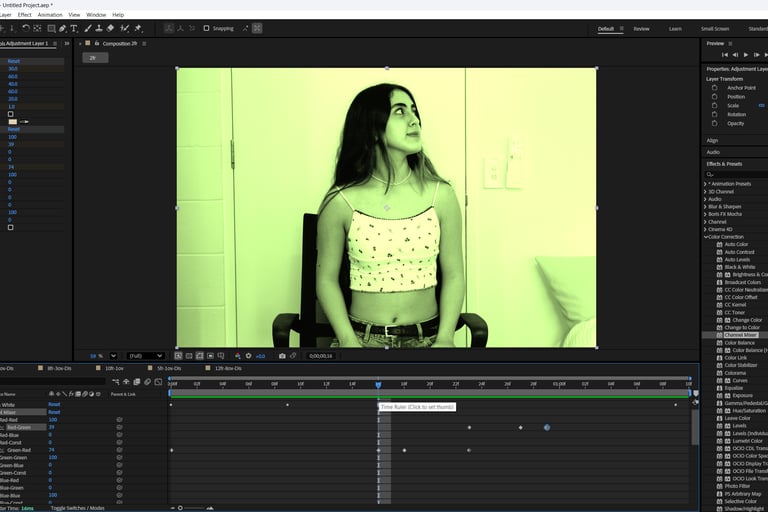
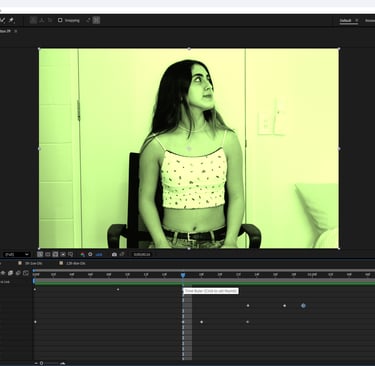
Finally, I animated the effect opacity:
A keyframe in the middle and another at the end.
By lowering opacity to 0% at the last keyframe, the original colors gradually reappeared.
This creates a smooth transition from black & white back to full color.
4.Effects and Presets : Black and White


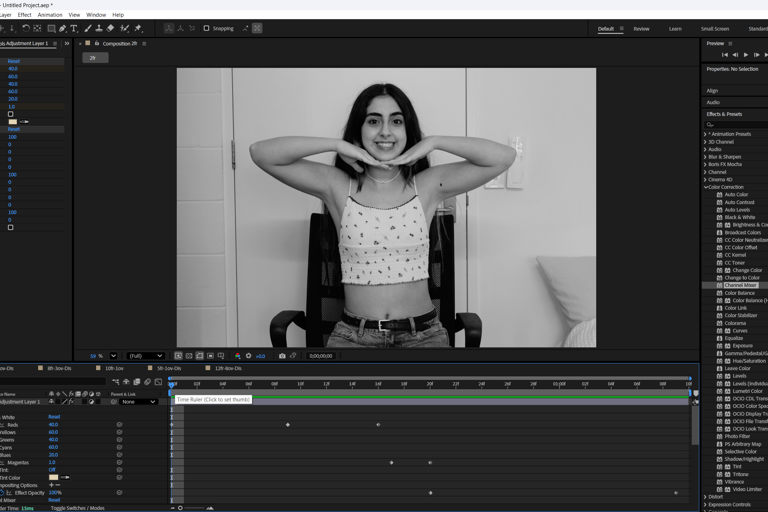
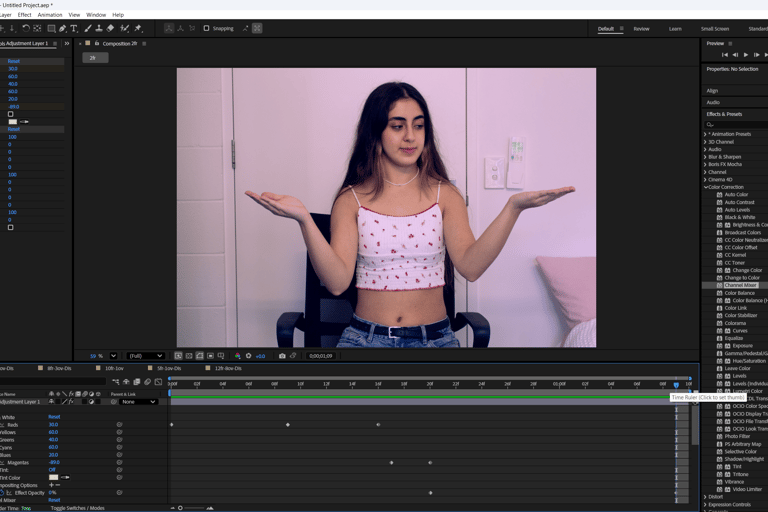
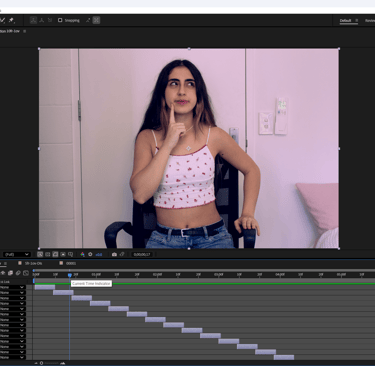
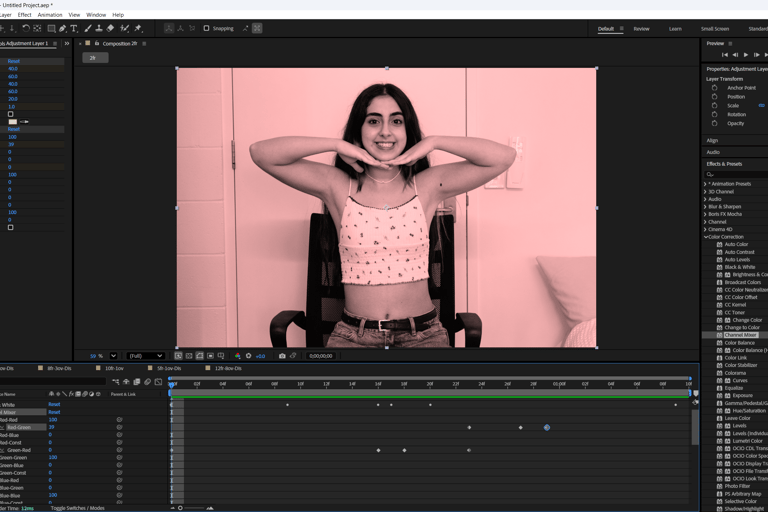
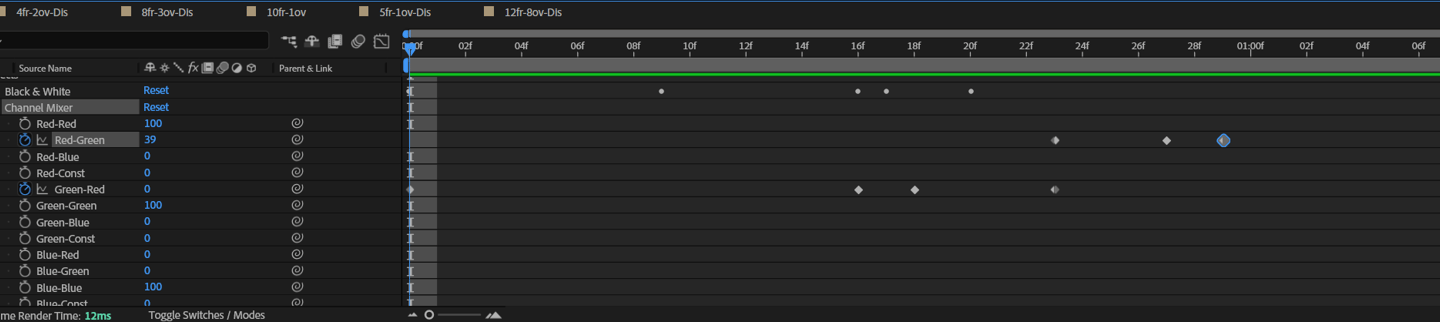
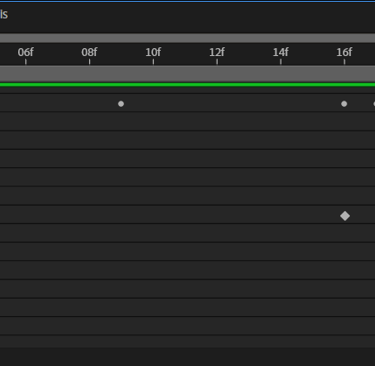
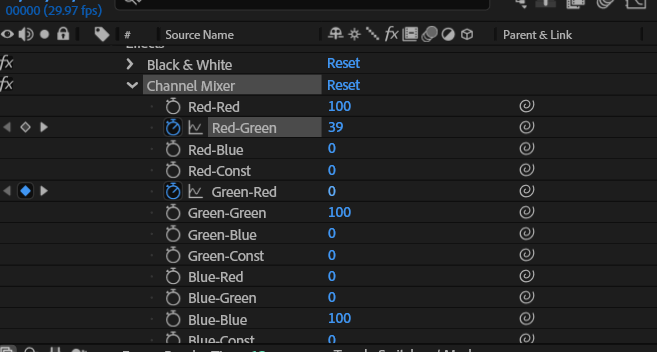
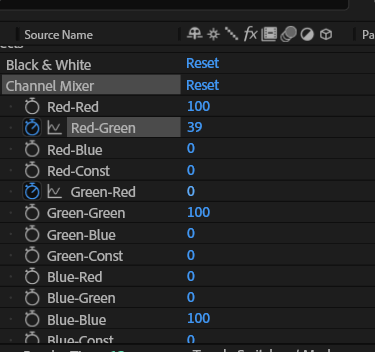
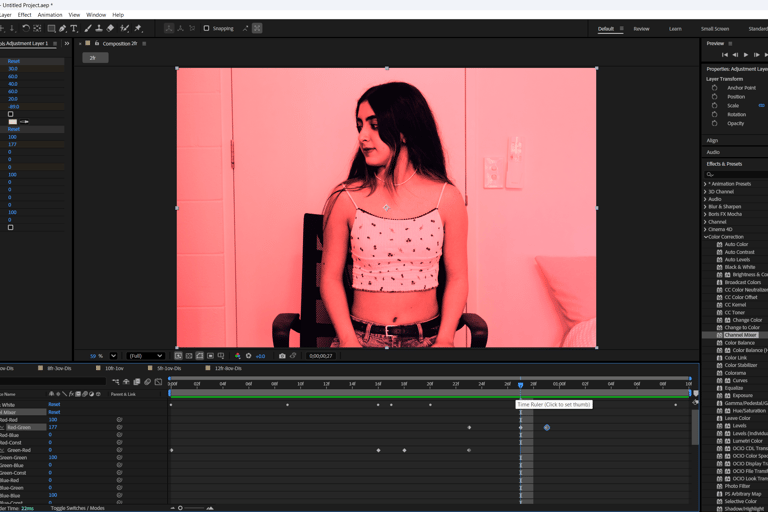
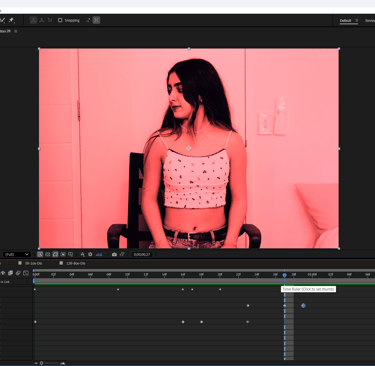
4.Channel Mixer Effect
I added the Channel Mixer effect to experiment with color blending.
First, I set a keyframe for the Green-Red value and changed it.
Then, I added another keyframe later to smoothly animate the change.
Next, I adjusted the Red-Green value with another set of keyframes.
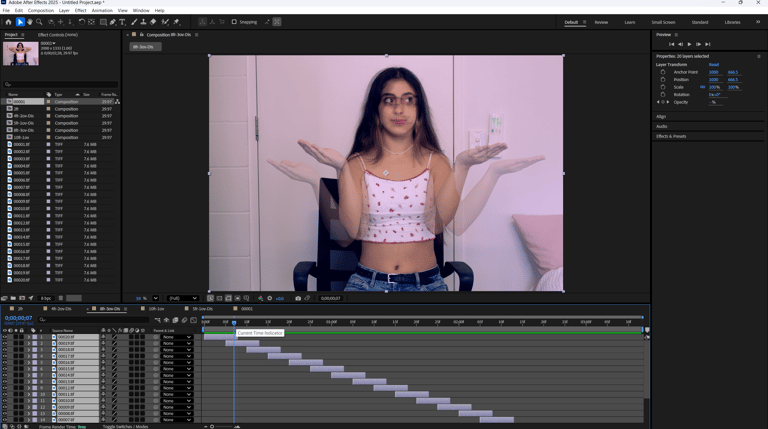
I applied the CC Bend It effect for distortion.
At frame 08, I increased the bend with a keyframe.
At frame 14, I decreased the bend back down with another keyframe.
I animated both the Start and End points of the bend to add fluid motion.
To finish, I lowered the opacity again with keyframes to fade out the effect.

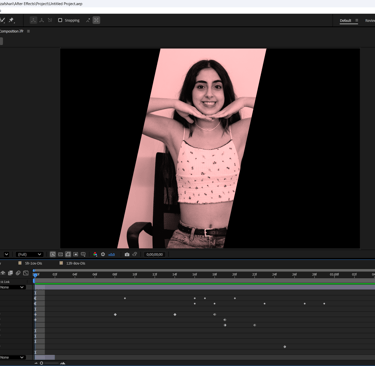

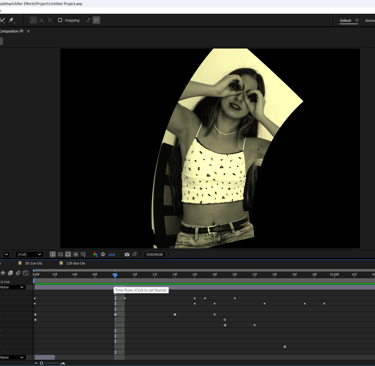
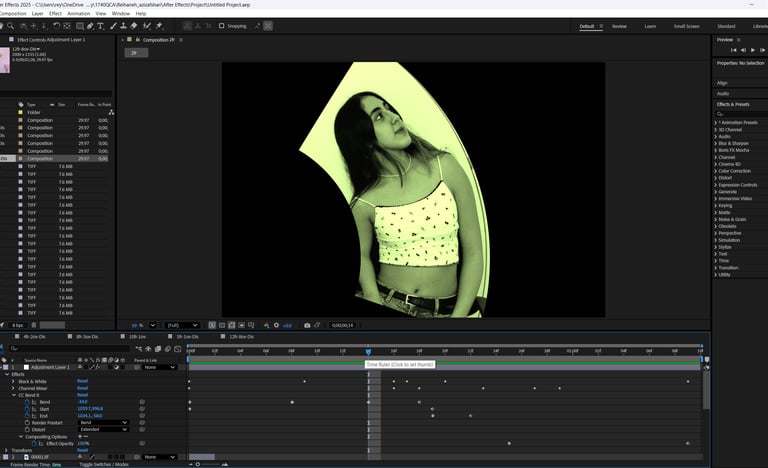
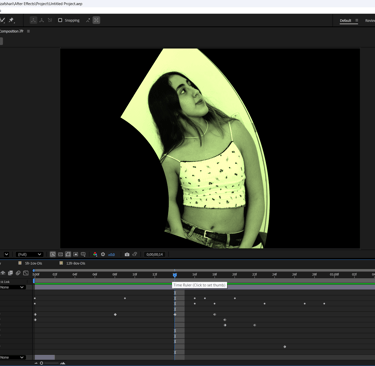
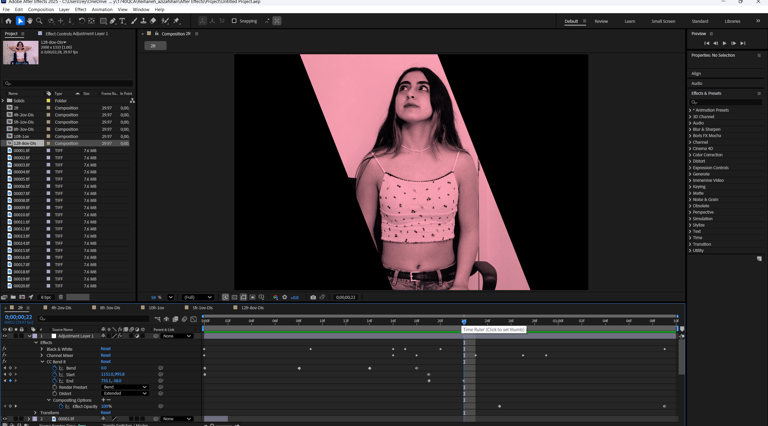
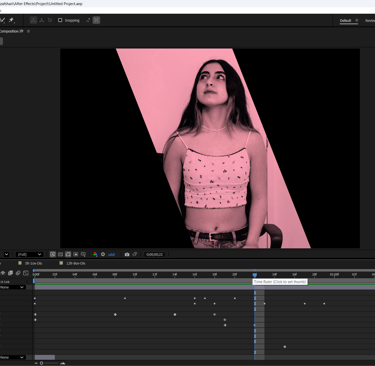
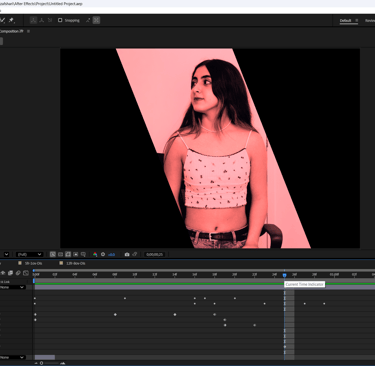
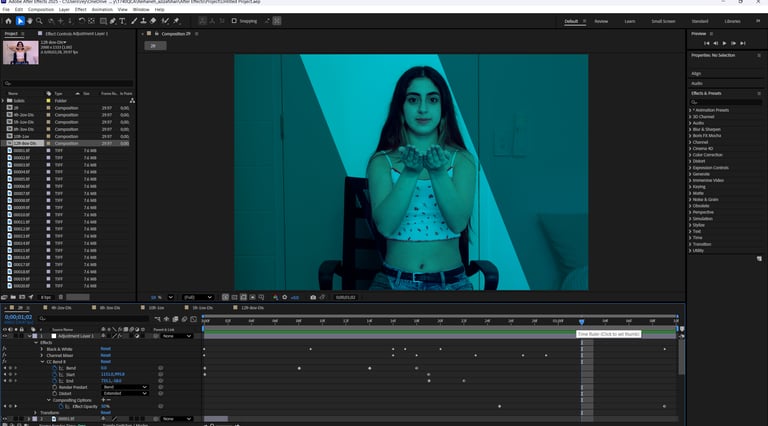
5.CC Bend It Effect
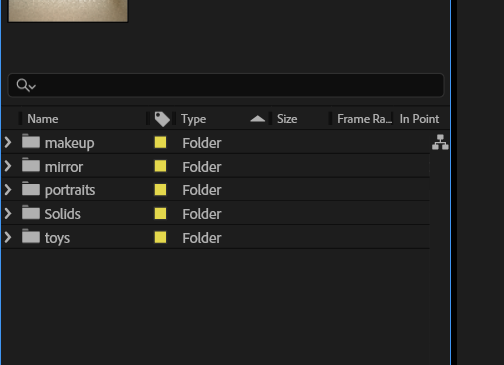
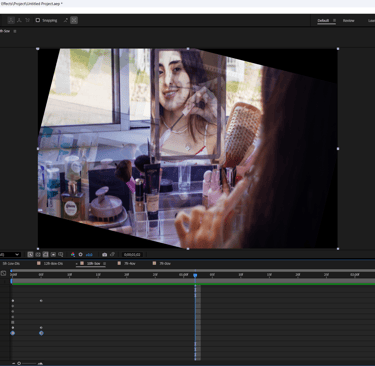
6.Importing more photos
I then imported more photos into separate folders and created compositions to apply different adjustments and effects for the final result.
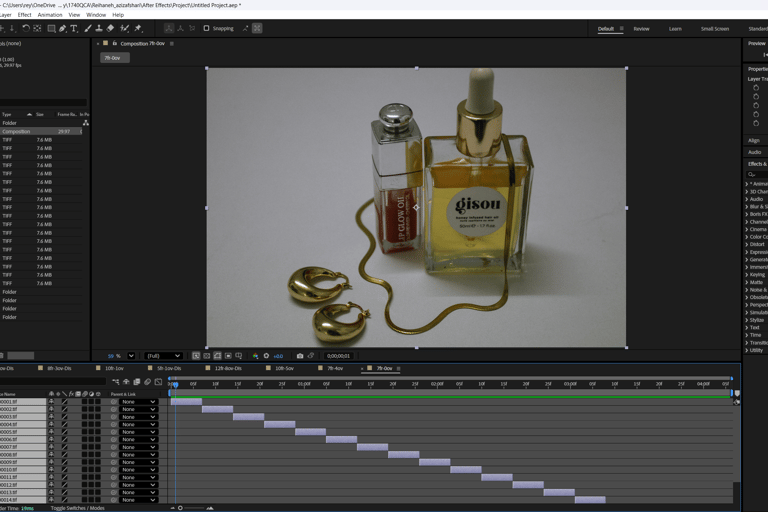
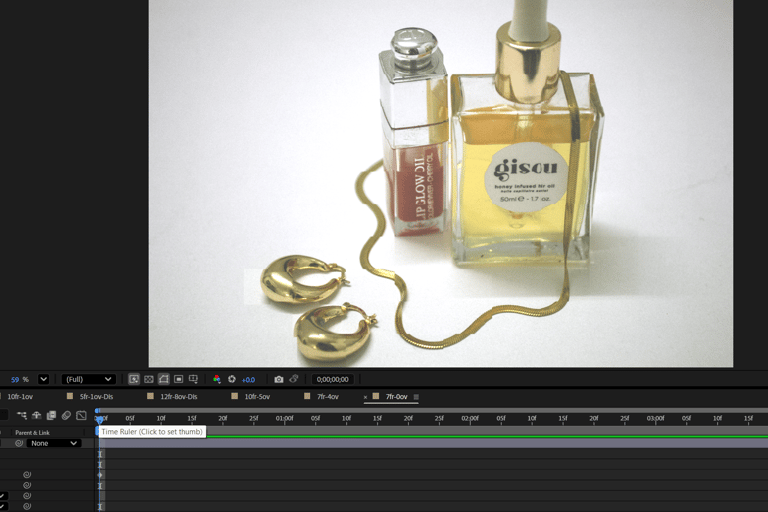
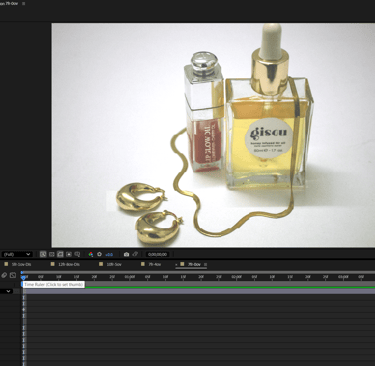
7 Frames - 0 frame overlaps
10 Frames - 5 frame overlaps with dissolve
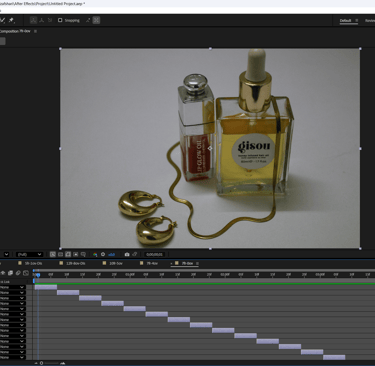
7 Frames - 4 frame overlaps with dissolve

I then imported more photos into separate folders and created compositions to apply different adjustments and effects.
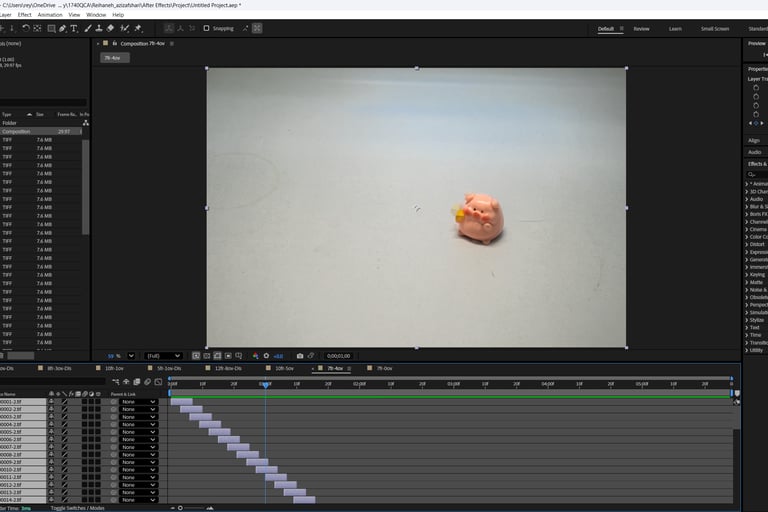
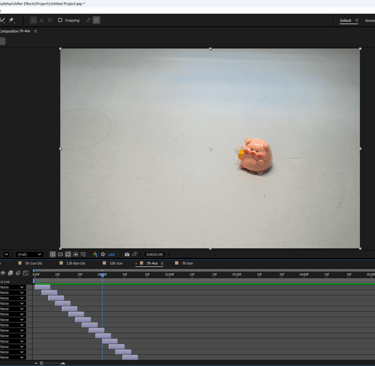
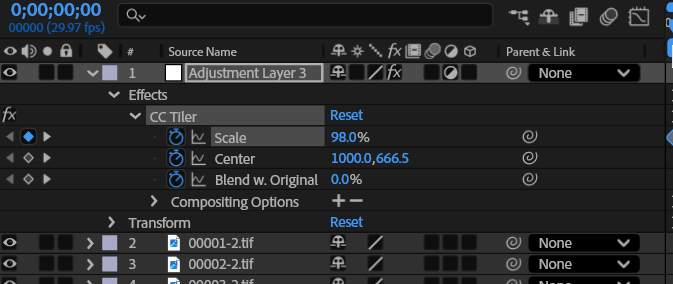
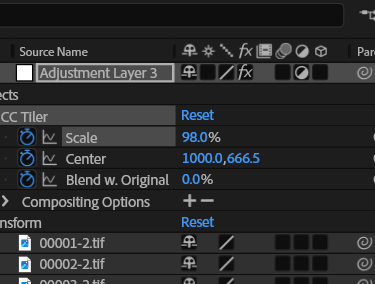
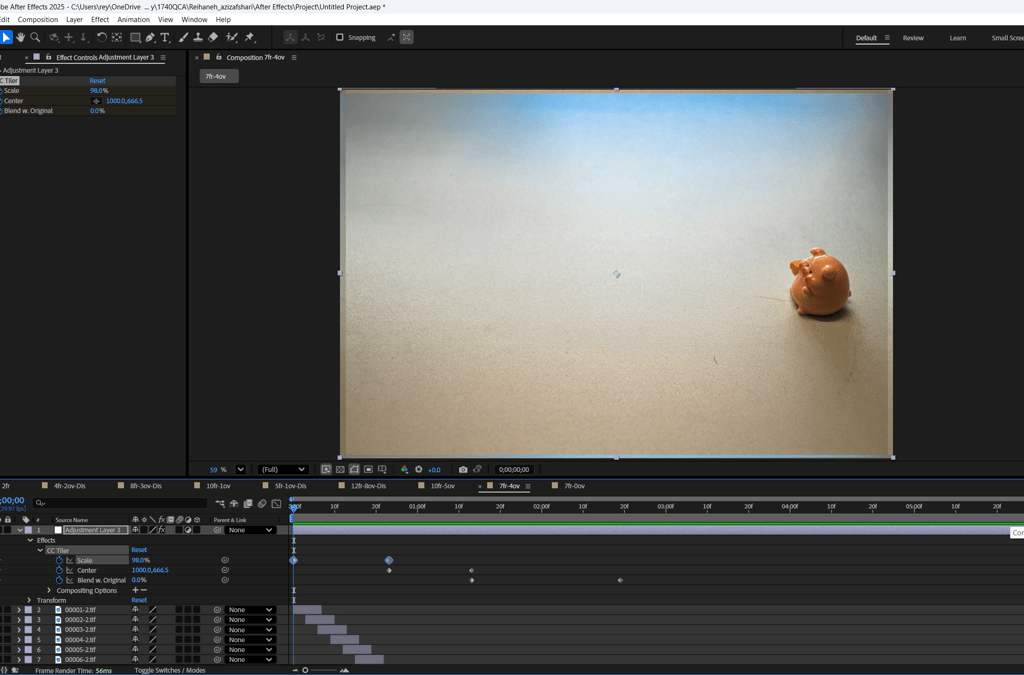
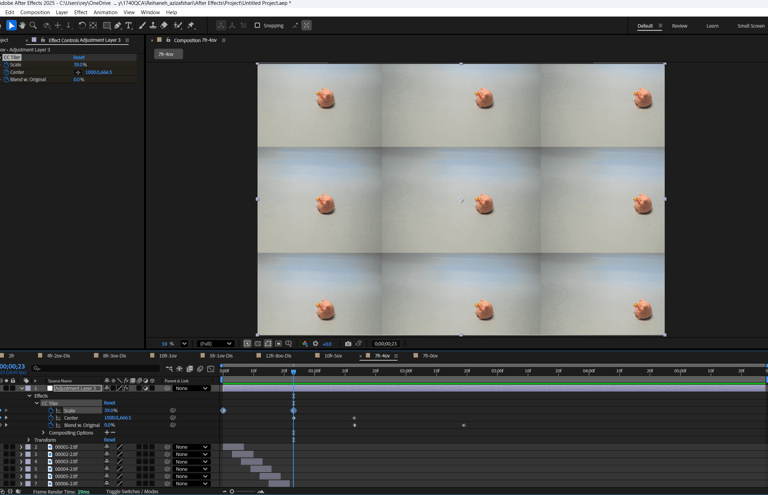
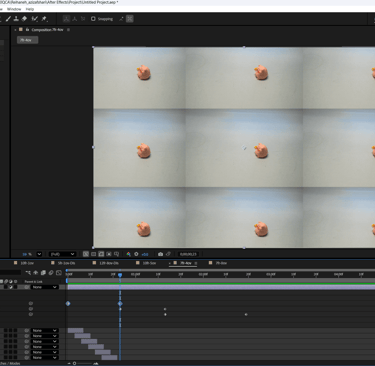
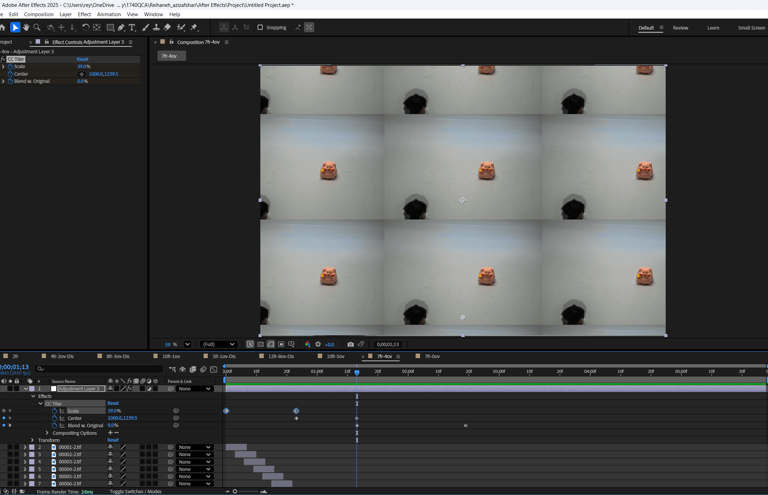
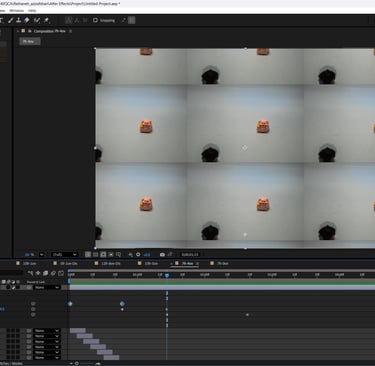
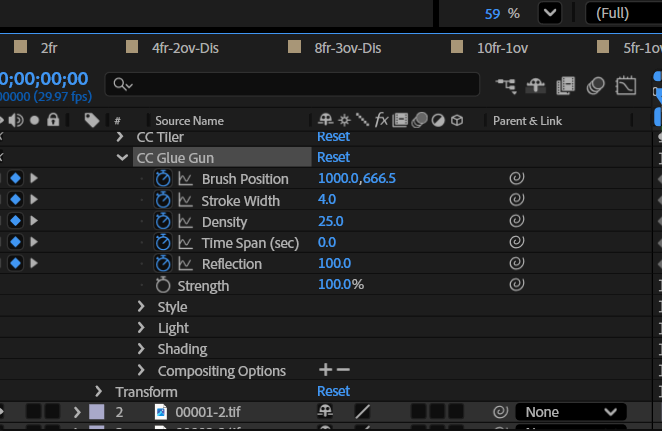
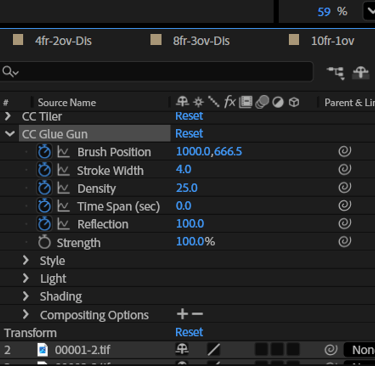
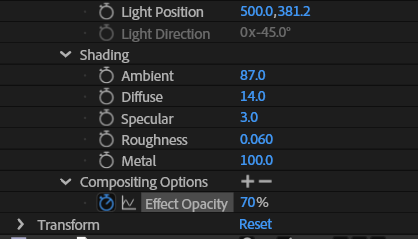
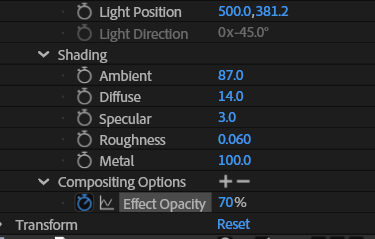
7 frames with 4 frame overlaps - CC Tile, CC Glue Gun, Photo Filter
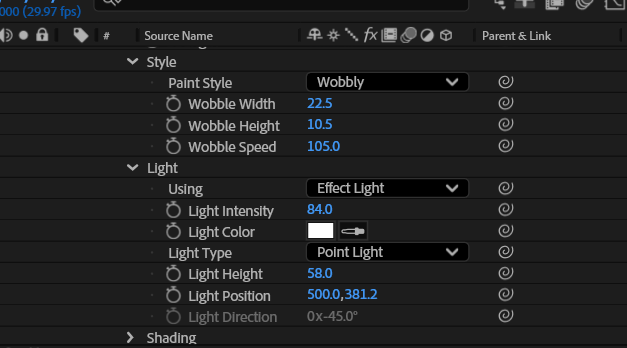
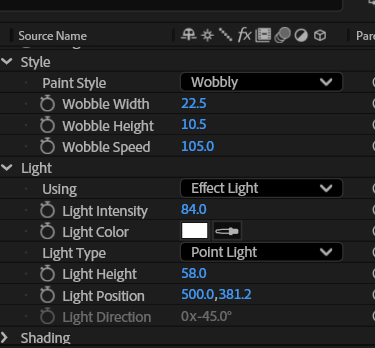
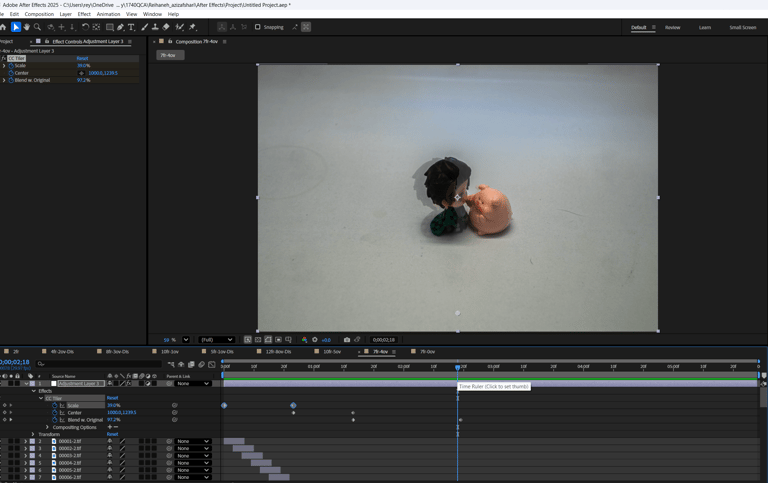
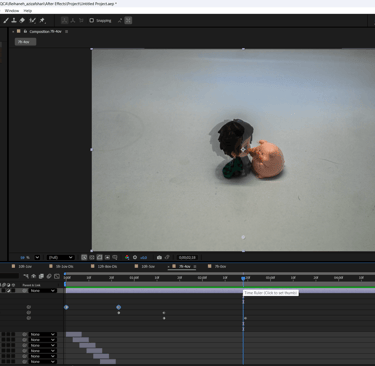
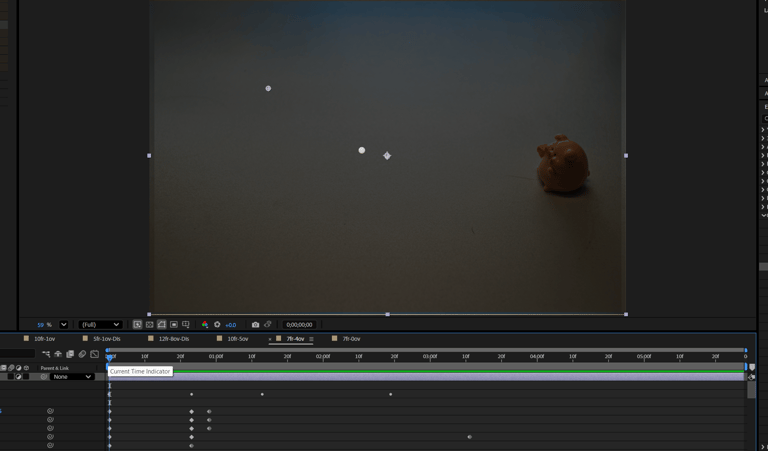
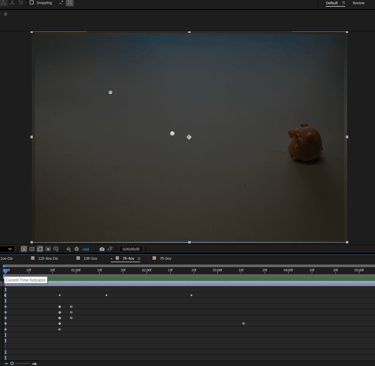
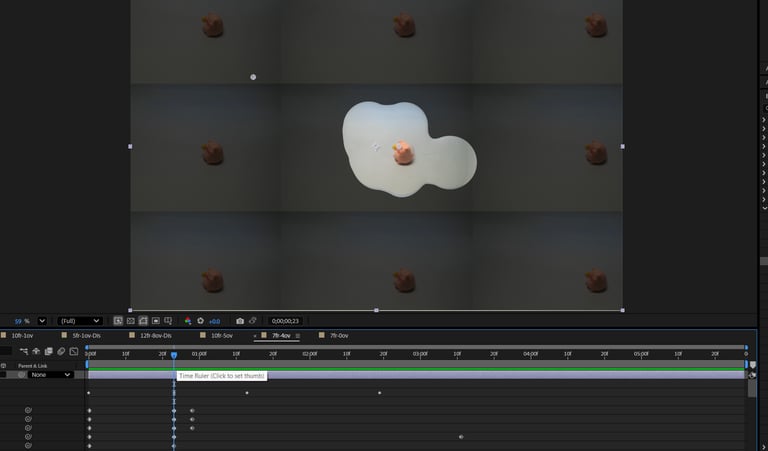
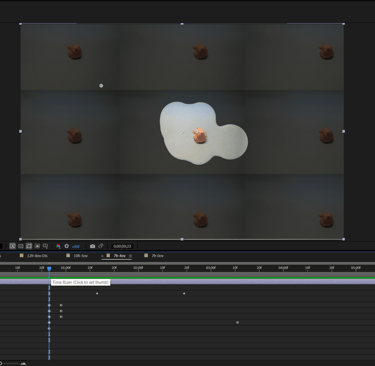
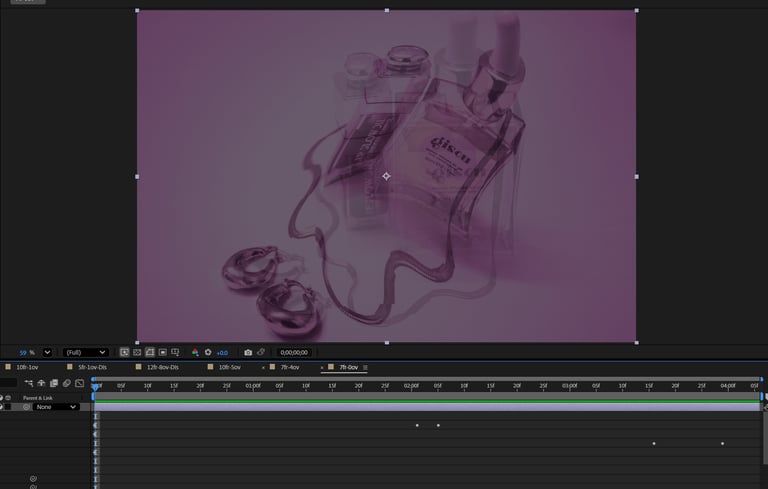
For the toy photos, I began with a new adjustment layer and applied CC Tile from the Distort effects. I animated the scale down to 39 percent with keyframes and shifted the center channel over time, while increasing Blend with Original to 100 percent. I then added CC Glue Gun from the Generate library, keyframed all of its channels, switched the style from Plain to Wobble, and adjusted the wobble height, width, speed, lights, and shading for a textured animation. For the final touches, I lowered the opacity to 70 percent at three seconds and added a keyframe at four seconds to fade it out. I also applied a Photo Filter, animating it with keyframes as the filter shifted from Magenta Deep Red to Yellow and finally to a Warming Filter.
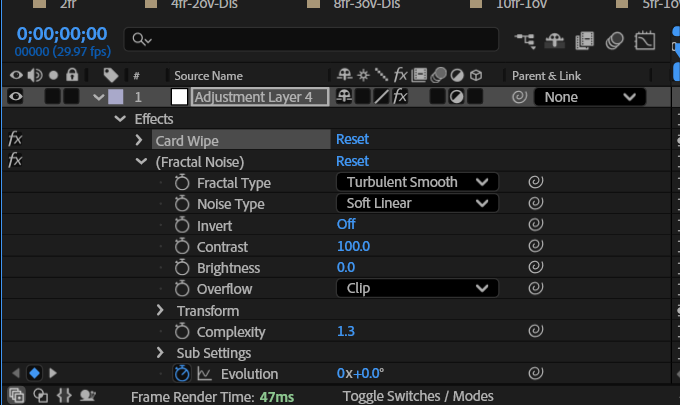
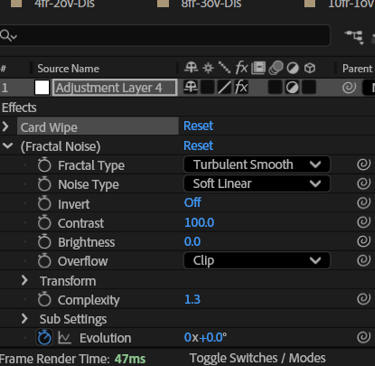
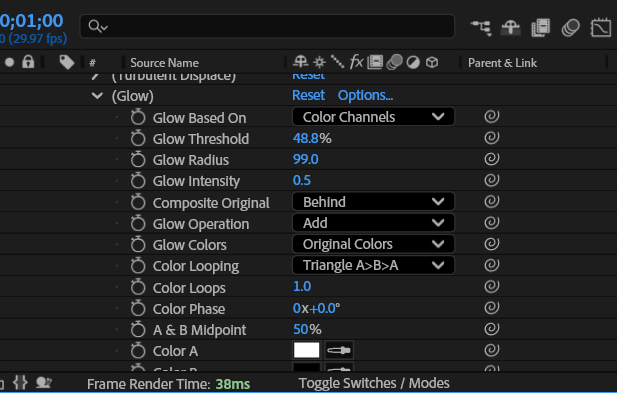
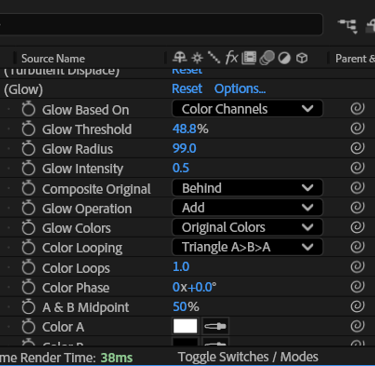
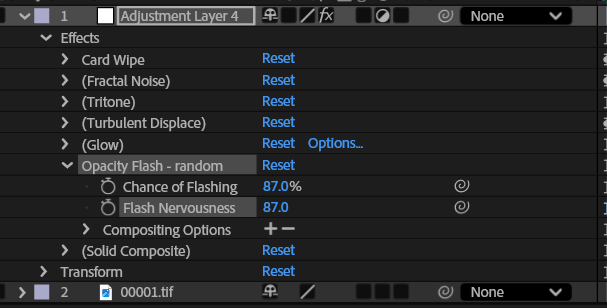
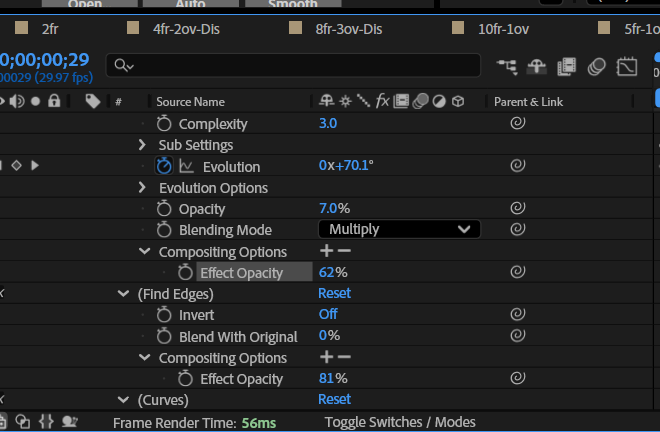
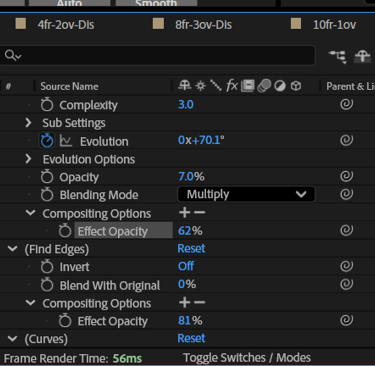
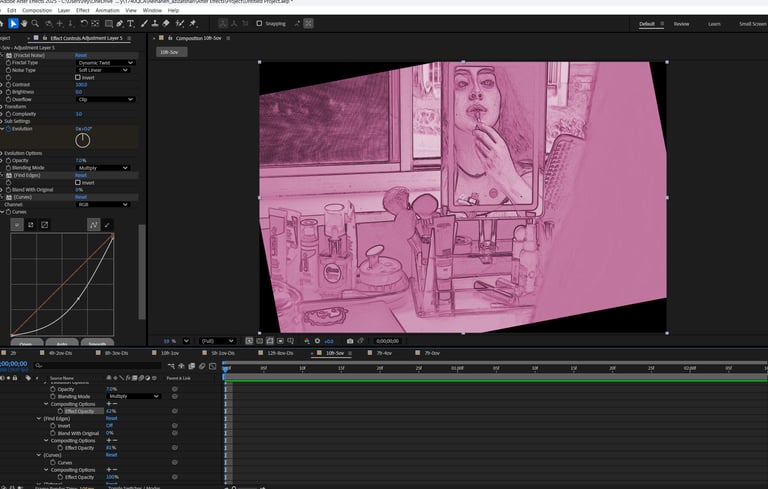
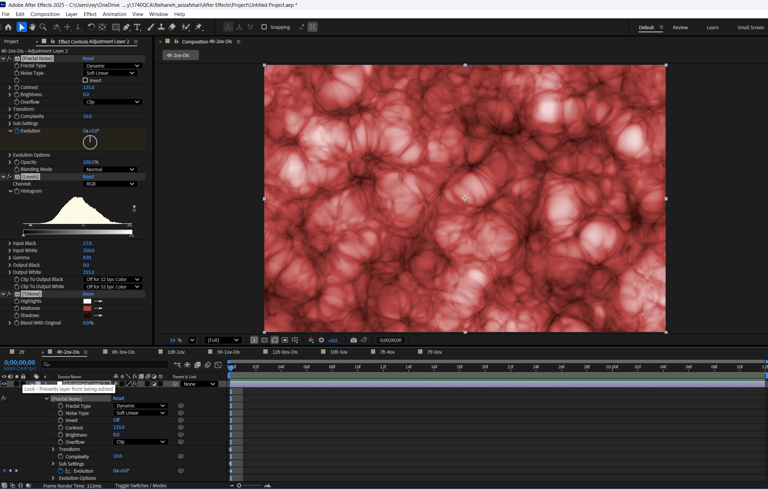
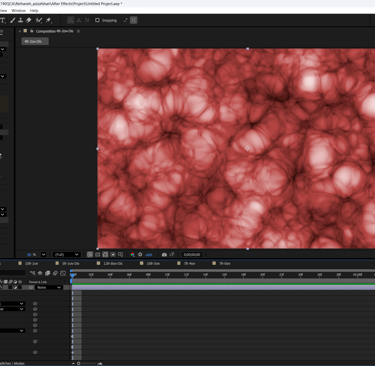
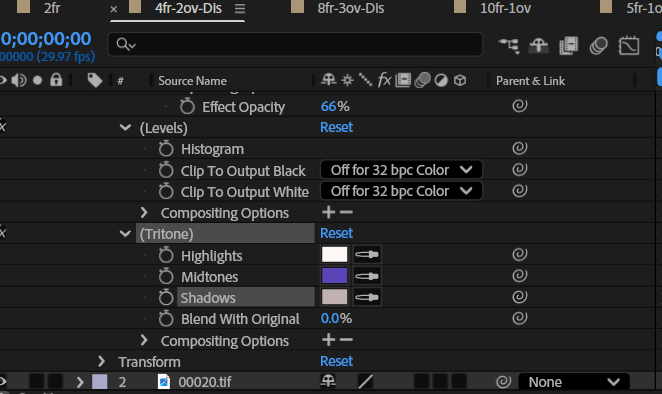
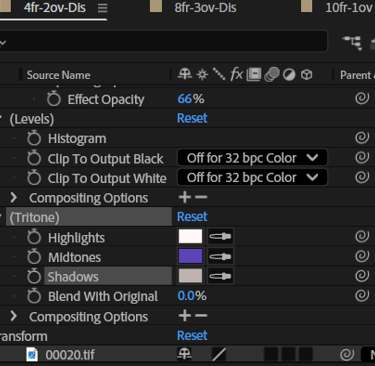
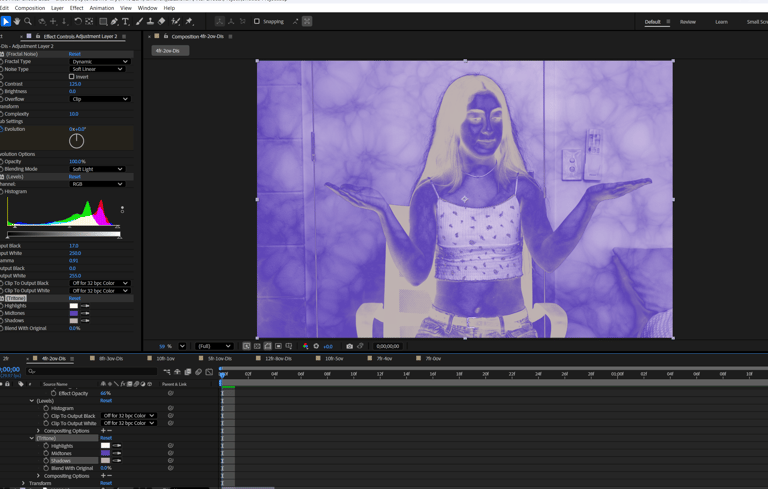
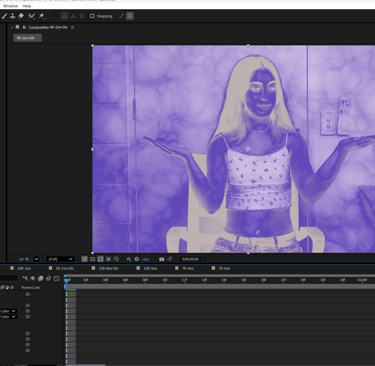
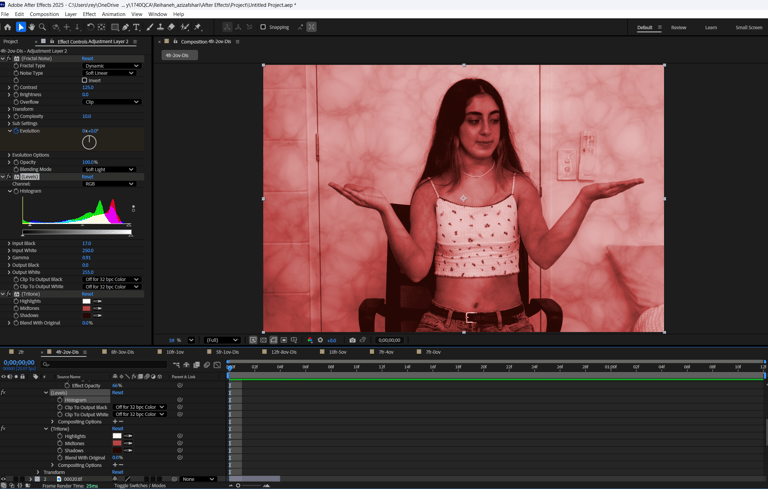
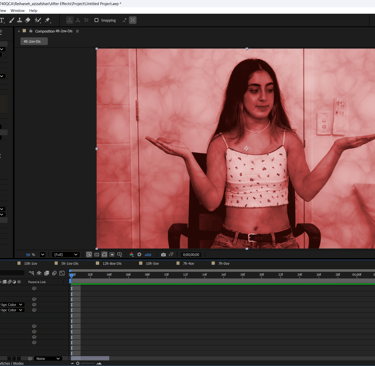
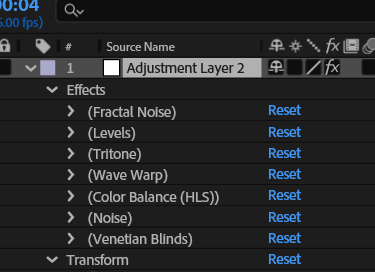
7 frames with 0 frame overlaps - Card Wipe, Fractal Noise, Opacity Flash Random
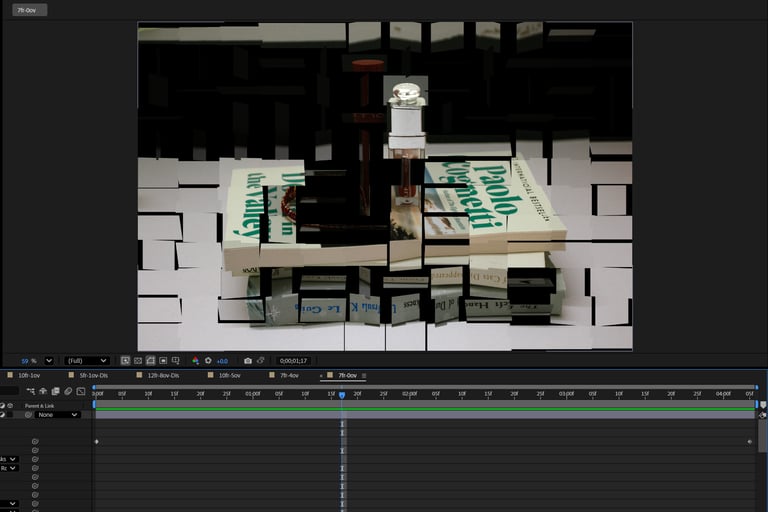
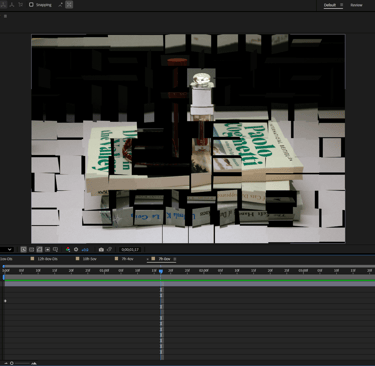
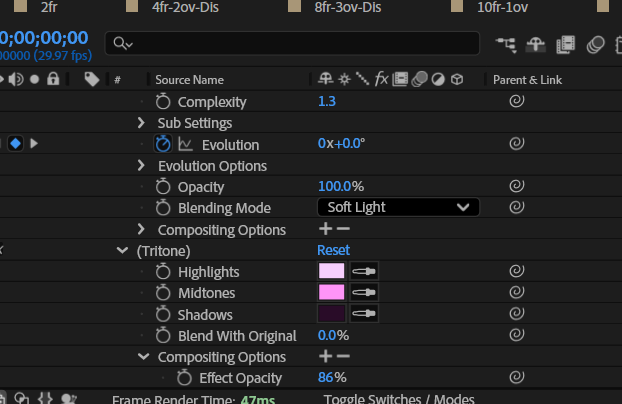
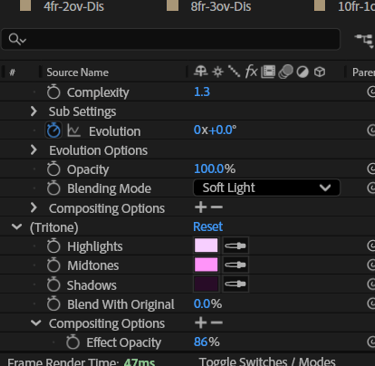
For these layers, I created a new adjustment layer and applied the Card Wipe transition, animating its completion with keyframes at the beginning and end of the sequence. I adjusted the rows, lighting, and material settings to refine the transition. Then I applied Fractal Noise, modified the colors with Tritone, and adjusted the opacity. I followed this with a Glow effect for emphasis. To create energy, I used the Opacity Flash Random preset from Behaviors, changing the chance of flash and flash nervousness to 87 percent for frequent flickering.

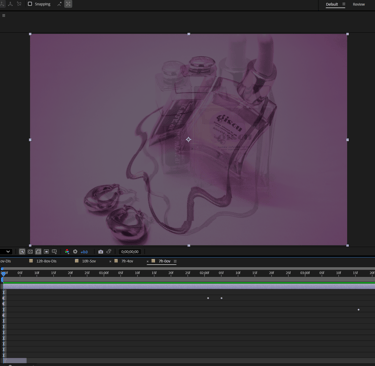
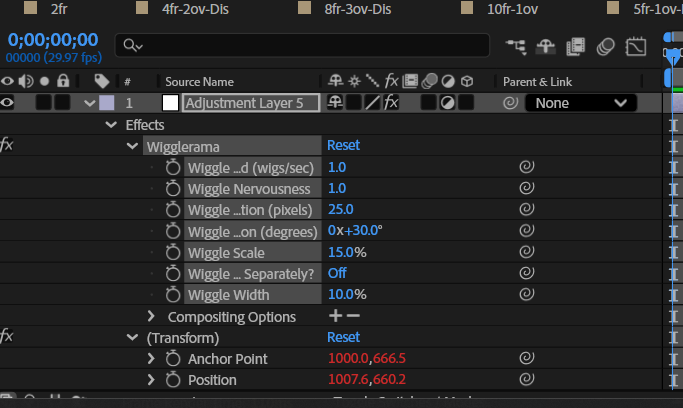
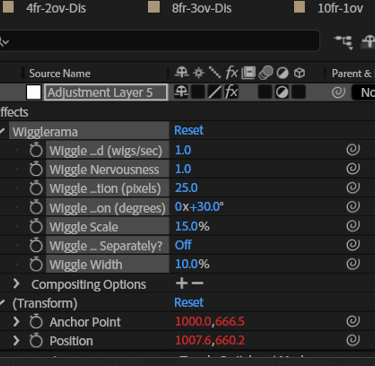
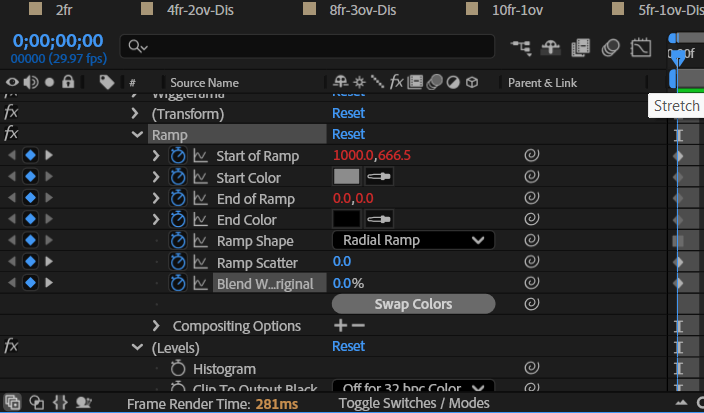
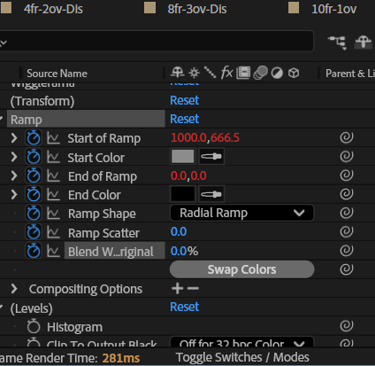
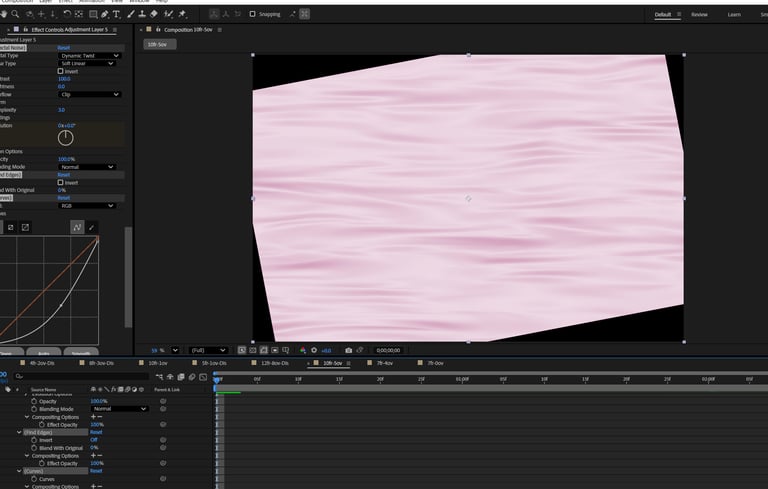
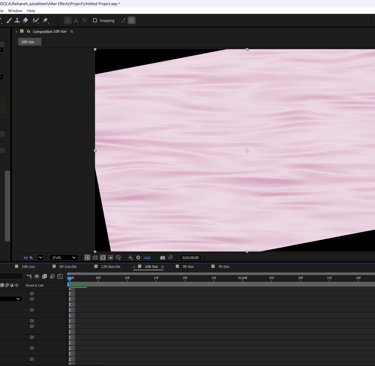
10 frames with 5 Frame with Overlaps - WiggleRama, Vignette Lighting, CC vector Blur, Silk Background
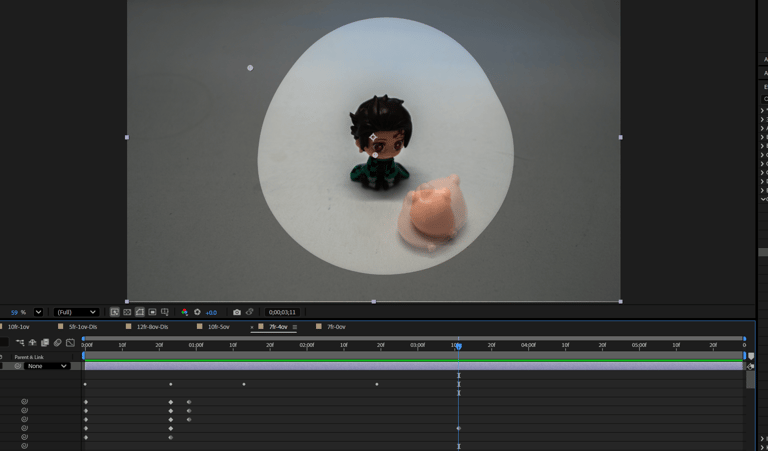
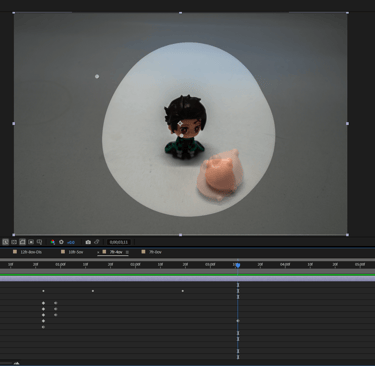
For these layers, I started with a new adjustment layer and applied the WiggleRama preset, which introduced playful movement. I then added Vignette Lighting for stronger focus and mood. To push the motion further, I used CC Vector Blur, adjusting ramp scatter and blend with original for balance. Finally, I applied the Silk preset from Backgrounds, where I adjusted the opacity and animated the subsetting evolution to reveal more detail as the effect played out.


4 frames with 2 Frames Overlaps - Indigestion, Bad TV
Here, I created another adjustment layer and applied the Indigestion preset from the Animation Presets library. I changed its blending mode, lowered the opacity, and adjusted the color to create a more subtle effect. To finish, I used the Bad TV effect from Image Special Effects, reducing its opacity to blend the distortion into the images more smoothly.
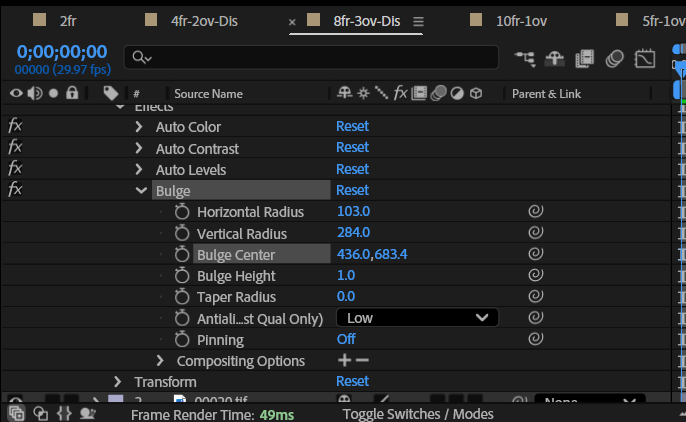
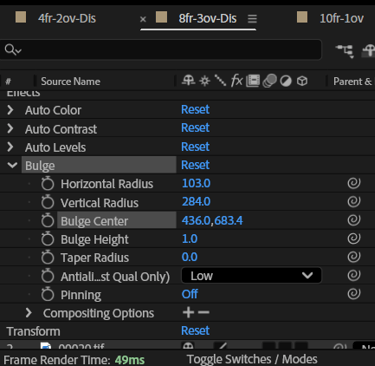
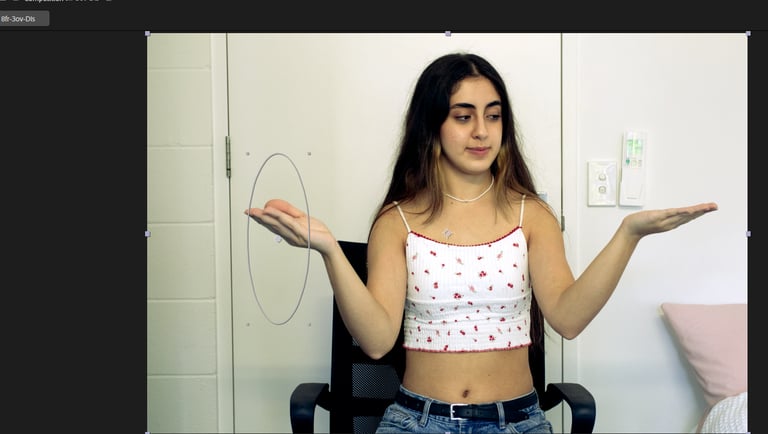
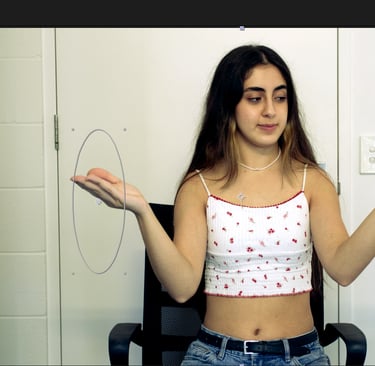
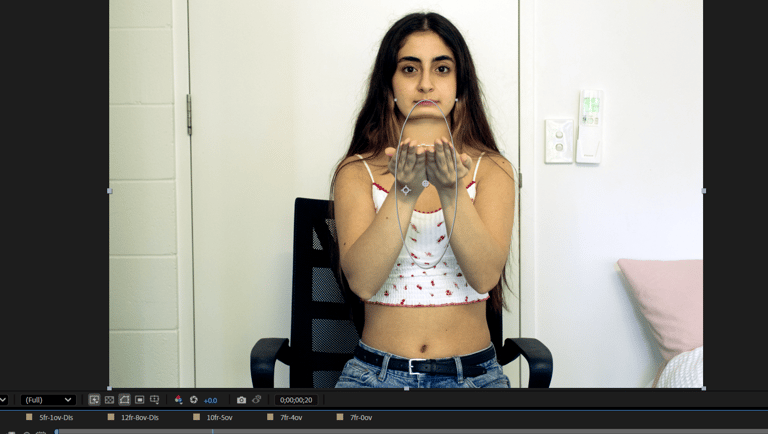
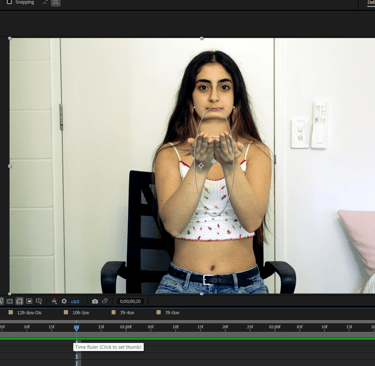
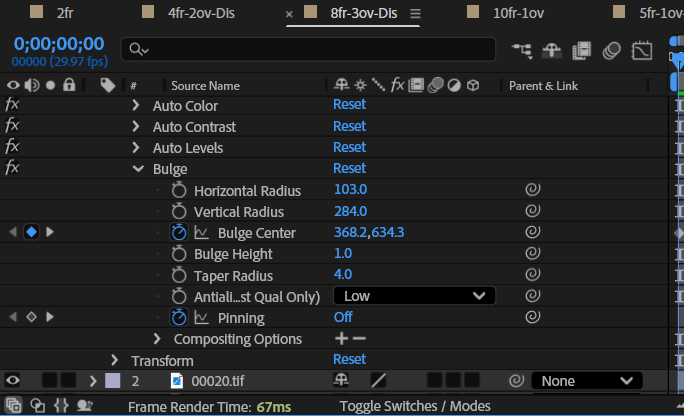
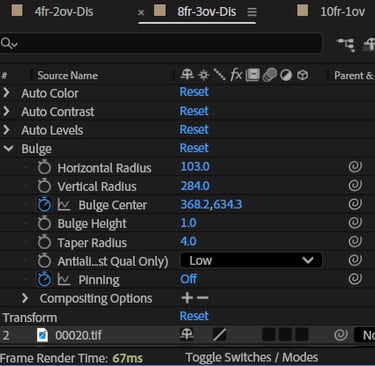

8Frames with 3 Frame Overlaps with Dissolve - Auto Levels, Auto Contrast, Auto Color, Bulge
For this composition, I began with a new adjustment layer and focused on Color Correction by applying Auto Levels, Auto Contrast, and Auto Color. To add movement and distortion, I applied the Bulge effect, then animated its center with keyframes throughout the sequence so that the distortion shifted as the frames played.
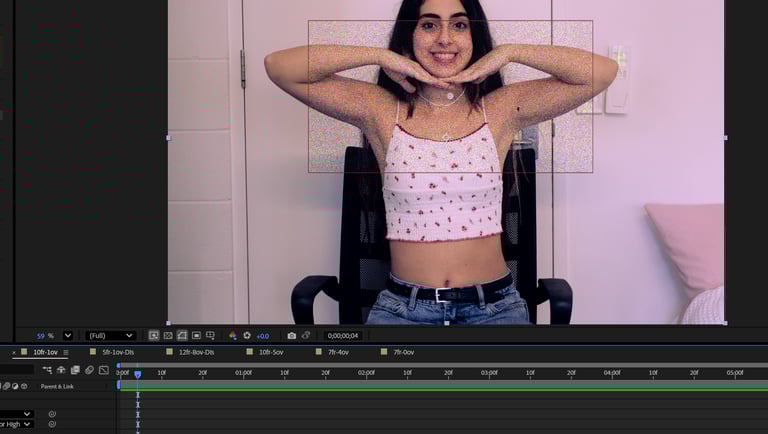
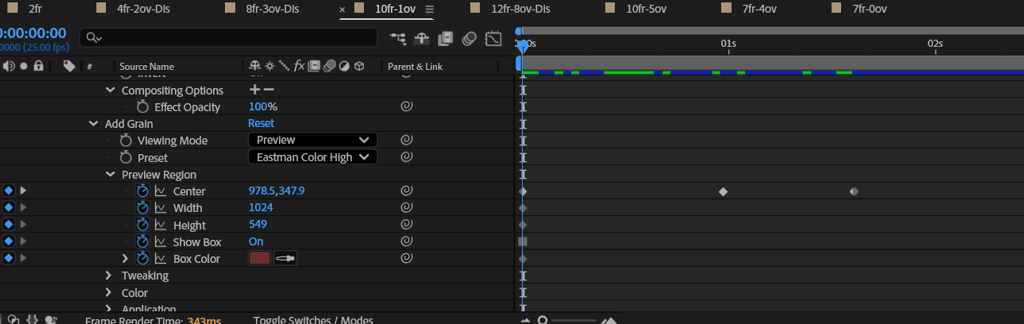
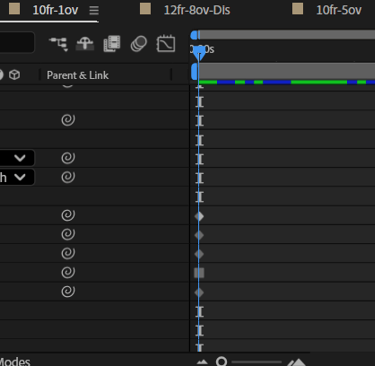
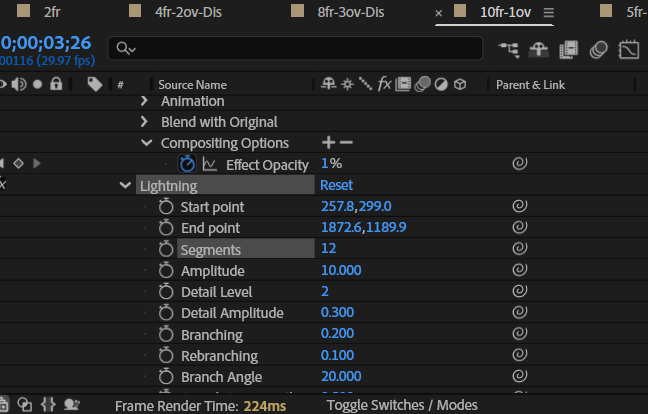
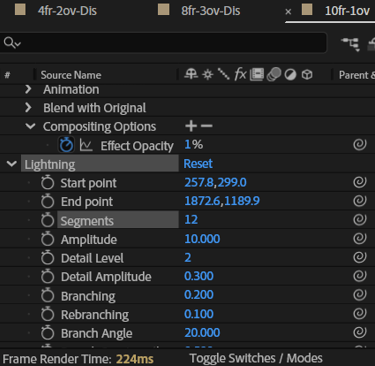
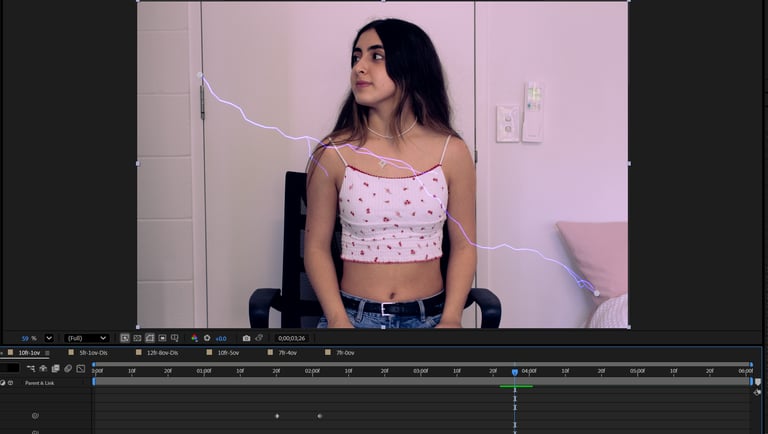
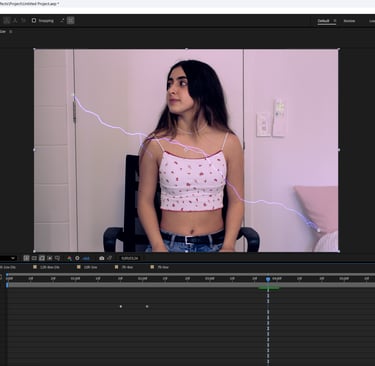
10 Frames with 1 Frame Overlap - Extract, Add Grain, Lightning
For this set of layers, I created a new adjustment layer and applied the Extract effect from the Keying library. I adjusted the black points and animated them with keyframes so that the effect developed gradually. I then used Add Grain from the Noise and Grain category, modifying the preset and animating the preview region with keyframes while moving the preview box from the top to the bottom of the frame. Finally, I added the Lightning effect, increasing the segments, raising the detail level, and animating the opacity with keyframes to create a flickering, electric atmosphere.
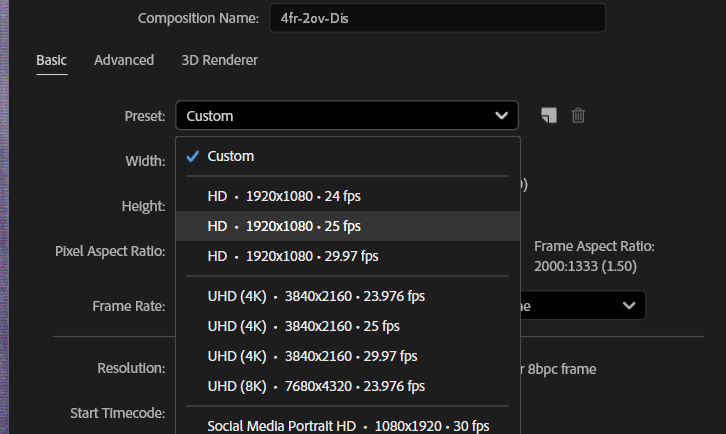
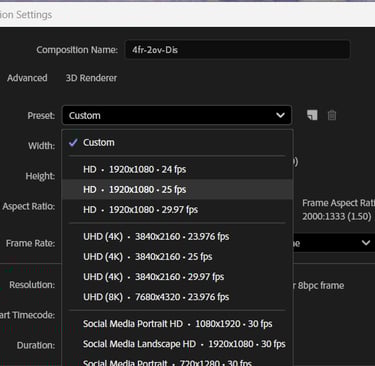
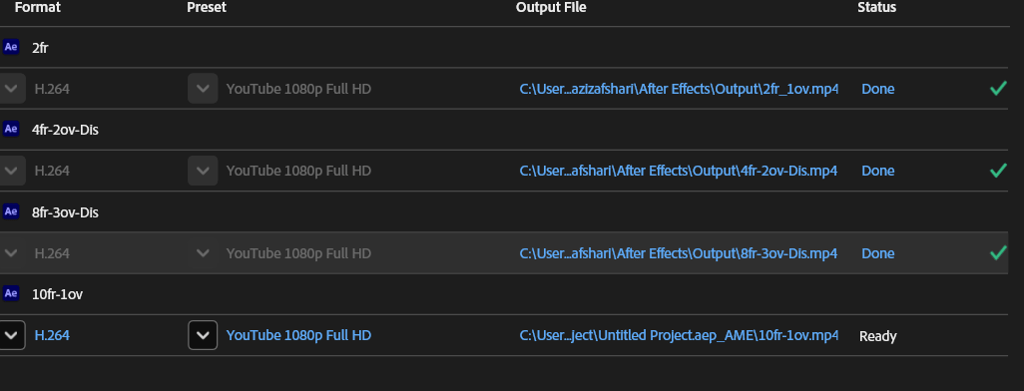
Exporting The Final Videos - Media Encoder
Before exporting, I first changed the composition settings to the HD 1920x1080 preset. After updating the resolution, I adjusted the scale of each layer so that everything fit properly within the new frame size. Once the composition was set, I exported the project through Adobe Media Encoder, choosing the H.264 format with the YouTube 1080p Full HD preset. I set the output destination to my After Effects output folder and rendered the video. The final file appeared in my folder, ready for playback in full HD.


Reflective Report
Working through this assignment has been one of the most time-consuming yet rewarding experiences in my design studies so far. The process was spread across multiple weeks, each introducing new tasks and tools that challenged me to think critically, experiment, and build technical confidence. Looking back, I can see how each stage of the workflow beginning with Lightroom Classic, moving into Photoshop, and finally working in After Effects was essential in helping me understand both the technical and aesthetic dimensions of motion design.
In the first stages, setting up my image database and Lightroom Classic catalogue felt very straightforward on the surface, but I quickly realised how important proper organisation is in any creative workflow. Structuring my files into directories and preparing my hard drive gave me a foundation that later saved me time when exporting and importing across different applications. Without this step, I would have struggled to keep track of my edits, versions, and exports. This task made me appreciate the value of a good workflow and how file management contributes to creative efficiency.
The second task, capturing, importing, editing, and exporting, was where I began to realise how much patience is required in motion design. Editing in Lightroom was time-consuming because I wanted to test out as many adjustments as possible. I experimented with colour grading, exposure, and tonal balance to see how small tweaks could change the overall mood of my images. Exporting as PSD files into Photoshop was another learning curve, understanding file formats and why certain ones are used for compositing was a technical insight I hadn’t fully grasped before. It showed me that design is not just about creativity but also about making the right technical choices that will support later stages of production.
Working with Photoshop for the composite image and GIF pushed me to engage with the timeline and layers in a much deeper way. At first, I found it overwhelming to animate frames and create smooth loops, but experimenting with the dissolve options, frame durations, and overlaps helped me start to grasp the basics of motion. This stage also highlighted how much experimentation is necessary: there is no single “right” setting, and the only way to learn was to test, fail, and try again. Although it was frustrating at times, these experiments were critical in building my confidence and making me comfortable with the software interface.
The After Effects task was perhaps the most challenging but also the most rewarding. Creating multiple compositions with different numbers of frames and overlaps, experimenting with adjustment layers, and applying effects like black-and-white showed me how much control I could have over visual outcomes. At first, navigating the composition settings and understanding how frame rates and overlaps impacted timing was confusing, and it took several failed attempts before I found satisfying results. I also had to adjust the composition settings to HD 1920x1080 and rescale each layer manually, which was tedious but taught me precision. Exporting via Media Encoder in H.264 format for YouTube 1080p gave me a professional workflow that I know I will use again.
Overall, this assignment was difficult, and I often felt that I was spending hours without visible progress. But looking back, this experimentation was essential. Without the repeated testing, re-editing, and problem-solving, I would not have developed the familiarity I now have with the panels, effects, and presets in Lightroom, Photoshop, and After Effects. What seemed overwhelming at first has now become more intuitive, and I feel significantly more confident navigating these tools. Beyond technical skills, I also gained a deeper understanding of motion design concepts like temporal rhythm, pacing, and transitions.
This experience has taught me that mastery in design is built through time, patience, and experimentation. While the process was demanding, it was ultimately worth it, because I now feel not only more skilled but also more prepared to approach future projects with creativity, technical precision, and confidence.